7451041 - V2.2
28
The button at the bottom left hand corner of the screen is basically a toggle switch
which changes the Network Adapter from DHCP to STATIC, or vice versa.
DHCP -
a)
If the modem, with which the controller is being configured, has DHCP enabled
then ensure first that the display at the top of this screen states NETWORK
SETUP - DHCP. If not, then tap on the “DHCP” button on the bottom left hand
corner of the screen.
b)
IP, Mask, Gateway and DNS information being distributed by the modem should
populate the main screen after a few seconds.
c)
Once DHCP data is present and verified, proceed to step 11.
STATIC -
a)
If the modem, with which this controller is being configured, does not have
DHCP enabled then ensure first that the display at the top of this screen states
NETWORK SETUP - STATIC. If not, then tap on the “STATIC” button on the
bottom left hand corner of the screen.
b)
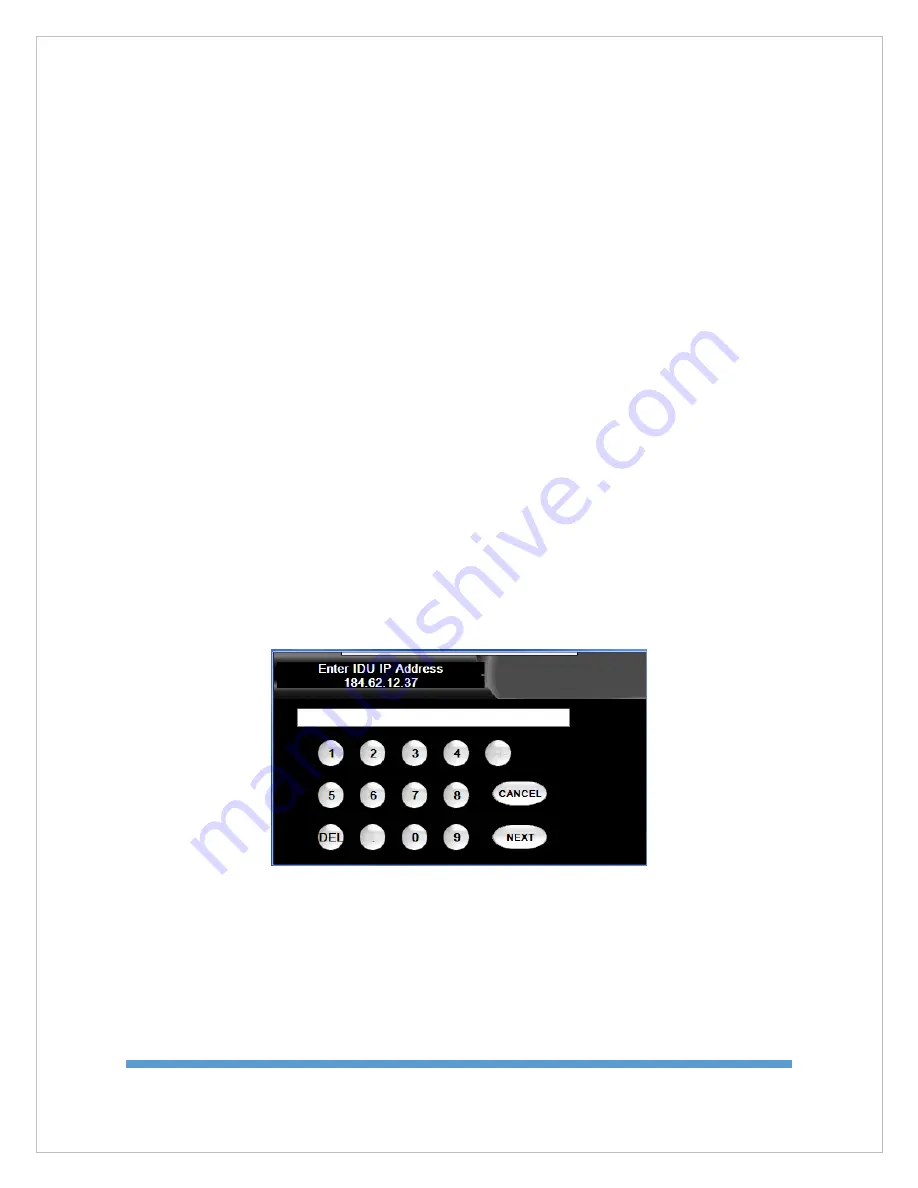
After the Network Adapter is changed to Static mode, IP data can be entered by
tapping on each line of information at a time.
c)
After the tap a numeric pad screen will appear allowing entry of the IP
information with a NEXT button available to exit out of the numeric pad for each
entry.
d)
If an incorrect value is entered, the DEL button will backspace one character per
tap.
After the network configuration information has been entered and verified, tap on the
NEXT button to return to the NETWORK SETUP screen.
Summary of Contents for WV750
Page 11: ...7451041 V2 2 11 5 3 Tria E Tria Assembly 1 Tria Assembly ...
Page 12: ...7451041 V2 2 12 ...
Page 13: ...7451041 V2 2 13 ...
Page 14: ...7451041 V2 2 14 2 ETria Assembly ...
Page 15: ...7451041 V2 2 15 ...
Page 41: ...7451041 V2 2 41 ...
Page 62: ...7451041 V2 2 62 9 4 Wiring Diagram User Supplied Device ...
Page 65: ...7451041 V2 2 65 12 Declaration of Conformity ...


