


2
4)
Place the unit on the roof in the chosen location. Do not mount closer than
12 inches from the edge of the roof or any adjacent devices. Connect the 10
foot Ethernet cable to the ODU.* Ensure that the Ethernet cable exits the
unit towards the back of the vehicle.
Figure 2
.
5)
Using a 1/8” drill bit, pre-drill the holes for each of the screws to hold the
mounting feet in place.
6)
Add a small bead of manufacturer approved sealant (not provided) to each hole.
7)
Drive the screws (6) through the sealant into each hole (6) until tight. Do
not overtighten as it will cause the screw to strip. See NOTE on this page.
8)
After the mounting feet (3) are secured, add a small amount of approved
sealant around the edge of each mounting foot and over each screw.
9)
Place cable entry cover on the ODU and secure using the provided screw.
10)
Decide where the supplied PoE (Power over Ethernet) power inserter will
be mounted inside the vehicle to determine the best location for the
Ethernet cable to enter the vehicle. Drill a 3/4” hole through the roof and
push the Ethernet cable into the vehicle. Make sure the cable is accessible
from the area where the power inserter will be located.
11)
Add a bead of sealant around the hole for the cable. Place the provided
cable entry plate over the hole and cable. Secure cable entry plate in
place using the supplied screws. Seal the plate and screws (10) with
approved sealant.
12)
Secure the cable to the roof every 12–16 inches to eliminate excessive
cable movement. Seal the cable to the roof between the unit and cable
entry plate. Cable clamps (not provided) may need to be used depending
on the distance the cable runs across the roof.
EXTERIOR INSTALLATION
cont
PoE Wiring Requirements
• Supply voltage – 9-16V
• Output Voltage – 24V
• Max. operating current – 1A
• Max. operating temperature – 60C
• Max. power cable length –
18 gauge (recommended)– 50’
• LAN port – Max. Ethernet length –
CAT5e – 50’
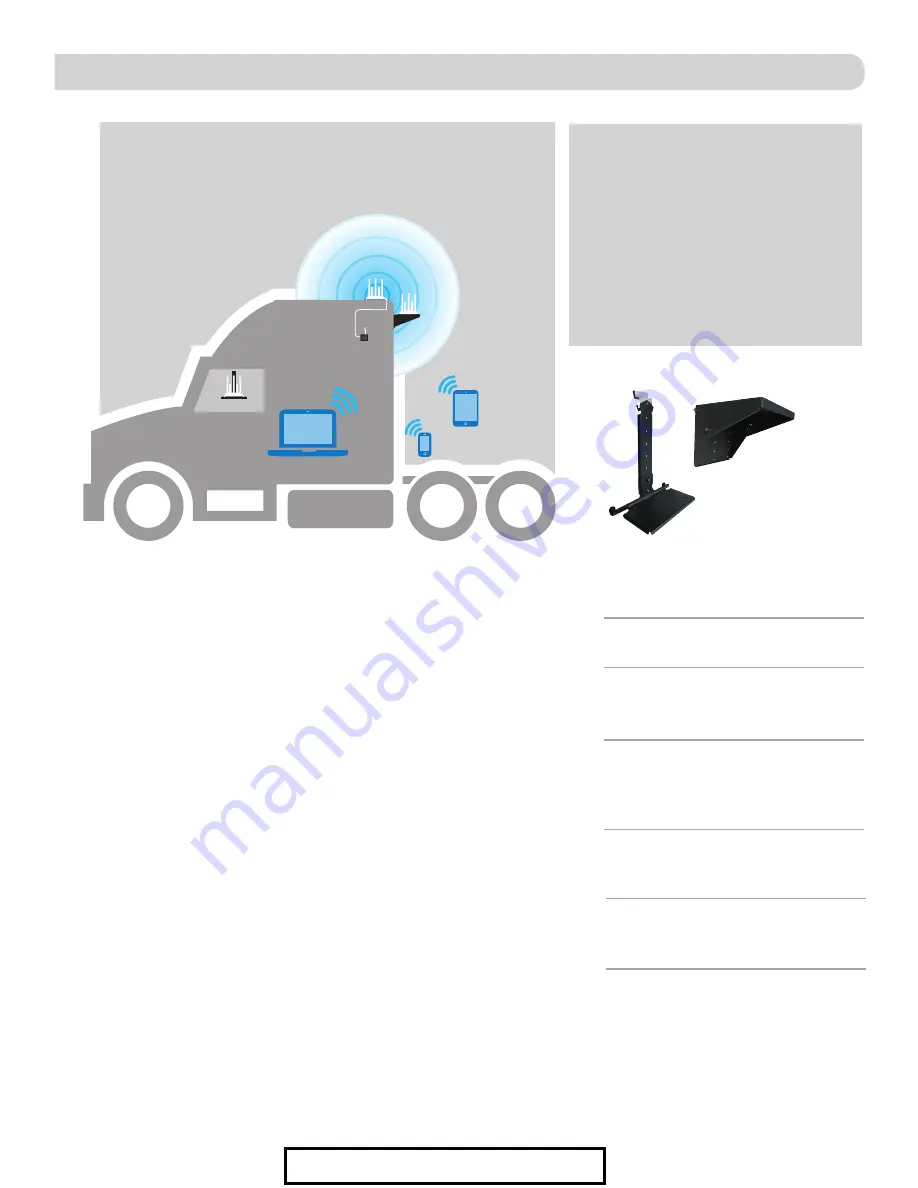
Figure 3
Ethernet
to PoE
ConnecT
mounted on
MT-SM10
12V cable to
fuse panel
or battery
ConnecT
mounted on
truck roof
- OR -
OPTIONAL MOUNTS (not included)
MT-SM10
permanent
MT-SM30
portable
Figure 2
TIP:
Clean the roof where the unit will be
mounted to ensure a good seal.
NOTE:
Before using the supplied
mounting screws, check with the vehicle
manufacturer for any special screw
requirements.
*If you need longer Ethernet cable,
please visit www.winegard.com/connect/
connect-parts to place an order.
ConnecT
mounted on
MT-SM30
- OR -
For Sales Information Please Contact RoadTrucker Inc (www.RoadTrucker.com)
8312 Sidbury Rd.; Wilmington, NC 28411 - (800) 507-0482 / (910) 686-4281