38
Maintenance
Configuring the IC650 Charger Using a USB Flash Drive
Using the Delta Q software, USB storage drives can be pre-programmed to certain charger configuration.
To use the USB port, follow these steps:
1. Insert the USB flash drive at any time, except during a charge cycle. Stop the charge cycle by removing AC
power or the DC connection to the batteries. The charger will power the USB port from the remaining AC
connection.
2. If there is enough disk space, the charger will write charge tracking data to the drive. The Fault/Error/USB
Indicator will flash green during reading and writing.
3. If the drive contains compatible configuration files, the charger will load them.
4. The IC650 Charger will briefly reset.
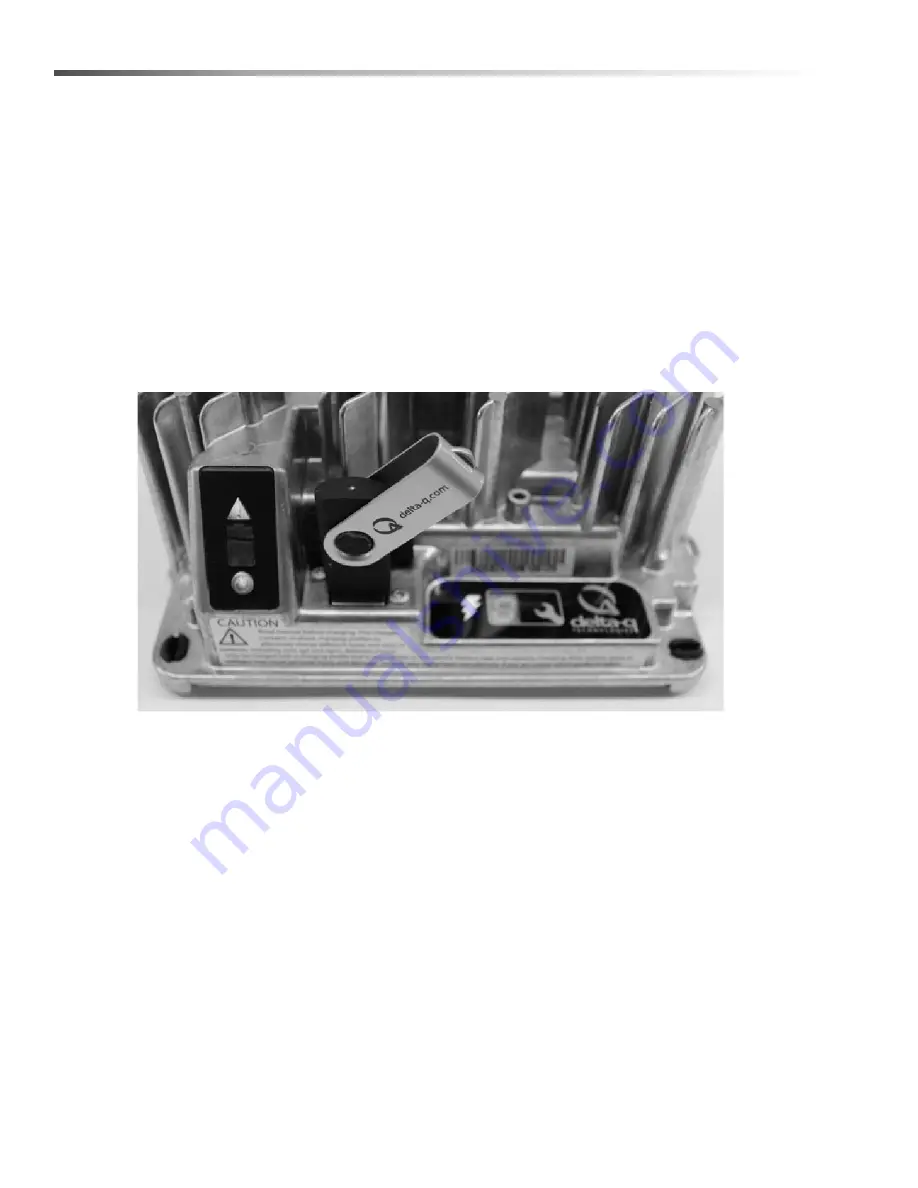
5. Remove the drive when the Fault/Error/USB Indicator is solid green.
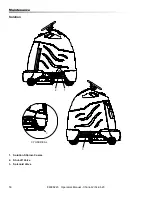
Figure 4, Insert the USB flash drive to begin the reprogramming process. When complete, the Fault/Error/USB
Indicator will be solid green as shown.
Troubleshooting
If the alarm indicator flashes amber, note the error code and retry the update. If there is no response to inserting
the USB drive when the charger is being used off-board, check that AC power is available and connected. If the
charger is installed on-board, ensure that the charger either has AC power and / or batteries are connected.
Confirming a Software Update
After using a USB flash drive to update the charger firmware, the update can be confirmed by reviewing the .txt file
written to the flash drive by the charger. It will be located in the folder labelled ‘syslog’ (e.g.
F:\CHARGER\RESP\serialno\syslog\00000000.txt).
Open this file using a text editing program such as Notepad or Microsoft Word. If the update has been successful,
near the end of the text you will see a description resembling “SM Task: Successful upgrade at
Major[001].Minor[991].Build[000]variant[008].”
86398220 Operators Manual - Chariot-2 iScrub 20


