PAGE 20
FOR SERVICE TECHNICIAN’S USE ONLY
DO NOT REMOVE OR DESTROY
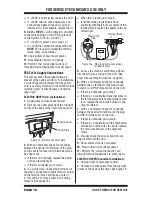
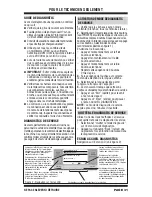
3. Visually check that the UI and housing
assembly is properly inserted into the front
console.
4. If visual check passes, replace the UI
and housing assembly.
5. Reassemble all parts and panels.
6. Plug in dryer or reconnect power.
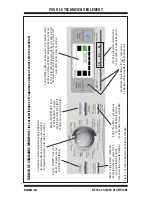
7. Perform the “UI Component Test”
to verify repair.
No beep sound is heard:
1. Check volume levels under System
Settings
➔
End of Cycle and Button Sound.
Increase volume if needed.
2. Unplug dryer or disconnect power.
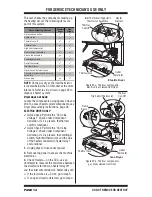
3. Remove top panel to access the machine
electronics.
4. Visually check that ALL connectors
are fully inserted into the CCU.
5. Visually check that ALL connectors
are fully inserted into the UI.
6. If all visual checks pass, replace the
UI and housing assembly.
7. Reassemble all parts and panels.
8. Plug in dryer or reconnect power.
9. Perform the “UI Component Test”
to verify repair.
TEST #7: Door Switch
3
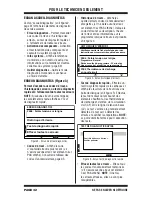
Quick Check: Door Switch status (open/
closed) is provided in “Service Diagnostics
➔
Component Activation
➔
Door Status.”
Functionality is verified when the door status
toggles between Open to Closed. If the
preceding condition is not met:
1. Unplug dryer or disconnect power.
2. Remove top panel to access the machine
electronics.
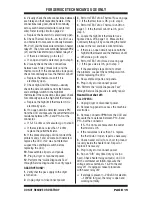
3. Check that the wires between the door
switch and CCU are connected. (Refer to
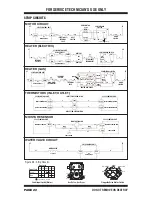
wiring diagrams on pages 25 and 26.)
If the connections are good, replace the
wire and door switch assembly and retest.
If wire and door switch assembly have
been replaced and dryer still does not start,
replace the CCU.
4. Reassemble all parts and panels.
5. Plug in dryer or reconnect power.
6. Perform the “Quick Check” above
to verify repair.
TEST #8: Drum Light
3
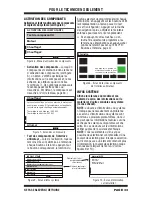
Quick Check: Drum Light status (on/off)
is provided in “Service Diagnostics
➔
Component Activation
➔
Drum Light.”
Functionality is verified when the drum light
turns on and off. If the preceding condition
is not met:
1. Press and hold the EcoBoost/Drum Light
button on the console until the LCD screen
acknowledges the drum light is on.
If the LCD does not confirm the button
press, replace the user interface (UI).
If the LCD confirms the button press,
go to step 2.
2. Unplug dryer or disconnect power.
3. Remove the top panel to access CCU
and UI.
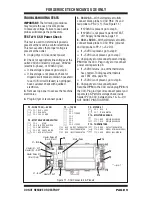
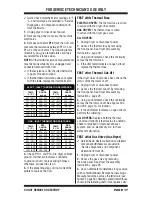
4. Verify the drum LED connector P13
is securely connected to the UI.
5. Check harness and inline connections
between the drum LED and UI.
If the harness and connections are good,
go to step 6.
If not, repair or replace as needed.
6. Unplug the drum LED connector P13
from the UI.
7. Plug in dryer or reconnect power.
8. Press and hold the EcoBoost/Drum Light
button on the console to activate the LED
circuit.
9. With a multimeter set to milliamps,
measure the current across UI connector
P13, pins 1 and 3. If the drum LED driver
is working properly, there should be a
measurement of 150–370 mA.
If the current is present, replace the
drum LED.
If the current is not present, replace the UI.
10. Unplug dryer or disconnect power.
11. Reassemble all parts and panels.

