16
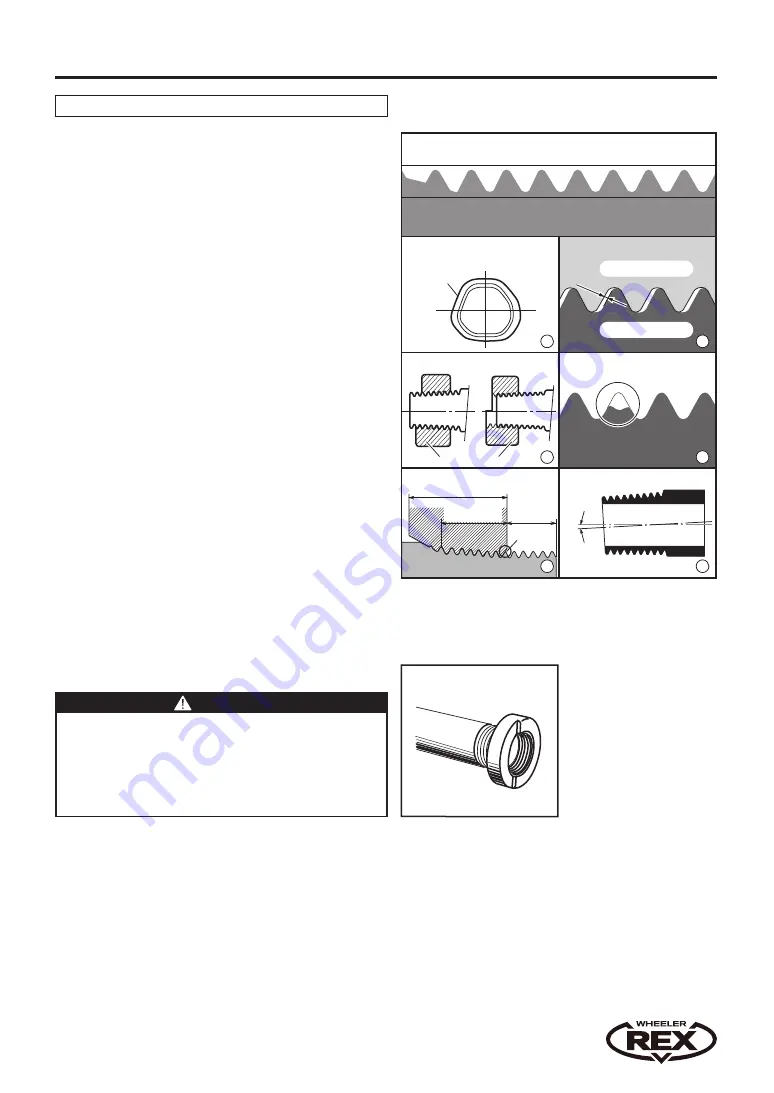
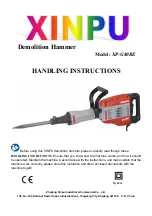
Fig. 38
GETTING READY / OPERATION GUIDE
Example of thread gauge
Fig. 37
Correct thread
Thread circumference
is polygonal
Narrow thread Wide thread
Thread gauge
Pipe
core
Thread
core
Complete taper
thread
Angled
point
Distorted threads
Uneven thickness
Parallel
thread
Width of the dies
Irregular shaped threads
Too small
Gap
Chipped thread
4
5
6
1
2
3
Internal thread
External thread
17. Measuring threads with a gauge
Unacceptable threads (Fig. 37)
When connecting the male thread on a cut pipe to the
female thread in the joint, various factors that could lead
to leakage should be considered. The following examples
may be due to the male thread on the pipe end.
(1) Irregular shaped threads (Fig. 37 - 1)
How to distinguish irregular shaped threads
(A) Visually inspect the thread after wiping off any oil or
dirt with a rag; look for any wave-like formation.
(B) Gently check the surface of the thread with your
fingers, feeling for any irregularity.
(C) Check if bits of scrap have been produced when
cutting.
(2) Check if the diameter of the thread is too small or
too large (Fig. 37 - 2)
Check with a thread gauge.
(3) Distorted threads (in the case of manual die heads)
(Fig. 37 - 3)
When cutting threads that are wider than the width
of the dies, you can gradually open up the eccentric
handle; but then if you leave the eccentric handle in the
same position and cut a thread longer than the width of
the dies, the taper will remain the same width as the die
and the rest of the thread will be straight.
(4) Threads are too small (Fig. 37 - 4)
(5) The thread is chipped (Fig. 37 - 5)
(6) Thread with uneven thickness (Fig. 37 - 6)
* Choose an appropriate method for checking the threads
on joints and other connections, such as using sealants,
washing the joint, checking the torque etc.
CAUTION
Threads may be affected by the sharpness of the dies,
cutting oil etc., so be sure to use a thread gauge (Fig. 38) to
check the thread.
* This is especially important after you have changed the
die set


