MY BOOK FOR MAC
USER MANUAL
CONNECTING THE DRIVE AND GETTING STARTED
– 16
6.
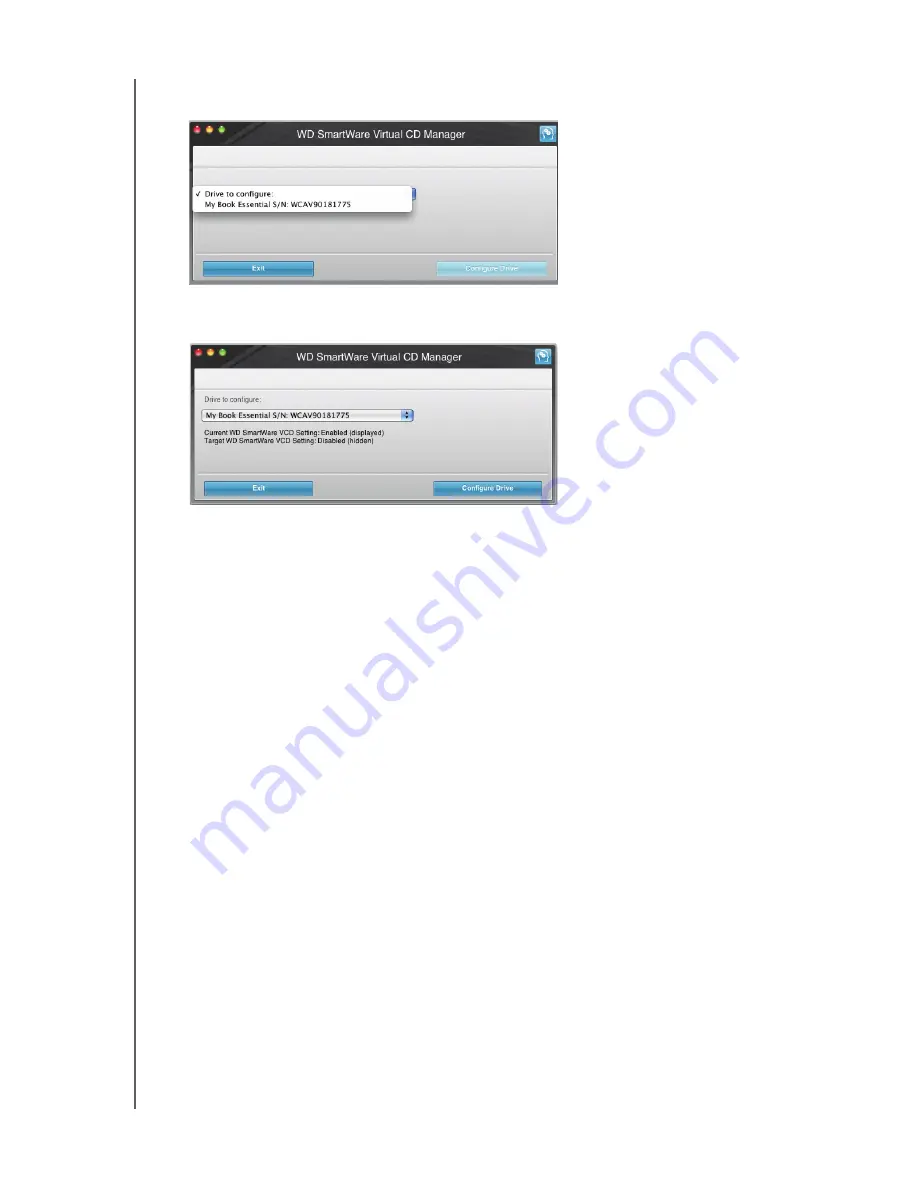
The WD SmartWare Virtual CD Manager utility locates your drives and asks you to
select the one you want to configure:
7.
Select your My Book drive, and the WD SmartWare Virtual CD Manager utility
displays its current and target VCD settings:
8.
Click
Configure Drive
to continue and, as prompted, for your change to take effect,
you must power cycle your My Book drive:
a. Disconnect the USB cable from your drive.
b. Either disconnect the AC power adapter cable or press the power button to off.
c. Wait ten seconds.
d. Either reconnect the AC power adapter cable or press the power button to on.
e. Reconnect the USB cable to your drive.
9.
Click
Exit
to close the WD SmartWare Virtual CD Manager utility and check your
desktop display to confirm the change.
10.
If you think you might later want to move your My Book drive to another computer,
show (enable) the VCD there, or install the WD SmartWare software, then use the
copy/paste or drag/drop function to copy the Virtual CD Manager folder from your
desktop to your My Book drive.
Showing the WD SmartWare Virtual CD
If you got started without installing the WD SmartWare software, hid (disabled) the
WD SmartWare virtual CD (VCD), and now want to move your My Book drive to another
computer, or install the WD SmartWare software, you might want or need to show
(enable) the VCD on the other computer. Doing this would be a simple two-click
operation from the WD SmartWare Virtual CD Settings dialog (see “Showing or Hiding
the Virtual CD Icon” on page 43). But if you have not installed the WD SmartWare
software and have hidden the VCD, it is more involved.


