


SETTING UP - 7
WD DUAL-OPTION EXTERNAL USB HARD DRIVE
USER MANUAL
Mac OS X v10.2.8+
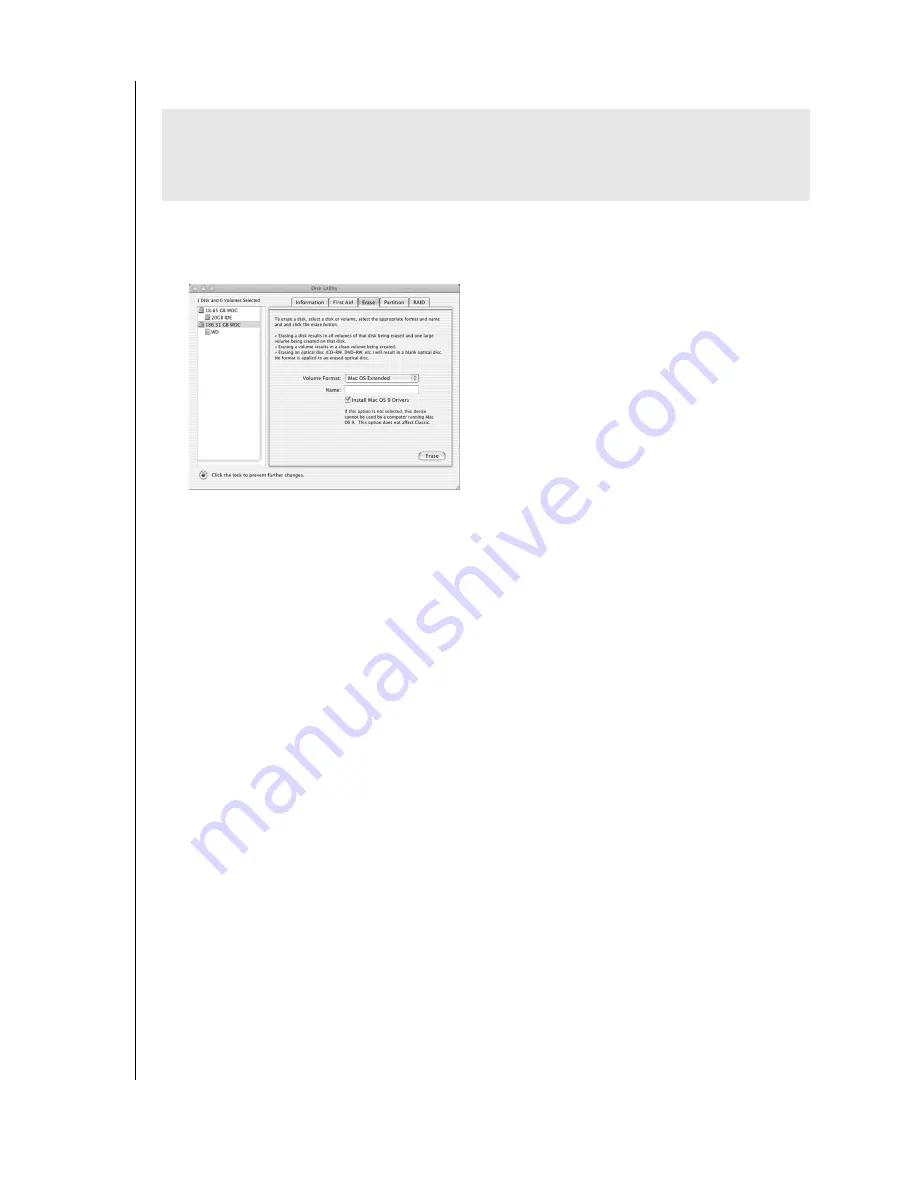
1. To format or reinitialize the drive, select
Applications
>
Utilities
>
Disk Utility
. Select
your new drive on the left panel and click on the
Erase
tab on the right. The following
window displays:
2. Select
Mac OS Extended
from the
Volume Format
menu and enter a name for your drive
in the field.
3. Click
Erase
to begin drive format. A hard drive icon with the name you assigned will
appear on the desktop after the formatting process is completed.
Note:
To partition the drive into multiple volumes for use as both a bootable backup drive
and also for general storage, select the
Partition
tab from the Disk Utility program menu
and follow the instructions to create two separate partitions. Your newly formatted drive is
ready to use.
4. Insert the installation CD into your CD-ROM drive.
Note:
For Mac OS X and later, you may need to provide your administrative password to
install Retrospect Express and all the necessary drivers for the unit.
5. A CD icon named Retrospect Express will appear on the desktop screen. Double-click on
the CD icon to access its contents. Double-click on the Retrospect Express Installer icon
to begin setup.
6. Click the button to accept the license agreement in the next window and follow the
on-screen instructions to complete the wizard. After the installation is complete, go to the
Applications
folder and launch Retrospect Express.
7. Retrospect Express will ask you to personalize your software copy. Complete the fields for
your name and organization. Accept the included license code, and click
OK
.
8. In the next screen, you will be prompted to register Retrospect Express. Select
Register
Now
to complete the registration information and click either the option to
e-mail, or print and fax the information.
9. Proceed to "Setting Up the Backup Software" on page 10.
IMPORTANT
-
Macintosh users only:
You must reinitialize the Western Digital drive to
HFS Extended format (or other Mac OS drive formats) prior to using the installation CD.
Skip to page 8 to connect the unit; then follow the steps below to format and set up the
drive.


