


WD Black² Fusion and Dual Drive Configuration for Mac
Installation Guide
SETTING UP THE WD BLACK² DRIVE
12
Configuring the WD Black
2
Drive
How you configure a WD Black² drive for use in a Mac system depends on how
much control you want over your data. You have two options.
Option 1: Creating a Mac Fusion Drive
Choose this option if you want your OS to determine which data gets placed on
the HDD and SSD. To create a Fusion Drive, see
Option 2: Creating a Dual Drive (Non-Fusion Drive)
Choose this option if you want to decide where your data goes (e.g. keep your
OS on the SSD, and your data on the HDD).
Note:
Option 2 is not recommended if you have more than 120 GB on your original
device. For example:
- Depending on the restore software used, you may not be able to exclude files to make
everything fit in the 120 GB partition.
-You may also need to re-install some software if your original hard drive image is more
than 120GB.
To create a Dual Drive, see
“Create a Dual Drive (Non-Fusion)” on page 14
.
Create a Mac Fusion Drive
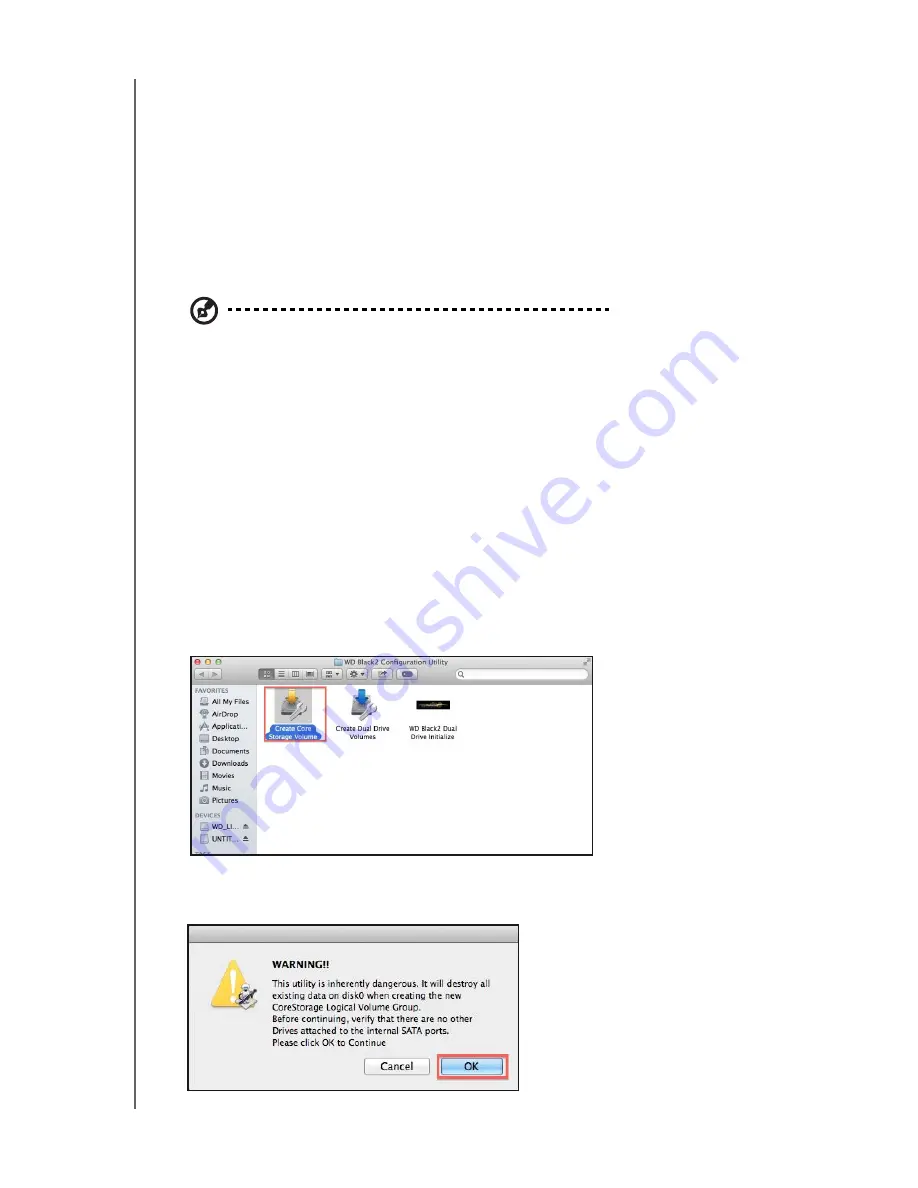
To create a Fusion drive, use the Create Core Storage Volume utility.
1. Locate the WD Black² Configuration Utility that you downloaded from the
, and unzip it on your desktop.
2. Double-click the
Create Core Storage Volume
utility. A warning message
appears.


