Enterprise IP Phone Customizing Your Phone
13
2)
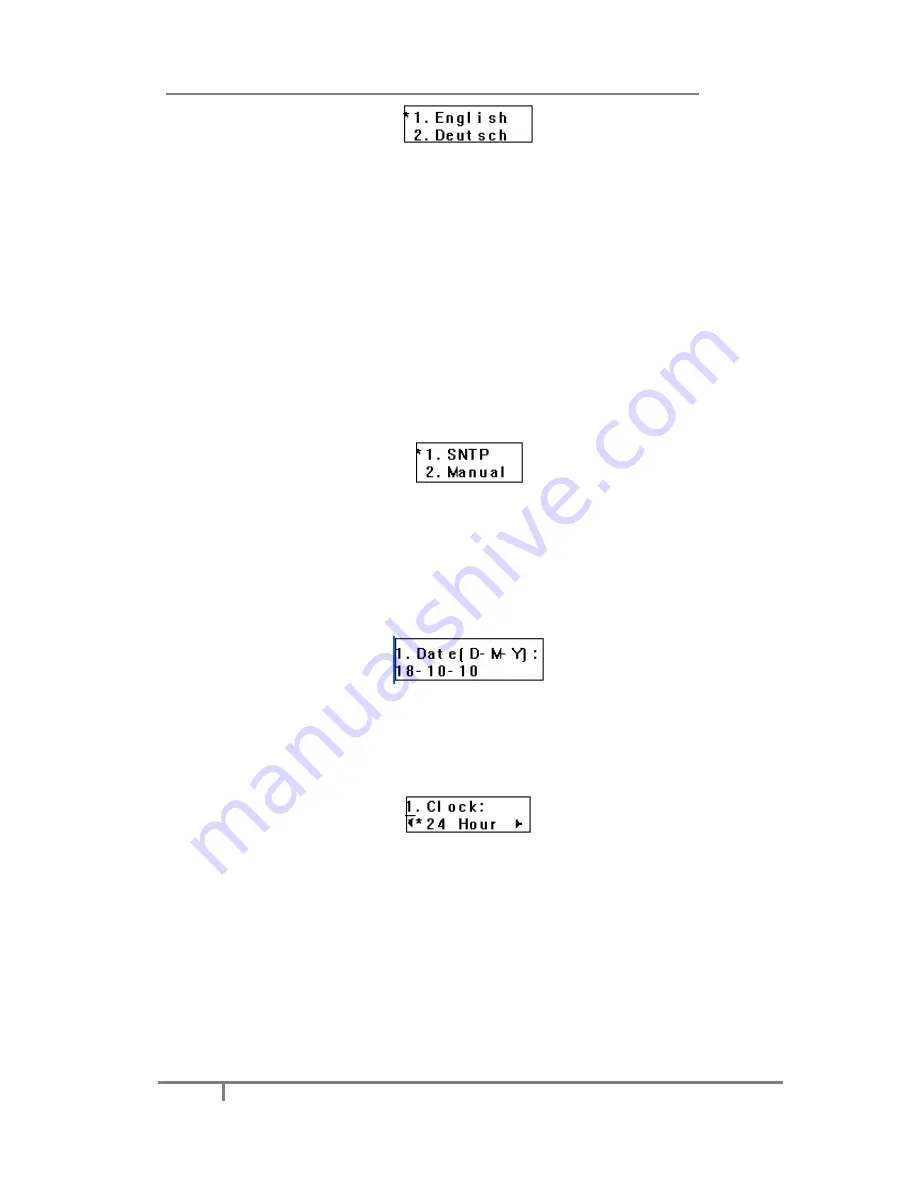
Scroll through the list of available languages.
3)
Press
OK
button when the desired language is highlighted. The language
appears on the graphic display will be changed to the one you select.
4)
Press
MENU
key to return to the previous screen.
Time and Date
The time and date appears on the idle screen of the IP phone. If the phone cannot
obtain a time and date from the call server, please contact your system administrator
if the time or date is incorrect. Users can configure the time manually or via the
SNTP server which is used to synchronize the time.
To change the Time and Date via the Phone interface:
1)
Press
Menu
->
Settings
->
Basic
->
Time & Date
.
2)
If
SNTP
is selectn, the phone will automatically get the time from the specific
NTP Server. Use the navigation keys to highlight the specific options and do the
relating changes. Users can configure the
Time Zone
,
NTP Server1
/
Server2
, and
DST
respectively.
3)
If
Manual
is selectn, the time can be configured manually. Use the
navigation
keys
to highlight the option and enter the specific date and time.
4)
Press
OK
button, the time appears on the idle screen will be changed. Or press
Menu
key to return to the previous screen.
To configure the time format via the Phone interface:
1)
Press
Menu
->
Settings
->
Basic
->
Time & Date
->
Time & Date
.
2)
Use the
Left/Right navigation keys
to select a preferred time format: 12 hour
or 24 hour.
3)
Press
OK
button to save the changes and return to the previous screen.
To change the Daylight Saving Time Settings via the Web interface:
1) Click on
Phone
->
Preference
->
Daylight Saving Time
to do the relating
changes.
2) Select
Enable
option, then users can configure the
Daylight Saving Time
.
3) Select
Automatic
. There is a table named as AutoDST.xml has been saved in the
configuration file, If the table includes daylight saving time of your time zone, it will
show the
Fixed Type
:
By Date
or
By Week
. And the daylight saving time is


