Page
9
of
16
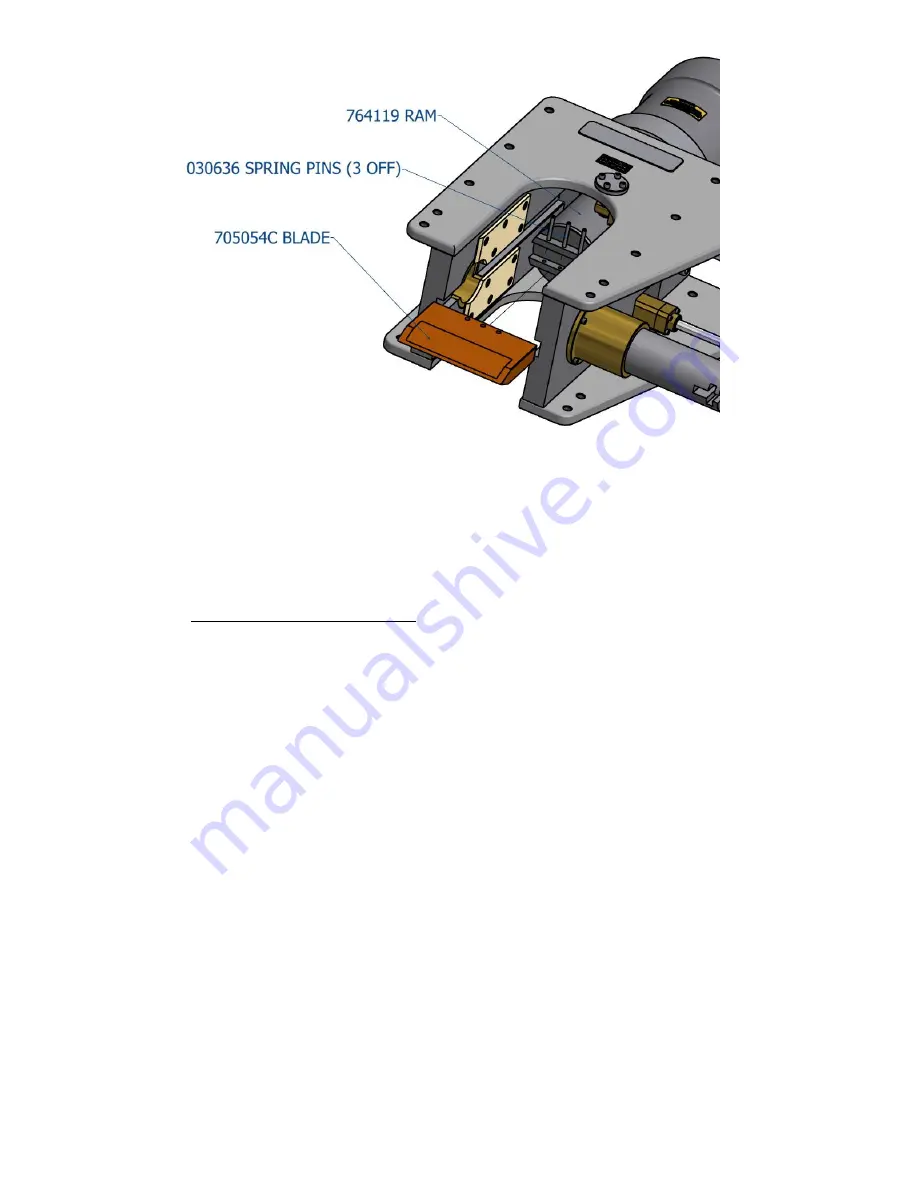
With the pins removed the blade can be taken from the cutter, gloves should be worn to
prevent cuts from any sharp edges that may be present on the blade after use.
Re-assembly is the reverse of the above process.
9.
REMOVAL OF THE MAIN CYLINDER
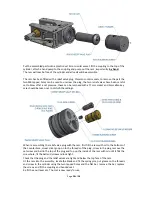
If it is necessary to renew the hydraulic seals, the cylinder must be removed from the tool. As an
aid to this, 2 off tapped holes are provided in the cylinder end face. These are M8 x10 deep on
120mm centres.
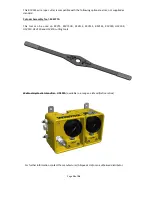
A cylinder assembly tool is available if required part number SK4377A.
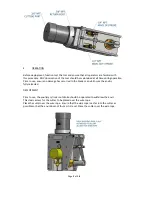
First, remove the anvil as described above in section 7, pump out the ram and remove the
blade, again as described above in section 8.
To use the holes in the top of the cylinder first remove the coupling, then the blanking screws
035114 and fasten a piece of flat bar, typically 30x10mm section and 900mm long centrally to
the top of the cylinder. This can be used to loosen or re-tighten the cylinder. Do not use Stilsons
to remove the cylinder as damage will occur.
Unscrew the cylinder 728081 and remove from the assembly, it will come free but still attached
will be the ram 764119.


