


18
In many areas, the GO G41 will only find a single band to boost. You can see this under the
Activity tab: one of the GO G41’s radios will say Boosting and the other will remain Scanning. If
that’s the case, there’s only a single band available for the GO G41 to amplify.
However, in some areas, your GO G41 may find two bands. If that’s the case, you may be able
to optimize your data rates by manually testing different bands.
Here are the steps we recommend following:
1. Discover all available bands
There may actually be more than 2 bands available outdoors. The GO G41 will attempt to
boost the best two available, but sometimes data rates may be better on other bands. If you
manually disable the first two bands that the GO G41 has selected, you can force the GO G41
to scan and show you what other bands are available.
2. Test each band individually, then together
When your phone detects multiple bands, it will attempt to “carrier aggregate” and connect on
multiple bands simultaneously. Unfortunately, carrier aggregation isn’t perfect - sometimes it
works well, but in other cases, it can actually decrease your data rates.
To get the absolutely best data rates, you can try running speed
tests with the GO G41 amplifying each band individually, and
then testing different combinations of bands.
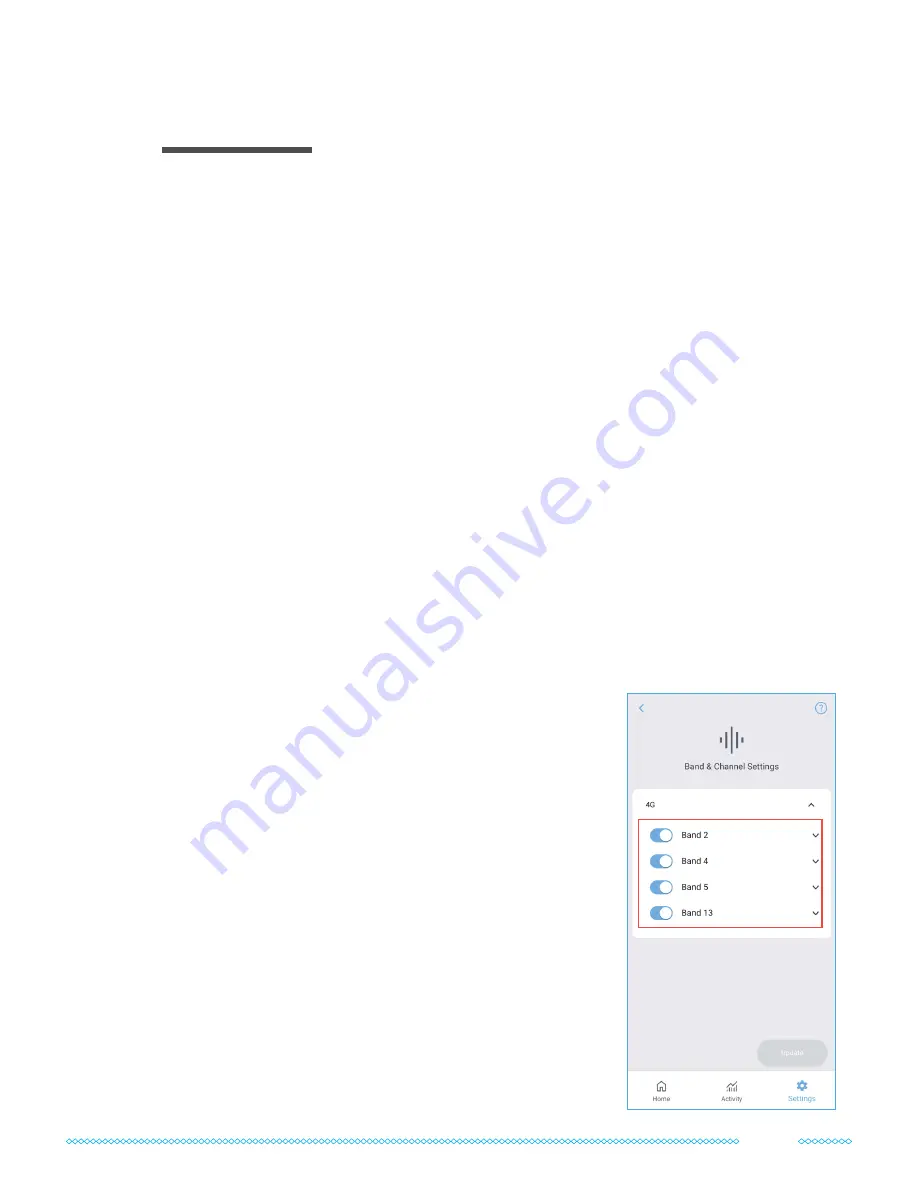
How to disable and enable bands
You can disable and enable bands under the “Band & Channel
Settings” dropdown in the settings tab of the Wave app.
Each time you enable or disable a band,
the GO G41 will rescan
to find signal
. It can take a minute or two until the GO G41 finds
and starts boosting signal again.
After the GO G41 starts amplifying a new band,
toggle on
airplane mode on your phone for a few moments, then turn
it off again
. This will force your phone to connect to the newly
boosted band before you run a speed test.
Optional: Test Band Combinations
11


