- 3 -
Before Switching on your TV
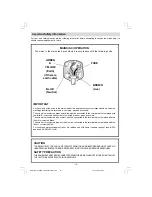
Power connection
IMPORTANT:
The TV set is designed to operate on
230-240V AC, 50Hz.
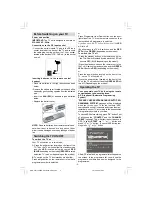
Connections to the RF input socket
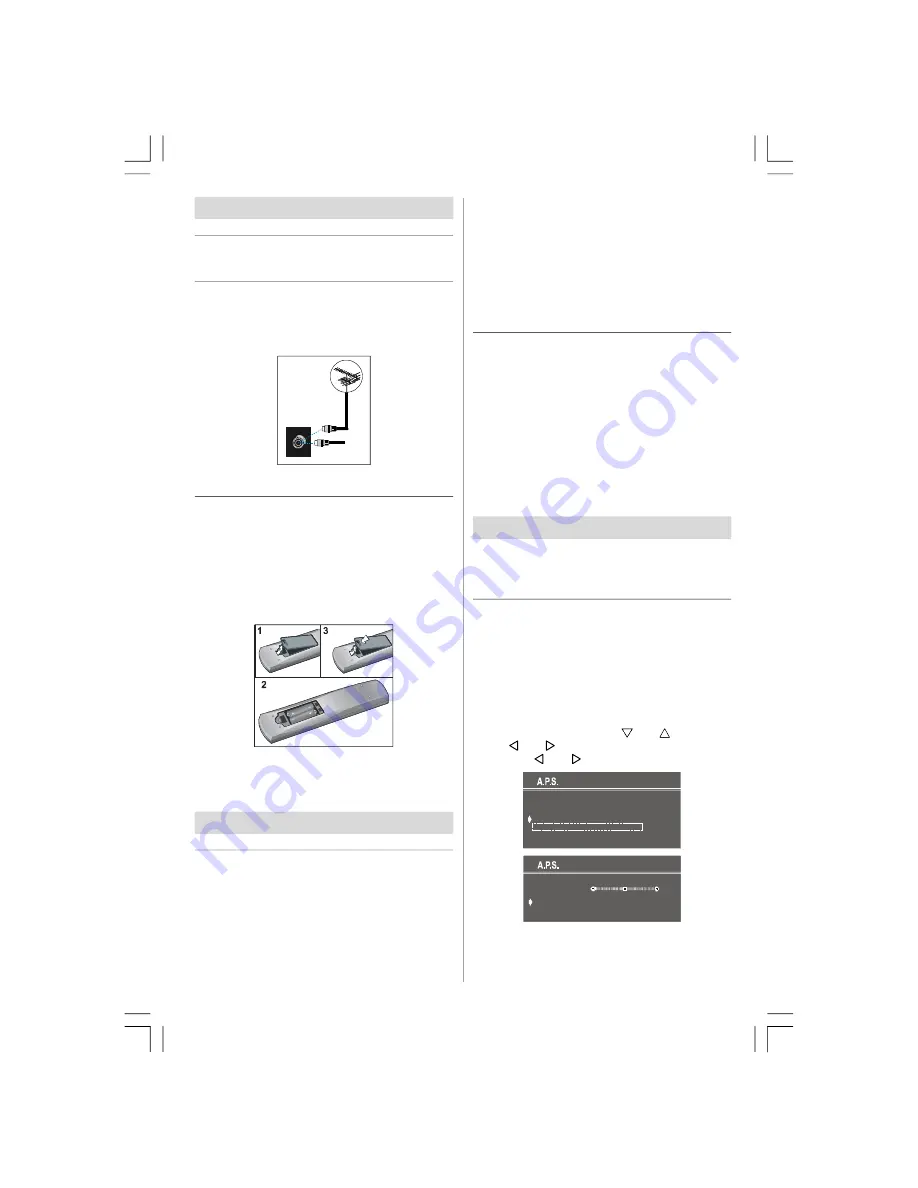
• Connect the aerial or cable TV plug to the RF input
socket located at the back of the TV and connect
the cable plug coming out from the TV out socket
located at the devices (VCR, DVB etc.) to this socket
as well.
VHF/UHF
75
TV REAR PANEL
CABLE TV
Inserting batteries in the remote control
handset
• Place the batteries in the right directions as seen
below.
• Remove the battery cover located on the back of the
handset by gently pulling upwards from the indicated
part.
• Insert two
AAA (R03)
or equivalent type batteries
inside.
• Replace the battery cover.
NOTE:
Remove batteries from remote control hand-
set when it is not to be used for a long period. Other-
wise it can be damaged due to any leakage of batter-
ies.
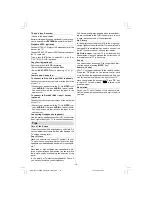
Switching the TV ON/OFF
To switch the TV on
Your TV will switch on in two steps:
1-
Press the power button located on the front of the
TV. Then the TV switches itself to standby mode
and the
LED
located below becomes
RED
(BLUE
;depending on the model
) (RED LED
located
below the TV turns on (depending on the model)).
2-
To switch on the TV from standby mode either:
Press a digit button on the remote control so that a
programme number is selected,
or,
Press Programme Up or Down buttons on the front/
right side of the TV or on the remote control, so that
last switched off programme is selected.
By either ways the TV will switch on and the
LED
will turn off.
(By either ways the TV will switch on and the
RED
LED
will turn
GREEN
(depending on the model)).
To switch the TV off
• Press the standby button on the remote control, so
the TV will switch to standby mode and the LED will
become RED (BLUE (depending on the model)),
(Press the standby button on the remote control, so
the TV will switch to standby mode and the
GREEN
LED
will become
RED,
(depending on the model))
or,
Press the power button located on the front of the
TV, so the TV will switch off.
(Press the power button located on the front of the
TV, so the TV will switch off and the
GREEN LED
will
turn off. (Depending on the model))
Operating the TV
You can operate your TV both using the remote
control handset and onset buttons.
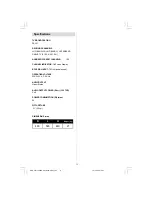
A.P.S. (optional) (Automatic Programming
System)
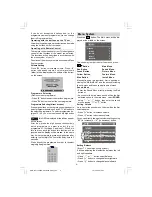
"
PLEASE, CHECK ANTENNA CABLE. AUTO PRO-
GRAMMING SYSTEM
" message will be displayed
when you turn on your TV for the first time. APS,
searches and sorts all channels and stores them au-
tomatically on your TV, according to the transmission
of programme systems in your area.
To cancel APS before starting, press “
TV
” button. First
of all choose the “
COUNTRY
” and the “
CHANNEL
TABLE
” (optional). This, will effect the sort process in
APS. To select “
START
” use “
” or “
” button and
press “ ” or “ ” button. To cancel APS during run-
ning press “ ” or “ ” button.
PLEASE CHECK ANTENNA CABLE
AUTO. PROGRAMMING SYSTEM
COUNTRY
CHANNEL TABLE
STANDARD
START
D
WEST EUROPE
I
(O
p
ti
o
n
al
)
A.P.S. IS RUNNING
P 07 C12
CANCEL
After APS is finalized, a programme list will appear on
the screen. In the programme list you will see the
programme numbers and names assigned to the
programmes.
ENG-2151-1243UK-AK30-T3X-COST.p65
15.10.2008, 15:03
3


