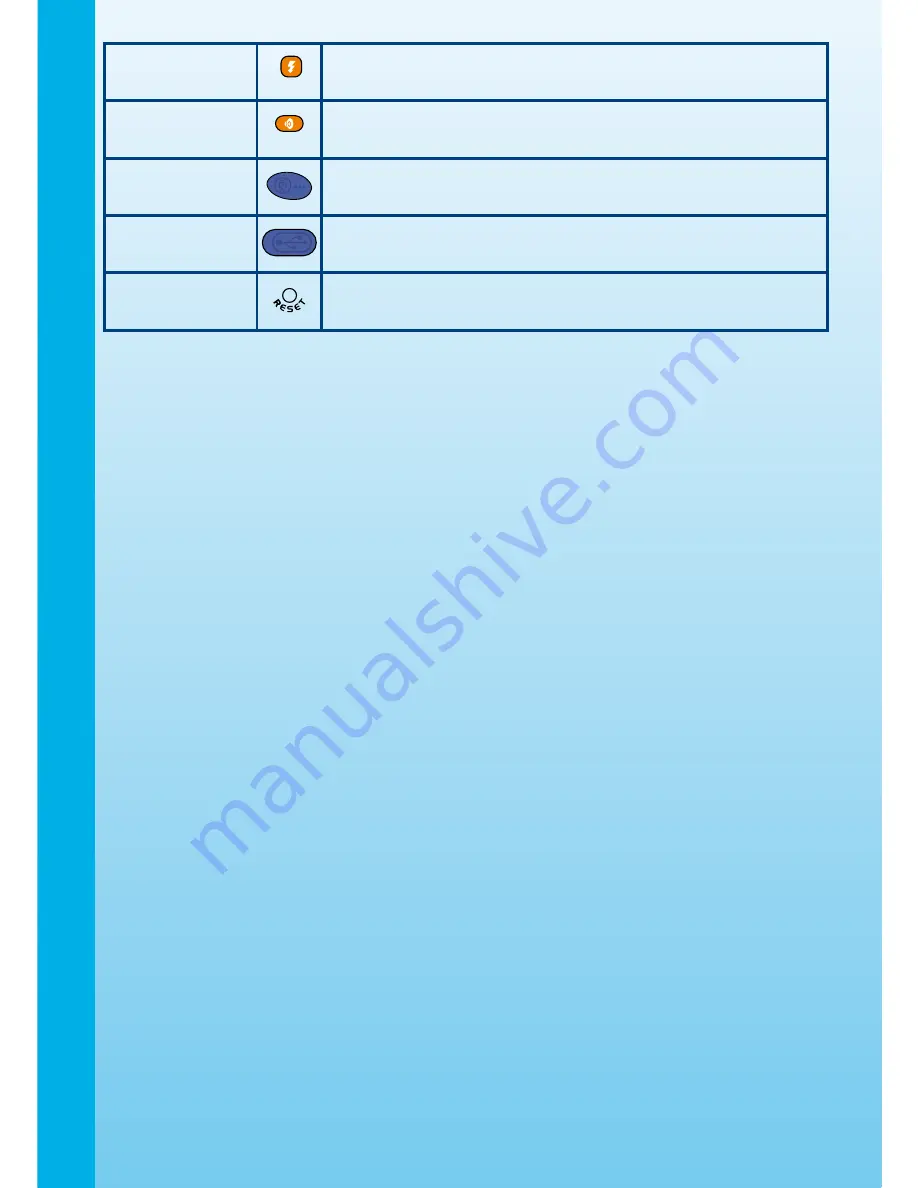
VTech Kidizoom Plus User Manual Download Page 4

Flash Button

Press this button to switch between Auto-flash, Strong 

Flash On, Weak Flash On, and Flash Off.

Volume Button

Press the volume button and the Left and Right Cursor 

Buttons to adjust the volume.

A/V Port

Plug the included A/V cable into the A/V port on the 

camera to connect to your TV.

USB Port

Plug the included USB cable into the USB port on the 

camera to connect to your PC.

Reset Button 

Press this button to reset the camera if it stops working 

properly.

INCLUDED  IN  THIS  PACKAGE

• 1 

VTech

®

 Kidizoom Plus

TM

• 1 CD-ROM with 

Kidizoom Plus

TM

 Photo Editor

• 1 A/V cable
• 1 USB cable
• 1 user’s manual
• 1 wrist strap

WARNING: All packing materials such as tape, plastic sheets, wire ties and tags are 

not part of this toy, and should be discarded for your child’s safety.

PRODUCT  SPECIFICATIONS

Display:

1.8”  color  LCD  screen

Picture Resolution:

Photo:  1600x1200  (2.0  megapixel  resolution)  or  640x480  (0.3  megapixel  resolution)
Video:  320x240

Focus Range: 

1.5 feet - ∞

Zoom: 

2x digital zoom

Flash Range: 

3 - 6 feet 

Memory:

256MB built-in memory (approximately 180MB free memory for photo/video storage)
Store up to 500 photos in 2.0 megapixel resolution (photo size = 1600x1200 resolution in 

JPEG format), or up to 2000 photos in 0.3 mega pixel resolution (photo size = 640x480 

resolution in JPEG format)
Record up to 8 minutes of video (video size = 320x240 resolution in Motion JPEG format)

Kidizoom  Plus

TM

  supports  both  normal  SD  and  SDHC  memory  cards  with  a  memory 

size  of  32MB  to  16GB.  SD  memory  cards  with  memory  size  of  less  than  32MB  are  not 

supported. SD memory cards 1GB and larger are recommended.

Introduction

Summary of Contents for Kidizoom Plus

Page 1: ...User s Manual ...

Page 2: ......

Page 3: ...s or emailing them to family and friends PRODUCT FEATURES Product Layout ON OFF Button Press this button to turn the camera ON or OFF Activity Selector Dial Turn the Activity Selector Dial to choose different activities Menu Button Press this button to select different functions or to move back one level in the activity menus 4 Directional Cursor Buttons Press these buttons to move the cursor and ...

Page 4: ...s are not part of this toy and should be discarded for your child s safety PRODUCT SPECIFICATIONS Display 1 8 color LCD screen Picture Resolution Photo 1600x1200 2 0 megapixel resolution or 640x480 0 3 megapixel resolution Video 320x240 Focus Range 1 5 feet Zoom 2x digital zoom Flash Range 3 6 feet Memory 256MB built in memory approximately 180MB free memory for photo video storage Store up to 500...

Page 5: ... recommended for maximum performance Replace the battery covers and tighten the screws Do not over tighten the screws Note If your Kidizoom PlusTM is not working properly after the batteries have been replaced press the Reset Button and then turn the camera back on BATTERY NOTICE Install batteries correctly observing the polarity signs to avoid leakage Do not mix old and new batteries Do not mix b...

Page 6: ...l up the rubber cover Insert the SD memory card not included as illustrated below Put the rubber cover back in place to protect the SD memory card TO BEGIN USING KIDIZOOm PLUSTM Press the ON OFF Button to turn on the camera If it is the first time that you are turning on the Kidizoom PlusTM the Try me demo movie will start playing Press the OK Button during the movie to exit the Try me demo mode T...

Page 7: ...e ON OFF button Connecting to a TV Note Before connecting your Kidizoom PlusTM to a TV check to make sure that the camera is working properly Connect your Kidizoom PlusTM to a TV or monitor using the included A V cable Insert the A V cord into the A V port on your Kidizoom PlusTM Insert the colored plugs on the A V cable into the matching color video and audio input ports on your TV set Connecting...

Page 8: ...h On and Flash Off Warning Turn off the Auto flash when taking a close up photo of a person s or animal s face to avoid eye damage Note If the batteries are too weak the Auto flash feature may not be available and the camera will show this icon You can also choose to add different photo frames stamps and Funny Face effects to your pictures Press the Left or Right Cursor Buttons to choose an option...

Page 9: ...n to Movies mode press the Shutter Button once Movies taken by Kidizoom PlusTM will be saved in the folder VIDEO in the internal memory or on an SD card not included if one is inserted into the camera If you wish to download movies to your Kidizoom PlusTM please save them to the folder DOWNLOAD VIDEO in the internal memory or to an SD memory card not included if one is inserted in the camera Note ...

Page 10: ...s in the Photo Editor or use Voice Photo to record voice messages to add to photos 5 1 Photo Editor In Photo Editor you can add photo frames stamps Funny Face effects and cool distortion and kaleidoscope effects to a photo Press the Left or Right buttons to choose a picture Press the Left and Right Buttons again to choose one of the below functions and then press the OK Button to begin Press the M...

Page 11: ...ss the Left and Right Buttons to select a setting Language Memory Manager Flickering A Resolution Press the Up and Down Buttons to select the resolution for your photos 2 0 Megapixel high resolution or 0 3 Megapixel standard resolution B Language Press the Up and Down Buttons to select a language and then press the OK Button to confirm your choice C Memory Manager You can see the status of the cam...

Page 12: ...Please backup any data on your Kidizoom PlusTM before you start the restorer program Note the Kidizoom PlusTM Restorer is to be used to restore the Kidizoom PlusTM camera ONLY Do not use this restorer program on any other models of VTech cameras Minimum Hardware Requirements of CD ROM Installation Pentium 4 1 GHz or above 1024x768 24 bit Graphics Card Windows 2000 SP3 XP Vista Mac OS X 10 4 or abo...

Page 13: ...e ON OFF button to turn it on 2 Make sure the camera is not connected to a TV with the A V cable 3 Make sure the camera is not in power saving mode Press the ON OFF button to turn it on There is no picture on the TV screen 1 Make sure that there are batteries in the camera and that the TV and VCR if using are plugged into power outlets 2 Make sure that the camera is turned ON and the TV and VCR if...

Page 14: ...the TV If you have a problem that cannot be solved by using this manual we encourage you to visit us online or contact our Customer Services Department with any problems and or suggestions that you might have A support representative will be happy to assist you Before requesting support please be ready to provide or include the information below The name of your product or model number the model n...

Page 15: ...uipment generates uses and can radiate radio frequency energy and if not installed and used in accordance with the instructions may cause harmful interference to radio communications However there is no guarantee that interference will not occur in a particular installation If this equipment does cause harmful interference to radio or television reception which can be determined by turning the equ...

Page 16: ...f your computer meets these OS requirements and is still looking for a driver please contact your PC manufacturer for further assistance For earlier operating systems that do not support mass storage a system upgrade or mass storage device driver may be available Again please check with your PC manufacturer Question 4 The pictures I take aren t matching what I see when I look through the viewfinde...

Page 17: ...s sometimes grainy and fuzzy Is there anything I can do to improve the picture quality Answer In a poorly lit environment the frame rate shutter speed drops to allow for a longer exposure time The downside of this is that any movement in the frame or of the hand holding the camera can result in greater blur Furthermore the camera sensor will soften the edges in low light to counteract the darkness...

Page 18: ...re or change the flash setting to off You can change the flash settings in camera mode by pressing the delete button Please see the Flash section above on page 2 for more details Question 15 When connecting the camera to the USB port I get the message USB device not recognized one of the USB devices attached to this computer has malfunctioned and Windows does not recognize it I am running Windows ...

Page 19: ...dialog box that you can use to locate the image file you want to edit The icon is located at the top left corner Click on it and it will have a standard Windows file open dialog box All you need to do is locate the image file you wish to edit with the Photo Editor Question 18 When I try to take pictures outdoors the screen just shows white as if the camera is getting too much light Is there any wa...

Page 20: ... 2009 VTech Printed in China 91 002381 004 000 ...

Reviews: