Vook VDT23xxME-BH Quick Start Manual Download Page 7

4/8/16-CH DVR Quick Start Guide 

5


point  of  time,  if  there  is  live  image  display  without  menu  options

please  check  if  there  is 

display  on  other  device/monitor,  or  long  press  Stop/ESC  key  to  wait  for  login  dialog  box  to 

appear. Long press Stop/ESC key can switch the output between BNC and VGA/HDMI.


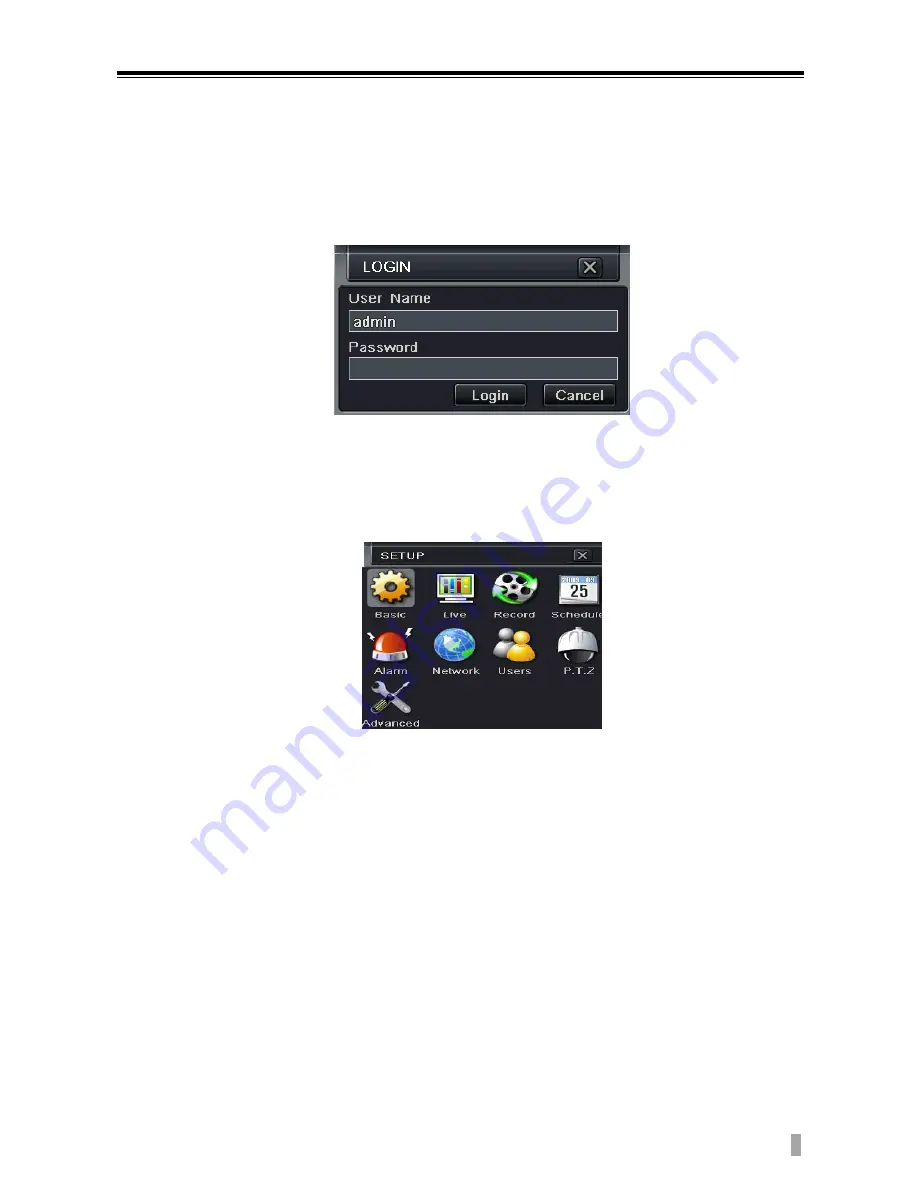
Press the MENU button which will bring the LOGIN dialogue box and enter the user 
name: admin and password: 123456. 


6.


  Main menu setup   

Click right mouse, or press ENTER button on the front panel to enter into the main 
menu. Then click Setup to enter into Setup interface as shown below. 


Basic configuration:

 Users can set video system, menu language, audio, time and 

authorization check. 

Live configuration

Users can set name/time display, picture color and hide 

cameras. 

Record configuration

Users can set record quality, frame rate, resolution, time 

stamp and recycle. 

Schedule configuration

: Users can set schedule for timer, motion detection, and 

sensor alarm respectively. 

Alarm configuration:

 Users can set sensor type, alarm trigger and buzzer alarm. 

Network configuration:

 Users enable network function, and configure IP address, 

DDNS, transmission video parameters here. 

User configuration:

 Administrator can add, delete users, and change their 

authorization 

PTZ configuration:

 Users can set protocol, baud rate, address, presets and auto 

VOOK

Summary of Contents for VDT23xxME-BH

Page 1: ...QUICK START GUIDE VDT23xxME BH VOOK...

Page 2: ...VOOK...

Page 3: ...ice 1 For the convenience to install please connect the power and data cables firstly and then screw to fix 2 Rear Panel Instruction Rear Panel Instruction for 4 CH 1 Grounding 8 Connect USB mouse or...

Page 4: ...utput 7 Network port 14 Connect to monitor as an AUX output channel by channel Video would be displayed without OSD Rear Panel Instruction for 16 CH 1 Grounding 8 Connect USB mouse or connect external...

Page 5: ...p a shutdown window The unit will shut down by clicking OK button Step 2 Disconnect the power By mouse Step 1 Enter into Menu and select Shut Down icon This will take you to a shutdown window Step 2 C...

Page 6: ...er the value is the clearer the recorded picture is Of course more space of HDD will be taken up Click Next button This will take you to the HDD management window You can check your HDD information th...

Page 7: ...ace as shown below Basic configuration Users can set video system menu language audio time and authorization check Live configuration Users can set name time display picture color and hide cameras Rec...

Page 8: ...k REC button on the tool bar with mouse Click it again to stop 7 2 Schedule Recording To Setup Schedule Recording Step 1 Enter into Menu Setup Schedule tab Refer to the following picture Step 2 Click...

Page 9: ...Area to set Sensitivity and Detection area Left click the grid and drag to delete the area Drag again to add area You can drag slide bar to set the sensitivity value 1 8 The higher the value is the mo...

Page 10: ...nu Setup Alarm Sensor Basic tab as shown below Step 3 Enable sensor alarm Please specify to channel select senor type and click Apply to save settings Step 4 Enter into Menu Setup Alarm Sensor Schedul...

Page 11: ...side and press Search button A date with highlighted borderline indicates presence of data Step 3 Set the start time by clicking a particular grid or by entering the specific value in the start time f...

Page 12: ...item to play the record 8 4 Playback by Image Search Step 1 Enter into Menu Search Image tab Step 2 Select data and channels on the right hand side Step 3 Press Search button to search for a recorded...

Page 13: ...ackup information interface user can check the relevant options for backing up files These options include storage Media backup player and save file type Then click Start button to start backup 10 Rem...

Page 14: ...router he can skip this step Please refer to the relevant chapter for more details Open IE browser input IP address or dynamic domain name and enter If HTTP port is not 80 add the port number after IP...

Reviews: