To finish installing a water-cooled freezer, proceed to
Step 7 Running product and setting pressures
for the custard freezer
.
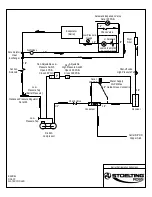
4) Connect the refrigeration lines from the line sets to the freezer. Access the freezer from the left or
right service panel. The refrigeration system has a charge of dry nitrogen. Use caution when connecting
the lines. Connect the suction line first then connect the liquid line. Run the refrigeration lines under the
freezer. There is approximately 6” of clearance between freezer and the floor. The stainless steel legs are
adjustable and can raise the freezer up to 7” off the floor if necessary. Wrap the suction solenoid in a
cold wet rag when soldering to prevent damage to the solenoid. Also, be aware of the electrical conduit
inside custard freezer while soldering the refrigeration lines. A liquid line dryer is supplied with the
freezer and should be the last connection made in the system. Use good piping techniques to keep the
system clean. Do not leave the lines open and exposed for a long period.
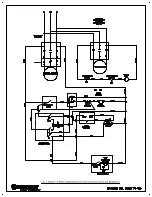
5) After finishing the refrigeration connections, connect power to the freezer. Refer to
Step 2 Running
Electrical Lines
for the proper procedures. Check the rotation of the beater shaft. When looking at the
freezer from the front, the shaft needs to turn counterclockwise. If the shaft is turning the wrong
direction on a three phase freezer, shut off power to the cylinder and switch the L1 and L3 wires. Check
rotation again to verify the shaft is rotating counterclockwise. Once verified, tighten the screws on the
electrical box cover. *If the freezer is single phase and the beater shaft rotation is clockwise, then
complete one of the following procedures. Check rotation after each procedure.
A) Change programming on variable speed drive to reverse motor.
B) Change the T1 and T3 output leads going to the motor from the drive.
C) Change the leads inside the motor electrical box.
6) Check the refrigeration systems for leaks. When pressurizing the system, turn the refrigeration switch
to hold position to energize the suction solenoid. Also, make sure that the shut off valves are open on the
remote condensing unit. Check the refrigeration system with 300 psi of nitrogen. Make sure the system
will hold the pressure for a minimum of 2 hours.
7) After the leak check, connect a vacuum pump to the system and evacuate it to 500 microns for a
minimum of 1 hour. Make sure the suction solenoid and the shut off valves on the condensing unit are
opened. Perform a standing vacuum test. If the vacuum deteriorates and continues to rise there is a leak.
Find it, repair it, and repeat the evacuation procedure until the freezer passes a standing vacuum test.
While the refrigeration system is under a vacuum, insulate the suction line. Insulation is needed up to the
shut off valve on the condensing unit. Use 3/8” tube insulation or insulation required by local code.
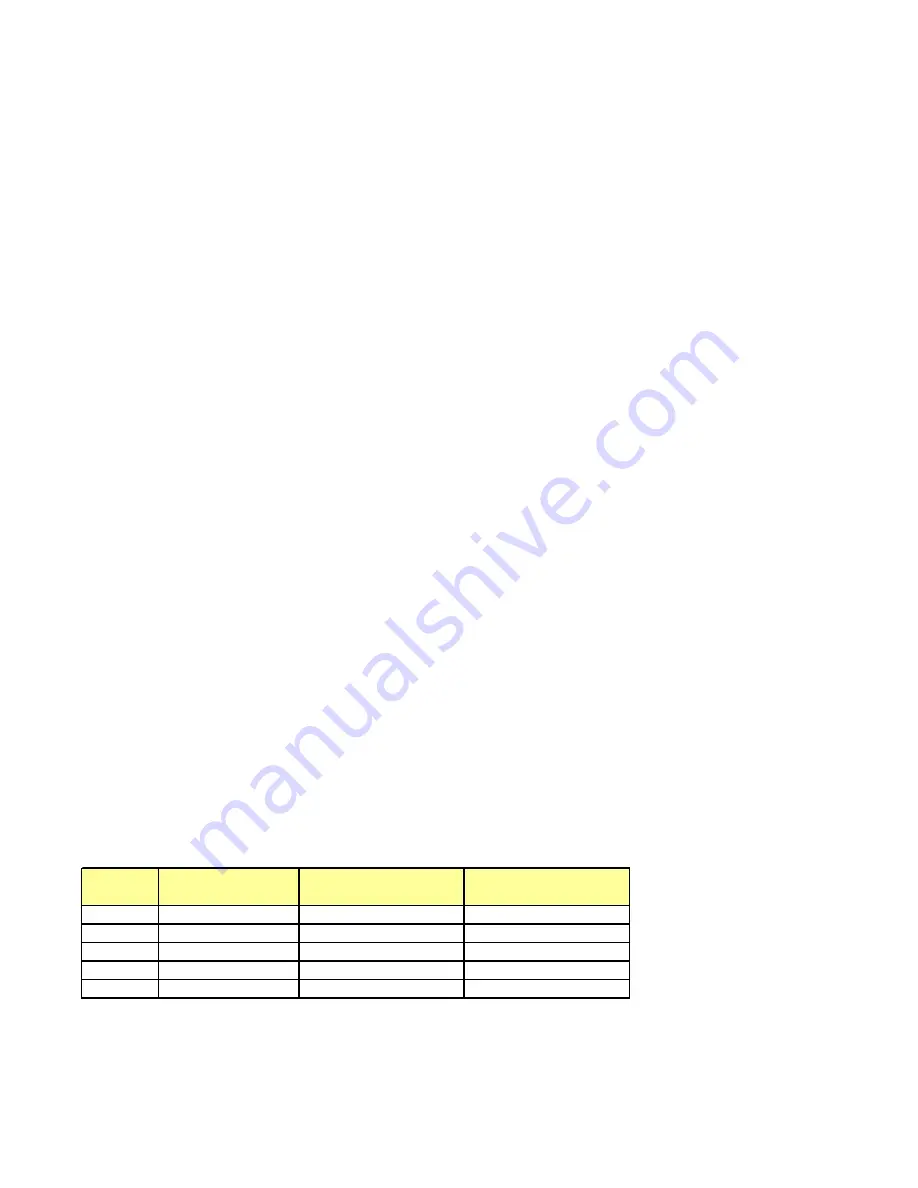
8) Use good refrigeration practices to charge the system with the required charge (see below). Make sure
the suction solenoid is energized and that the shut off valves are open.
Model
Hopper Charge
Air-Cooled
Charge per cylinder
Water-Cooled
Charge per cylinder
CC101
16 oz of R-134a
24 lbs of R-404a
10 lbs of R-404a
CC202
18 oz of R-134a
24 lbs of R-404a
10 lbs of R-404a
CC303
19 oz of R-134a
24 lbs of R-404a
10 lbs of R-404a
CC404
20 oz of R-134a
24 lbs of R-404a
10 lbs of R-404a
M202
N/A
20 lbs of R-404a
8 lbs of R-404a
*Air-cooled freezers do not ship with refrigerant and require refrigerant to be supplied on site. Water-
cooled freezers are factory charged. The hoppers for air-cooled and water-cooled freezers are factory
charged.
*The charge for air-cooled freezers is sufficient for up to a 50 ft. line set. If the line set is longer, add 1
lb. of refrigerant for every 10 ft. of additional line (up to 150 ft. total).
Summary of Contents for Stoelting CC101A
Page 1: ...Model CC101A OPERATORS MANUAL Manual No 513616 Rev 6 ...
Page 2: ......
Page 14: ......
Page 16: ...001 1332808 2 ...
Page 26: ......
Page 30: ......
Page 32: ......
Page 36: ......
Page 37: ......
Page 38: ......

