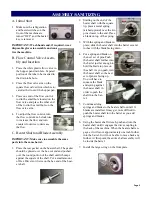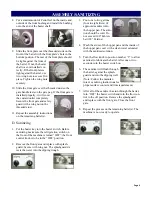
4) Using ratchet with a 1/2” socket, remove the two lag bolts that secure the condensing unit to the
pallet.
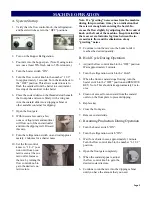
5) Place the condensing units on 4” x 4” treated wood or similar material so that the units are not sitting
directly on the ground or the roof. Secure the condensing units to the 4” x 4” using lag bolts. Adhere to
all local, state, and federal codes governing this type of installation. Some areas have specific
“hurricane-proof” requirements for roof installations. Allow at least 2 feet of clearance on the air intake
and discharge sides of the condensers. Do not set the condensers so that one is blowing air directly into
the other condensing unit. The ideal set up is to have all the condensing units set in a row. See example
diagram.
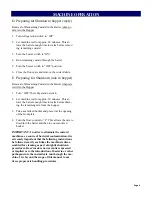
6) Use an Allen wrench to open the shut off valves and release some of the nitrogen charge in the
condensing unit. The shut off valves are located on the outside of the condensing unit. If no nitrogen is
present then the unit needs to be leak checked prior to connecting the refrigeration lines.
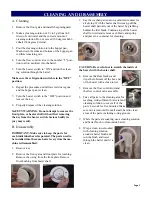
7) Braze the suction line and liquid line from the line sets to the condensing unit. When brazing,
wrap
the shut off valve with a cold wet rag and make sure that the valve is fully open. If valve is not wrapped,
damage to the valve may result. When installing the suction line, angle it towards the condensing unit so
that oil can flow back towards the compressor.
8) Use good piping practices. Keep pipes as clean as possible. Do not let any debris or copper shavings
get inside system otherwise the refrigeration valves may not work properly.
Example:
Remote air-cooled Condensers typical install.
Direction of airflow viewed from top down.
Summary of Contents for Stoelting CC101A
Page 1: ...Model CC101A OPERATORS MANUAL Manual No 513616 Rev 6 ...
Page 2: ......
Page 14: ......
Page 16: ...001 1332808 2 ...
Page 26: ......
Page 30: ......
Page 32: ......
Page 36: ......
Page 37: ......
Page 38: ......

