background image

15

Media playback 

and other functions Cont...

PLAY MENU

ROOT

ROOT

ROOT

SNATCH DVD

3.0

4.0
5.0

JPEG FILE 2

JPEG FILE 1

JPEG FILE 3

JPEG FILE 4

DVD

FILE NAME

JPEG

JPEG format

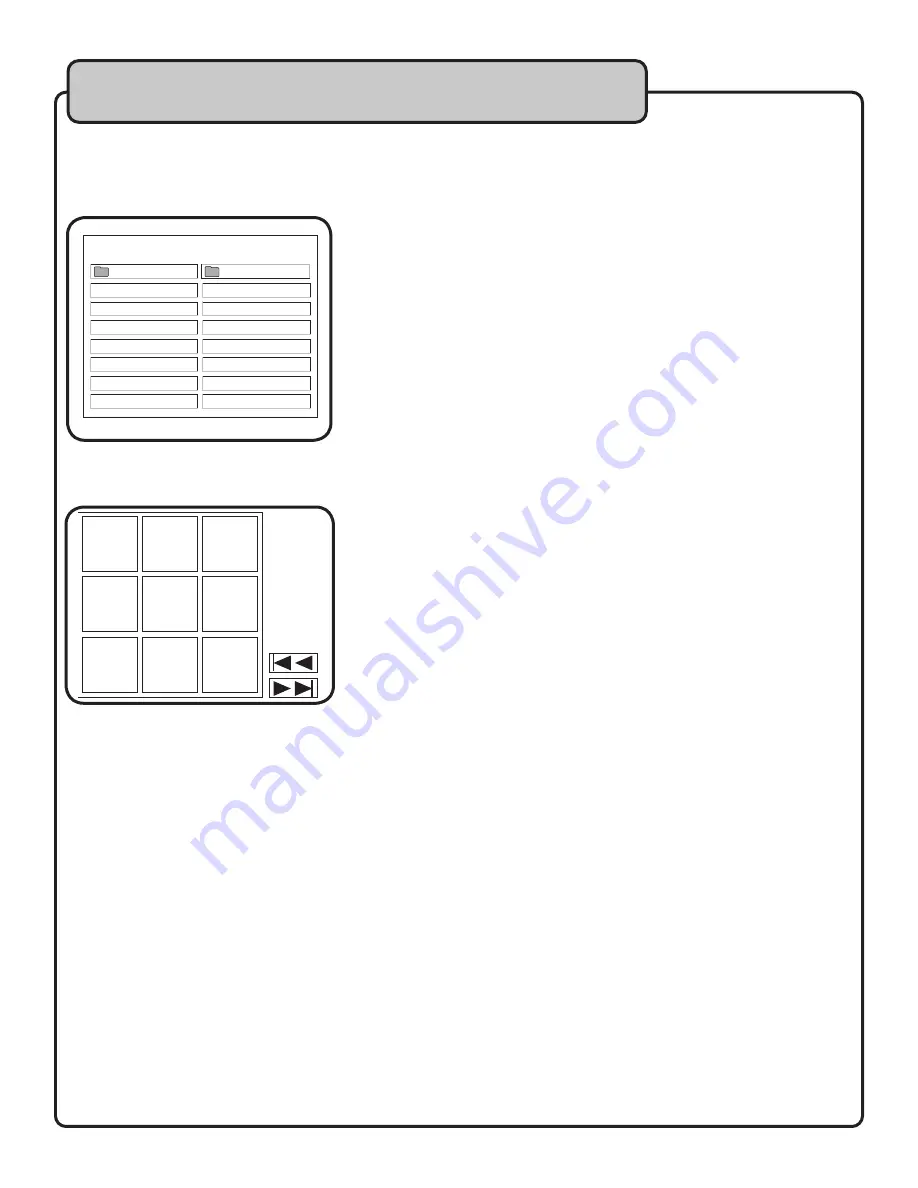
1. When you have selected the JPEG folder from the PLAY MENU, 

using the DIRECTION KEYS, choose the file name you want to cue for 

view and press ENTER or PLAY.  You can also use the NUMBER PAD 

on the remote control to input a specific file number

2. Use the PHOTO DIGEST button to show the MEDIA-JUKEBOX’s photo 

folder navigator.  While viewing jpeg files, the MEDIA-JUKEBOX will de-

fault to displaying a full screen of each image one at a time for several 

seconds each.  To select a particular file from which to start viewing, 

press PHOTO DIGEST and a display will show 9 thumbnails per page for 

selection.  

3. Use the DIRECTION KEYS to navigate through the Photo Digest and 

press ENTER when your desired image is highlighted.  

Use the ( l<< and >>l ) icons and ENTER to scroll forward or backwards 

to additional pages.  Starting with whichever image you select, a jpeg 

slideshow will “play,” displaying each image for several seconds.

4. To rotate the photos while viewing, use the DIRECTION KEYS on your 

remote.

5. While a JPEG slideshow is playing, you can use the 

NEXT

 and 

PREV


buttons on your remote control to navigate through photo files

6. Press STOP to end photo viewing and return to the PLAY MENU.

JPEG

JPEG

JPEG

JPEG

JPEG

JPEG

JPEG

JPEG

JPEG

Summary of Contents for MEDIA-JUKEBOX

Page 1: ...DVD VCD MP3 and Photo CD for playback to any system USB 2 0 connection for ultra fast file transfer Built in Digital Key Controller for professional style Karaoke 40 GIG hard drive stores a huge library of A V files Hard drive output eliminates skipping Unique Reserve function allows you to cue up to 20 tracks for program while current track is playing Firmware hard drive are upgradable Super small ...

Page 2: ...ing for a lifetime 5 Welcome 6 Before getting started 7 Getting connected 8 Disconnecting USB cable 8 Panel descriptions 9 Remote control descriptions and functions 10 11 Remote control battery instalation and use 12 Media playback and other functions 13 15 Setting Preferences 16 Karaoke 17 Specifications 18 ...

Page 3: ...Keep it in a safe place for future reference 2 Install your unit in a cool dry clean place away from windows heat sources and too much vibration dust moisture or cold Avoid sources of hum transformers v motors To prevent fire or electrical shock do not expose to rain and water 3 Do not operate the unit upside down 4 Never open the cabinet If a foreign object drops into the set contact your dealer ...

Page 4: ...r other appliances including amplifiers that produce heat 10 Power Sources The appliance should be connected to a power supply only of the type described in the operating instructions or as marked on the appliance 11 Grounding or Polarization Precautions should be taken so that the grounding or polarization means of an appliance is not defeated 12 Power Cord Protection Power supply cords should be...

Page 5: ... dial and leave it there Pay attention to the different levels in various recordings Taking a minute to do this now will help to prevent hearing damage or loss in the future After all we want you listening for a lifetime Used wisely your new sound equipment will provide a lifetime of fun and enjoyment Since hearing damage from loud noise is often undetectable until it is too late this manufacturer...

Page 6: ...ss Court La Verne CA 91750 Toll Free 800 678 5348 TEL 909 593 8893 FAX 909 593 8890 VocoPro Company Email Directory Customer Service General Information info vocopro com Tech Support techsupport vocopro com Remember Our Website Be sure to visit the VocoPro website www vocopro com for the latest information on new products packages and promo s And while you re there don t forget to check out our Cl...

Page 7: ...tore the original packaging materials in case you need to ship this equipment for any reason Be sure you have the following parts and components included 1 DC power adaptor 1 USB 2 0 Cable 1 A V Patch Cable 1 MEDIA JUKEBOX 1 Remote Control with 2 AAA batteries Note The high capacity USB cable included with the MEDIA JUKEBOX is designed specifically for transfering the large volume of files from your...

Page 8: ...system s normal procedures for saving files to transfer them from your PC to the desired folder of the MEDIA JUKEBOX USE ONLY THE INCLUDED USB CABLE To make use of your new portable hard drive first you must connect it to your PC to transfer the files you want to store For connection to your PC or laptop you will need to use the USB 2 0 cable included WITHOUT the DC adaptor connected to the MEDIA JUK...

Page 9: ...the other end into a wall socket 2 Audio Video jack We have provided an adaptor cable with a three ring tip 1 16 to RCA L R and Video for universal connection to any A V system You will use this 1 16 jack for output with the A V cable Rear Panel 3 Remote Sensor See the next section of this manual pertaining to Remote Control descriptions and use for instructions on operating your remote properly 4...

Page 10: ...l viewing size by pressing this button 9 MUTE Using this button will MUTE audio output until button is pressed again to designate MUTE OFF 10 SETUP This button takes you the MAIN MENU for selecting TV TYPE KARAOKE MODE and LANGUAGE preferences 11 OSD The On Screen Display toggles between a display of CHAPTER ELAPSED time CHAPTER REMAIN time or OFF for no time display with video files 12 REPEAT This...

Page 11: ... photo folder navigator A display will show 9 thumbnails per page for selection Use the DIRECTION KEYS to navigate through the Photo Digest and press ENTER when your desired image is highlighted Use the l and l icons and ENTER to scroll forward or backwards to additional pages Starting with whichever image you select a jpeg slideshow will play displaying each image for several seconds 14 A B Using...

Page 12: ... A B PHOTO DIGEST VOCAL VOL VOL 5 6 2 3 SETUP OSD MUTE MEDIA JUKEBOX KEY KEY RESERVE KEY SUBTITLE ZOOM SLOW PAUSE STOP ENTER NEXT PREV FFW PLAY REW 30 24ft Remote control operation When using remote control direct it towards the MEDIA JUKEBOX within angles of 30 degrees from the Remote Sensor at a distance of less than 24 feet away Take precaution not to drop the remote control and keep away from ...

Page 13: ... DVD format 1 When you have selected a DVD file you want to cue for playback from the proper folder using the DIRECTION KEYS choose the file name you want to cue for playback and press ENTER 2 With DVD files you can momentarily pause playback using the PAUSE button on the remote press STOP to end playback and return to the PLAY MENU and MUTE to turn just the audio output off 3 By pressing the FAST FO...

Page 14: ...he recorded file In MONO LEFT mode the right the guide vocal channel is removed and replaced with a duplicate instrumental left channel This is also known as VOCAL CANCEL mode In MONO R mode the left channel is re moved and replaced with a duplicate right channel of vocals only MP3 format 1 When you have selected a MP3 file you want to cue for playback from the proper folder using the DIRECTION KEYS...

Page 15: ... time for several seconds each To select a particular file from which to start viewing press PHOTO DIGEST and a display will show 9 thumbnails per page for selection 3 Use the DIRECTION KEYS to navigate through the Photo Digest and press ENTER when your desired image is highlighted Use the l and l icons and ENTER to scroll forward or backwards to additional pages Starting with whichever image you s...

Page 16: ... setting which will automatically interface with your system 1 To select one of these TV TYPE modes press the SETUP button on the remote control 2 MAIN MENU will appear Now use the DIRECTION KEYS to select TV TYPE the first menu option Submenus for AUTO NTSC and PAL will appear 3 Use the DIRECTION KEYS to select the TV system for your region or AUTO to let the MEDIA JUKEBOX interface automatically ...

Page 17: ... a folder is open pressing RESERVE will display PROGRAM P00 0000 at the top of the screen 2 Use the DIRECTION or NUMBER KEYS to select the file to reserve and press ENTER Your programmed track number will appear as P01 program 1 3 Repeat to reserve more tracks 4 Press STOP to confirm completion of reserve program 5 Press PLAY to start the files in the order you have reserved them 6 Press STOP and the...

Page 18: ...VCD MP3 JPEG Resolution 500 lines Video Signal to Noise Ratio 56dB Audio Signal to Noise Ratio 90dB Frequency response 20Hz 20KHz 1 dB Dynamic range 90dB Signal loss ratio 0 01 Audio D A 192KHz 24 bit Video output 75 ohms Power supply AC 100 240V 50 60Hz Power consumption 5W Size 131 x 80 x 19mm Weight 215g Specifications ...

Page 19: ...C Vocopro 2004 V 1 0 WWW VOCOPRO COM THE SINGERS ULTIMATE CHOICE ...

Reviews: