


19
Basic Operations
Using the Disc Player
To play a disc:
1. Use the Input select buttons to select the DVD
player.
2. Press eject to open the disc tray.
3. Place one disc in the tray, label side up.
4. Press eject again to close the tray. Do not try to
manually force the tray closed.
5. The disc will automatically begin to play. (Disc will
not automatically begin to play if autoplay is turned
off. See the setup menu section for more details.)
Selecting the Input Source
To select the input source, use the input select buttons
on the front panel or remote control.
• AV1: The RCA input on the front panel.
• AV2: The RCA input on the rear panel.
• TUNER - Mp3/LAPTOP: Switches between the
1/8” jack on the front panel and the AM/FM Tuner.
• DVD - USB - SD CARD: Switches between the
internal disc player, USB and SD card reader.
Playing from USB Jumpdrive or SD Card
To play songs, videos and other fi les from a USB
jumpdrive or SD card:
1. Plug a USB jumpdrive or SD card into the reader
slots on the front panel of the HERO-RV.
2. Use the input select buttons to switch to either the
USB or SD port.
3. The fi rst readable fi le on the card or drive will begin
to play automatically. (File will not automatically
begin to play if autoplay is turned off. See the setup
menu section for more details.)
Using DSP Effects
The DSP effects can add a stylized feel to vocals and
instruments. The DSP Effects include: Delay, Repeat,
Hiss Filter and Reverb. To use DSP effects:
1. Connect a microphone or instrument to one of the
input channels on the front panel.
2. Press in the effects button on that channel to
enable effects for that channel.
3. Adjust the DSP effects dials while speaking into the
microphone until you are satisfi ed with the sound.
Note: Although MIC/LINE TONE treble and bass are not
DSP Effects, they will be enabled/disabled by the EFFECT
ON/OFF buttons.
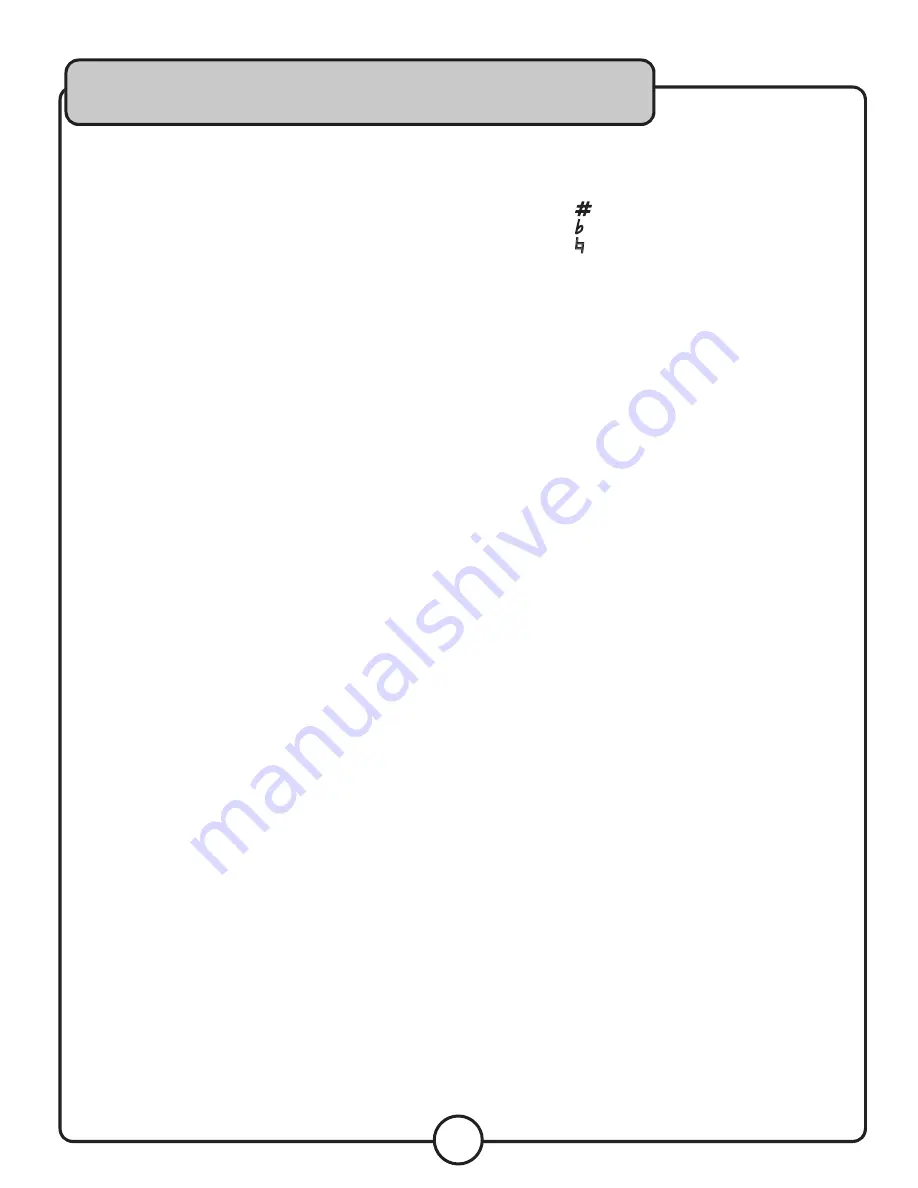
Using Digital Key Control
If a song’s natural musical key is either too high, or
too low to be sung comfortably, use the DIGITAL KEY
CONTROL feature to bring the musical key into range.
• Press the
(sharp) button to raise the key
• Press the (flat) button to lower the key
• Press the (natural) button to return the key to its
natural position
There is a maximum of 6 steps in either direction (UP/
DOWN.) The current setting is displayed in the on-screen
display when the key is changed.
Programming a Custom track order
A custom track order can contain up to 16 tracks. To
program a custom track order:
1. Insert a disc in the disc player.
2. Press the program button on the remote control to
enter the program menu.
3. Use the arrow keys to highlight the fi rst open track
slot.
4. Use the number keys to enter the number of the
track.
5. Repeat steps 3 and 4 until the desired track order
is fi nished.
6. Use the arrow buttons to highlight “PLAY” in the
menu, and press enter to begin playback, or press
play on the remote control.
To exit the programmed track order playback, press stop
on the remote control or front panel.
Using the File Navigation Menu
The fi le navigation menu will be displayed when a USB
drive, SD card, or disc containing fi les is selected for
playback. Use the arrow keys to navigate the menu. To
play a track or fi le, highlight the track or fi le, then press
enter on the remote control.
Using the Wireless Microphones
To use the wireless mics:
1. Attach the included antennas to the wireless
module.
2. Insert a battery into the mic.
3. Switch the mic ON.
4. When the mic is ON, the RF light on the rear panel
will turn on.
5. Use the volume control on the rear panel module,
the channel volume control, and the master mic
volume control to adjust the volume the desired
level.
6. Repeat these steps for additional mics.


