5
17
• Retail
- Sets the picture settings to values that produce a
brighter, more vivid picture.
• Photo
- Optimizes the picture settings for viewing photo
slideshows. Flesh tones should appear more natural.
• Custom
- Allows you to manually change each of the
picture settings:
Brightness
- Adjusts the black level of the picture.
When this setting is too low, the picture may be too
dark to distinguish details. When this setting is too
high, the picture may appear faded or washed out.
Contrast
- Adjusts the white level of the picture. When
this setting is too high, the picture may appear dark.
When this setting is too low, the picture may appear
faded or washed out. If the setting is too high or too
low, detail may be difficult to distinguish in dark or
bright areas of the picture.
Color
- Adjusts the intensity of the picture colors.
Tint
- Adjusts the hue of the picture. This setting is
useful in adjusting the flesh tones in the picture. If flesh
appears too orange, reduce the level of color before
adjusting tint.
Sharpness
- Adjusts the edge sharpness of picture
elements. It can be used to sharpen non-HD (high
definition) content; however, it will not produce detail
that does not otherwise exist.
Backlight
- Adjusts the LED brightness to affect the
overall brilliance of the picture. This option is not
available unless Ambient Light Sensor is set to OFF.
Adaptive Luma
- Adjusts the average brightness of the
picture to compensate for large areas of brightness.
Color Enhancement
- Reduces oversaturation of some
colors and improves flesh tones.
Color Temperature
- Changes the “warmness” or
“coolness” of the white areas of the picture.
Reset Picture Setting
- Restores custom picture
settings to the factory defaults.
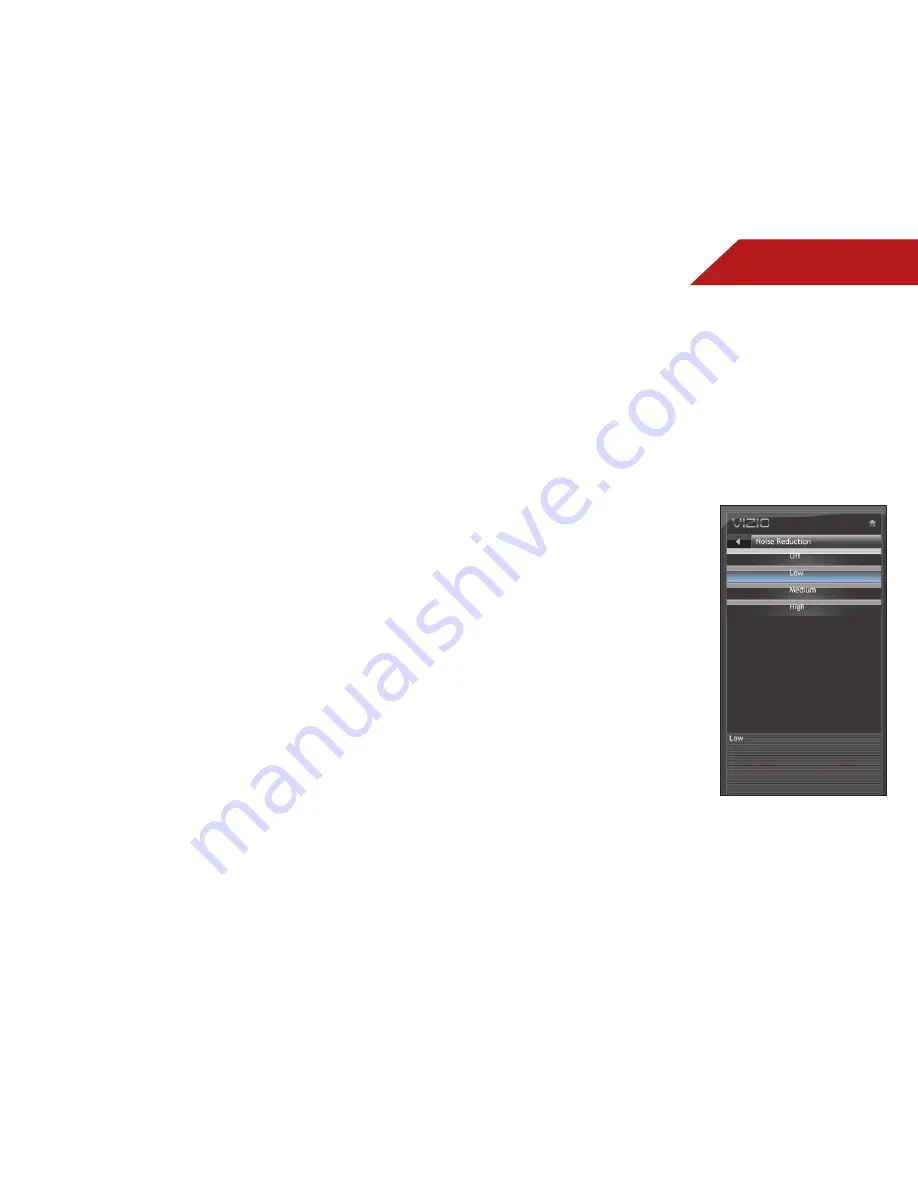
Adjusting the Noise Reduction Setting
Noise reduction diminishes artifacts such as “blockiness” or
“pixellation”. When activated, the resulting picture usually has
softer edges.
To adjust the noise reduction setting:
1. Press the
MENU/OK
button
on the remote. The on-screen
menu is displayed.
2. Use the
Arrow
buttons to
highlight
Picture
and press
MENU/OK
.
3. Use the
Arrow
buttons to
highlight
Noise Reduction
and
press
MENU/OK
.
4. Use the
Arrow
buttons to
highlight
Off
,
Low
,
Medium
, or
High
, then press
MENU/OK
.
5. Press
EXIT
.


