


Printer
The printer page allows users to enable/disable printer configuration.
Procedures to setup the printer
Note:
The device supports one connected USB printer only. Printer Connections on both the USB
ports may not led the printer functional.
1.
Connect the USB cable of your printer to the device. Power on your printer.
2.
Open the GUI and select System > Printer. Install the firmware extension file to the device.
Note:
Printer service may not be available if:
y
HD is not installed. Please install HD and build RAID disk.
y
HD is unable to use. Please build RAID disk.
y
Firmware extensions are not installed.
To create RAID disk, please refer to
RAID
on page 78; to install firmware extensions, please refer
to
Firmware Upgrade > Firmware extension loaded
on page 38.
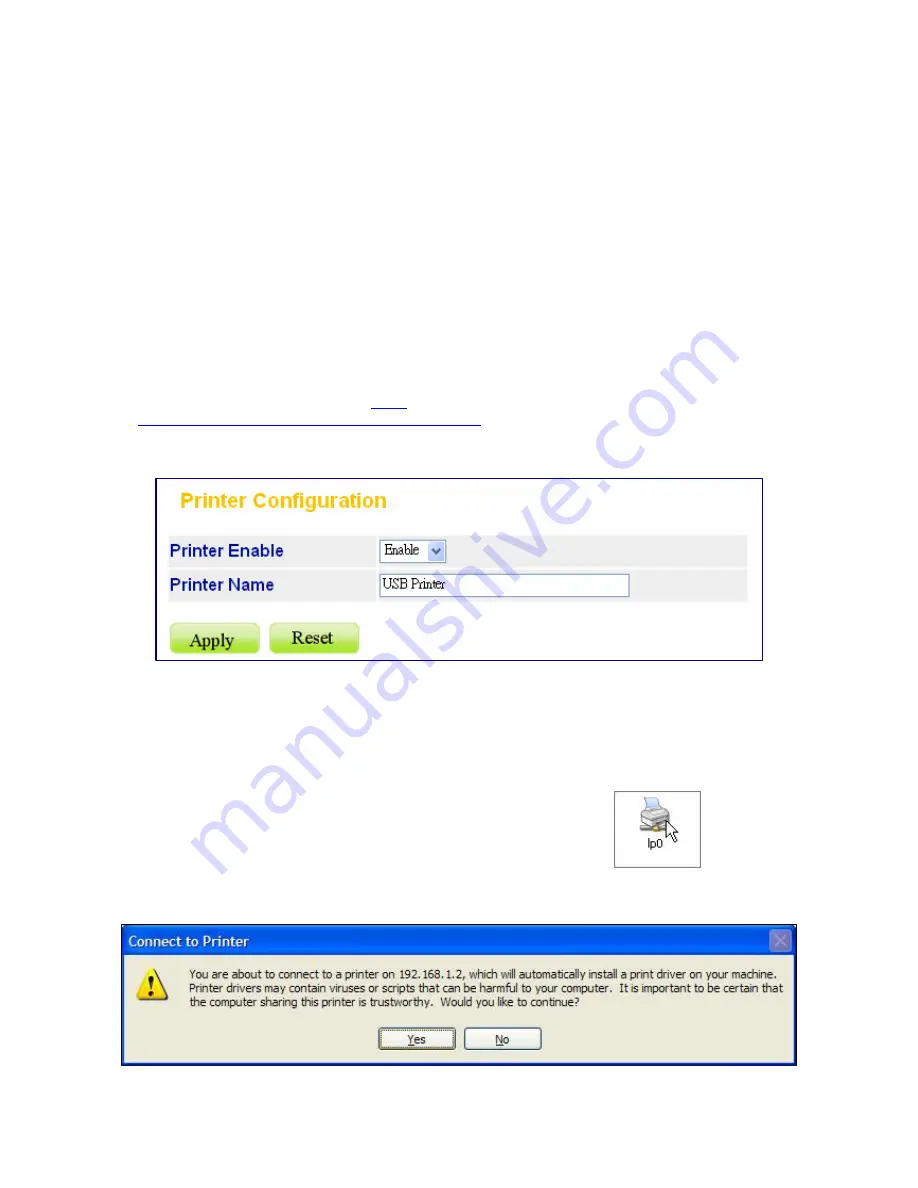
3.
Open the Printer page; you can see the information of your printer.
4.
Select
Enable
in the drop-down list and click
Apply
.
Note:
After finishing the four steps above, the printer server function is activated. To setup the
computers that are going to use the printer, please follow the instructions from step 5.
5.
Click
Start
>
Run
on your PC. Enter the IP address then click
OK
to access the folder of this
device.
6.
You can find a printer icon. Double click on this icon to proceed.
7.
The system asks for installing the driver for the printer. Click
Yes
on the warning dialogue
windows to proceed.
55