31
Vista QPlus H.264 V2.2 (RP03)
Quantum Plus H.264 installation and user manual
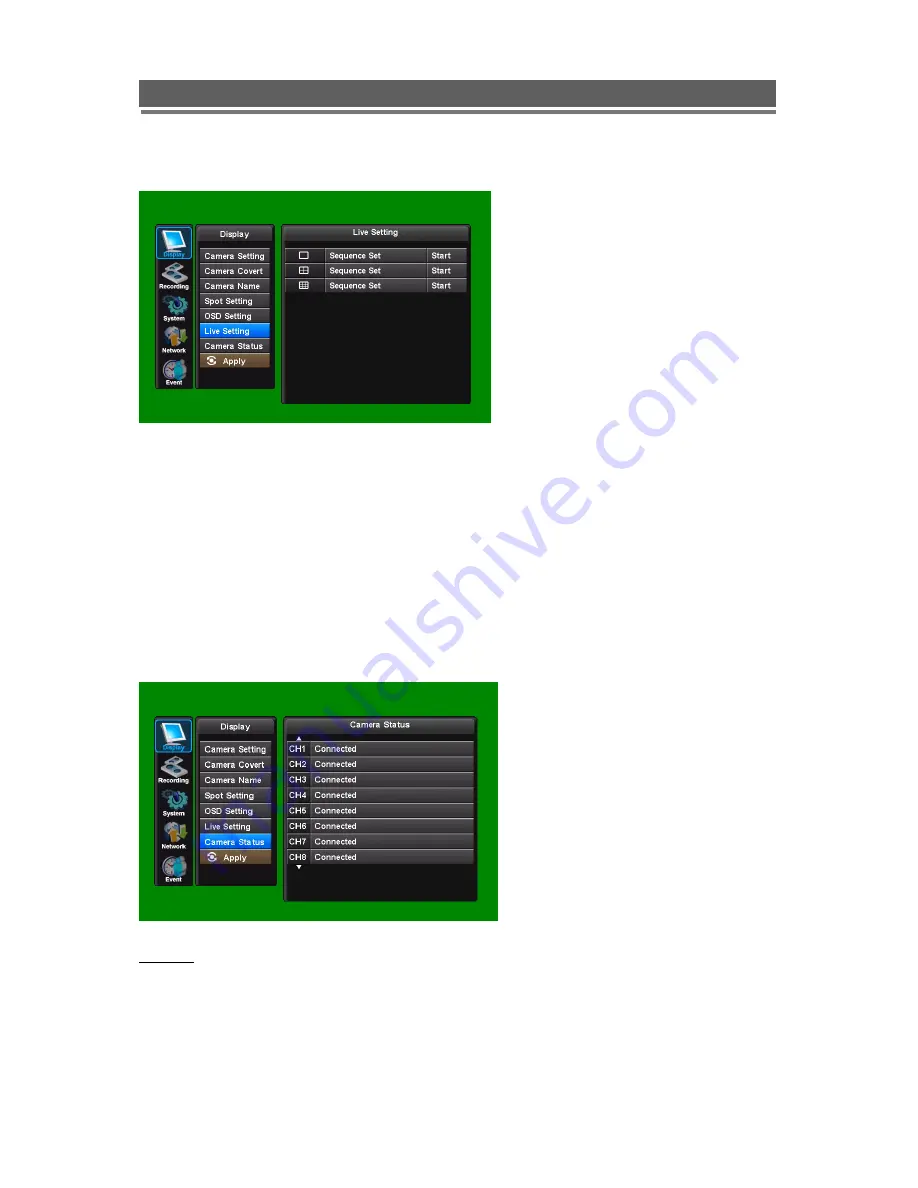
1-6. Live Setting
Use the Up and Down arrows to select either : Full Screen, Quad or Nine way split
sequences. The display will change to allow individual sequence times to be set per channel
or split screen option. Use the select key to turn the cell green and then the Up and Down
keys to change the values.
Use the right button
to move to “Start” press select, the main monitor out put will display this
sequence.
Alternatively use the mouse to select the sequence required then select the duration.
Click “Start” to turn the sequence on. To interrupt the sequence, simply select any camera.
1-7. Camera Status
APPLY:
In order to save any modified setting value,
press “SEL” key when the
“APPLY” section is highlighted. This action can be carried out within each Sub Menu.
The live settings are used to set up
a sequence of either full screen
camera images or multi screen
displays
Select which cameras will be
connected.
Any
cameras
not
connected will not be able to have
any record rates set against them in
the Record set up tables.
Summary of Contents for Quantum PLUS H.264
Page 2: ...2 Vista QPlus H 264 V2 2 RP03 Quantum Plus H 264 installation and user manual ...
Page 14: ...14 Vista QPlus H 264 V2 2 RP03 Quantum Plus H 264 installation and user manual REMOTE CONTROL ...
Page 17: ...17 Vista QPlus H 264 V2 2 RP03 Quantum Plus H 264 installation and user manual Recording menu ...
Page 18: ...18 Vista QPlus H 264 V2 2 RP03 Quantum Plus H 264 installation and user manual System Menu ...
Page 19: ...19 Vista QPlus H 264 V2 2 RP03 Quantum Plus H 264 installation and user manual Network menu ...
Page 20: ...20 Vista QPlus H 264 V2 2 RP03 Quantum Plus H 264 installation and user manual Event menu ...
Page 21: ...21 Vista QPlus H 264 V2 2 RP03 Quantum Plus H 264 installation and user manual Search Menu ...
Page 139: ...139 Vista QPlus H 264 V2 2 RP03 Quantum Plus H 264 installation and user manual ...


