C
HECKING
I
T
O
UT
15
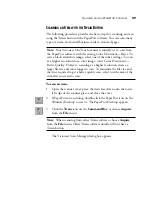
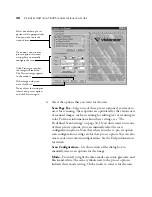
3. Choose About from the shortcut menu.
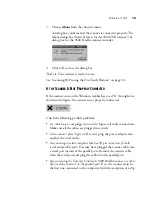
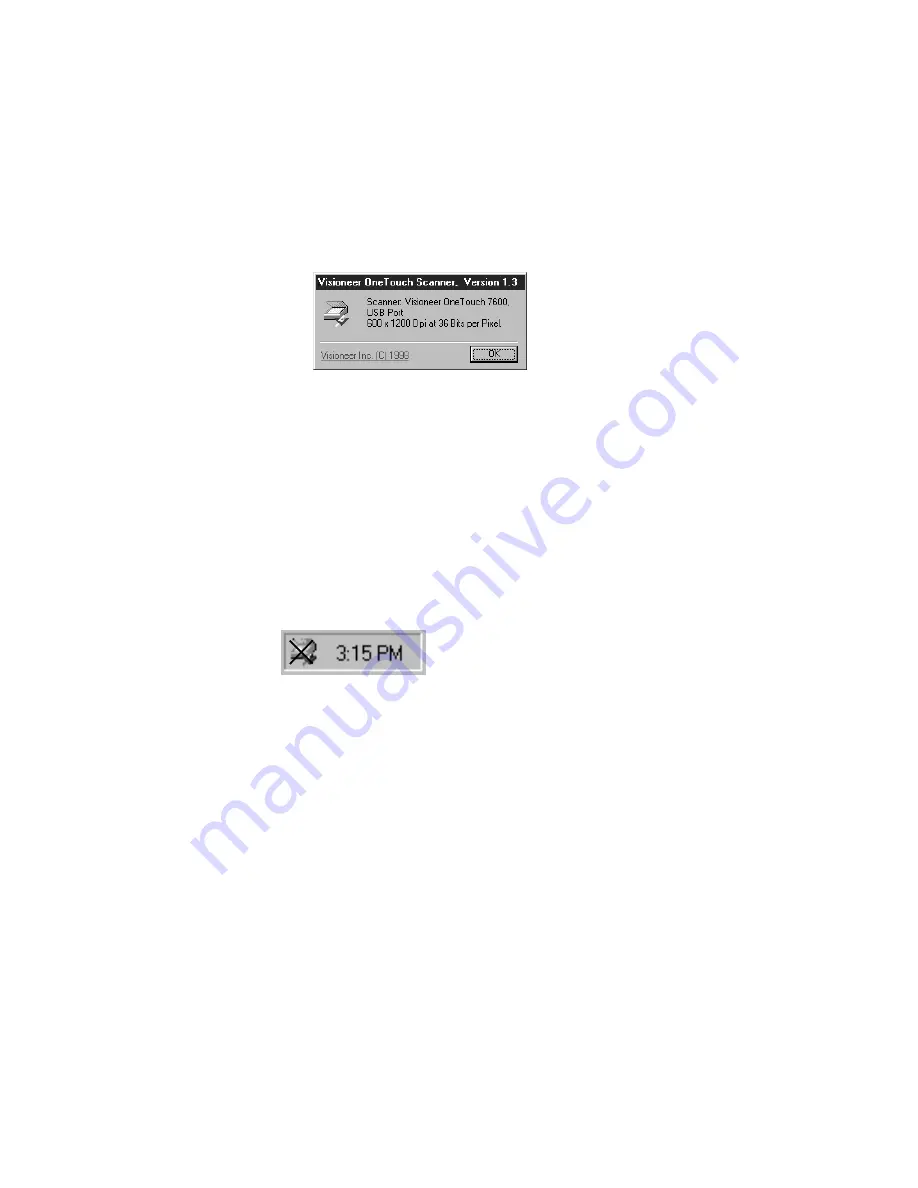
A dialog box confirms that the scanner is connected properly. The
About dialog box shown below is for the 7600 USB scanner. The
dialog box for the 7600 Parallel scanner is similar.
4. Click OK to close the dialog box.
That’s it. Your scanner is ready to scan.
See “Scanning By Pressing the OneTouch Buttons” on page 18.
I
F
THE
S
CANNER
I
S
N
OT
P
ROPERLY
C
ONNECTED
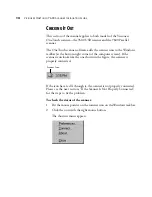
If the scanner icon on the Windows taskbar has a red “X” through it as
shown in the figure, the scanner is not properly connected.
Check the following possible problems:
•
Is a cable loose or not plugged in securely? Inspect all cable connections.
Make sure all the cables are plugged in securely.
•
Is the scanner’s power light on? If it isn’t, plug the power adapter into
another electrical outlet.
•
Are you using an older computer that has 25-pin connectors for both
serial and parallel ports? You may have plugged the scanner cable into
a serial port instead of the parallel port. Remove the scanner cable
from the serial port and plug the cable into the parallel port.
•
If you are using the Visioneer OneTouch 7600 Parallel scanner, are other
devices “daisy-chained” to the parallel port? If so, the scanner must be
the first one connected to the computer (with the exception of a Zip


