


MB-3 USER INSTRUCTION MANUAL
10
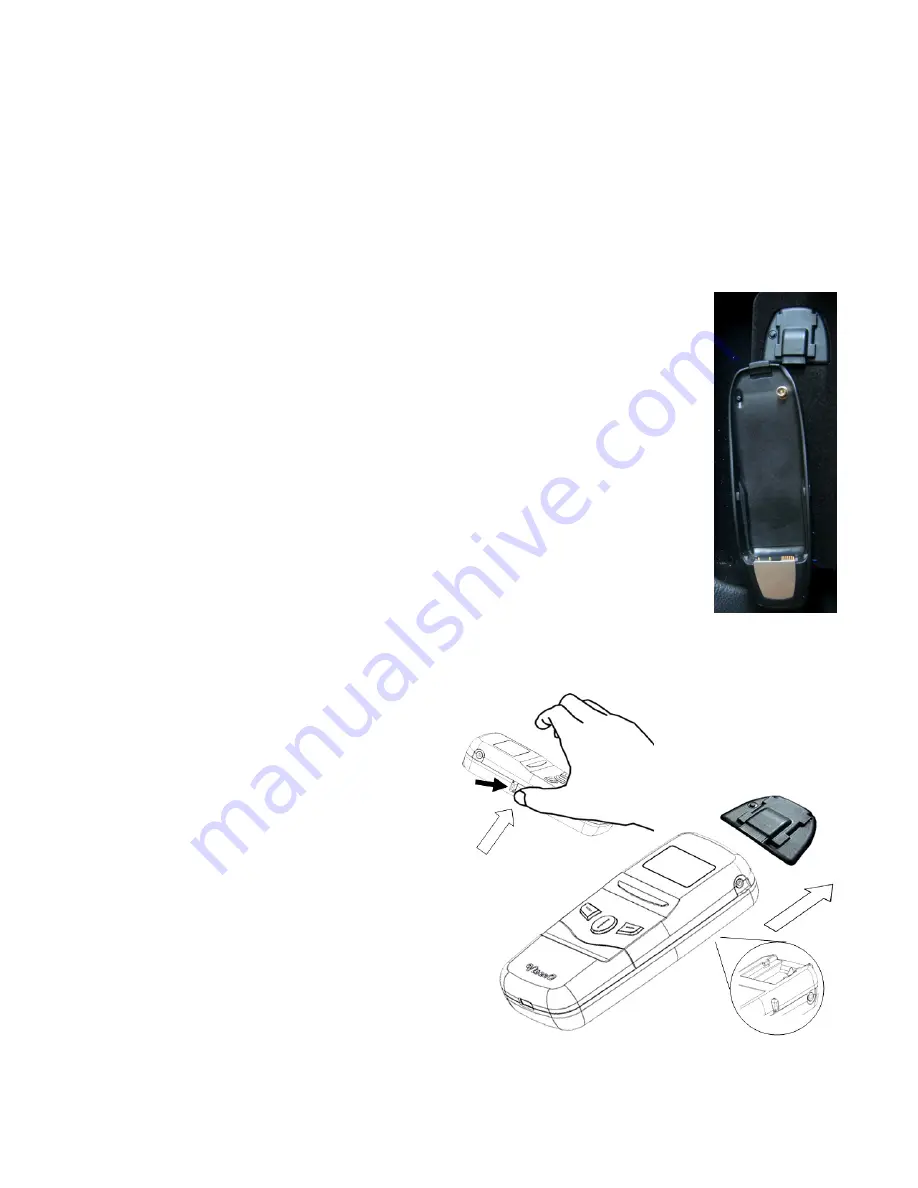
Original phone
cradle and UHI
connector
2. Installation
2.1 Installing the Main Unit
ViseeO MB-3 is designed to work with a pre-installed UHI/MHI Comand
system in your vehicle. Therefore, you will need to locate the UHI/MHI
connector which is normally found in the tray under the front armrest.
If there is a phone cradle attached to the UHI/MHI connector,
please remove it first.
To remove the cradle:
1. Please make sure the vehicle engine is off.
2. Press the release button on your cradle (normally located at
the top).
3. Remove the cradle from UHI/MHI connector with care.
Now install your MB-3:
1. Make sure there is no cradle attached to the UHI/MHI
connector.
2. Press and hold the UHI release
button on your MB-3 then, gently
slides the MB-3 (UHI socket side
facing
downwards)
onto
the
UHI/MHI connector until it locks into
the connector.
3. Turn on the engine. MB-3's OLED
screen and the blue LED should be
on to indicate the installation
successful.
UHI Connector
Press & hold the
UHI Release