Solar Surveillance Installation Manual - Version: VIPSLRB-Q121
20
5.3 Activate LED Light
5.4 Change LED Light Settings
2. Point the remote control at the solar panel’s black sensor and press
Transmit
to update the solar panel with your
new configuration. If you hear a long beep, the configuration settings are transmitted successfully.
Before activating the LED light system, the internal battery will require power. Place the solar panel outside and wait for
it to charge in the sunlight for at least
one hour
before continuing.
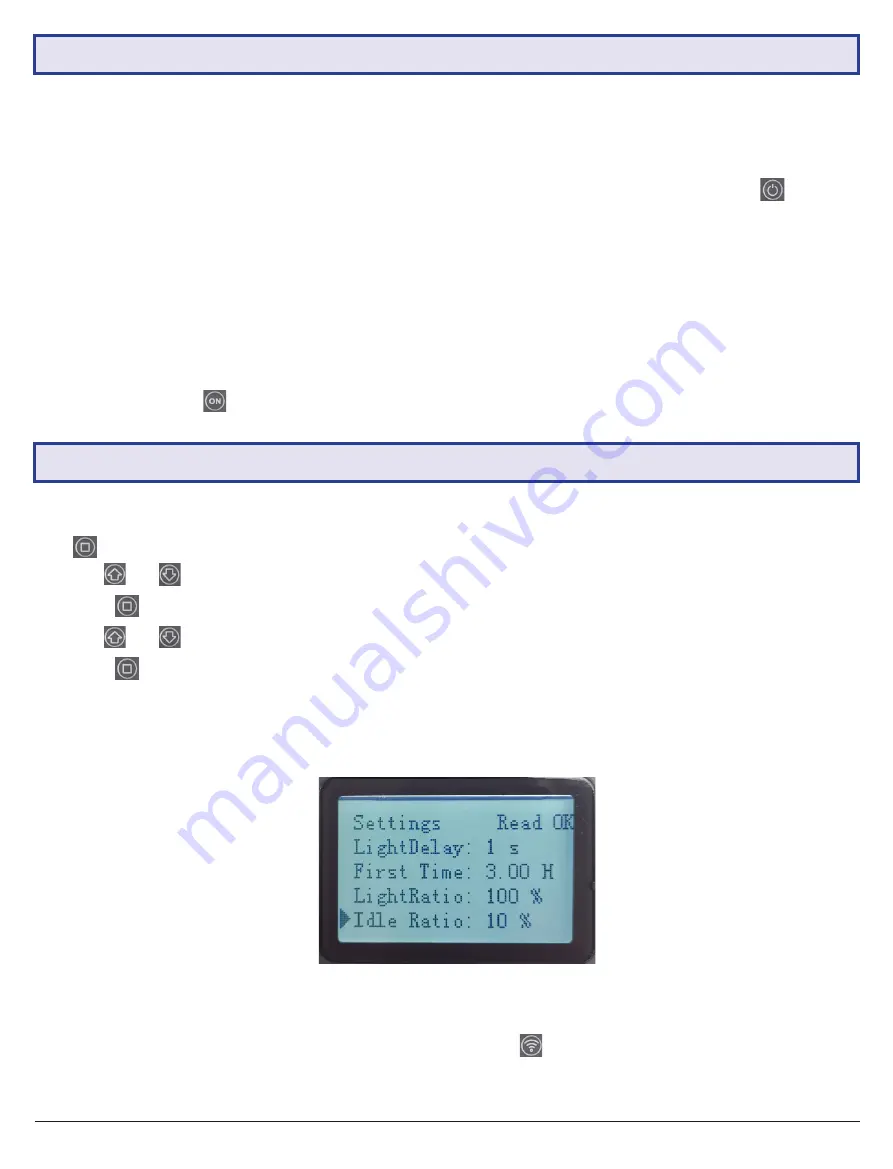
Fig. 5.4a
Motion activated light settings
1. Follow
4. Quick Solar Light Configuration
to enable the solar light.
2. Use the remote control and point it towards the black sensor at the back of the solar panel and press
Power
.
The remote control will be powered up. It will then try to connect the solar panel.
•
If connection is successful, the LCD will show “Read OK”.
•
If connection fails, the LCD will show “Disconnect”
Note: Direct sunlight can interfere with the transmission. The sensitivity of the transmitter is higher when in
dark environment.
Important:
Do not change the device number unless you have no communication to the remote. It is located in
the Local settings menu.
The device number for will be either
PCC_G05 or PCC_G04
, depending on the model of solar panel.
3.
Press and hold the
ON
button to enable the solar light.
1. Point the remote control at the solar panel’s black sensor and scroll to the SysConfig (System Configure) and press
(Enter) to enter the system configuration menu.
• Use
and
to scroll.
• Press
Enter
to begin editing values. The value will be shown in reverse colour.
• Use
and
to change the value.
• Press
Enter
again to confirm.
Note:
The remote will power off automatically if no key is pressed for 3 minutes.
Five periods of time can be set to turn on the solar panel LED light. These periods can be set with a min. of 0 and max.
of 9 hours.
(9 hours by default - refer to 5.2 Default Light Ratio & Period Settings)


