background image

7

Adjusting the Screen Image

Use the buttons on the front control panel to display and adjust the OSD controls 

which display on the screen.

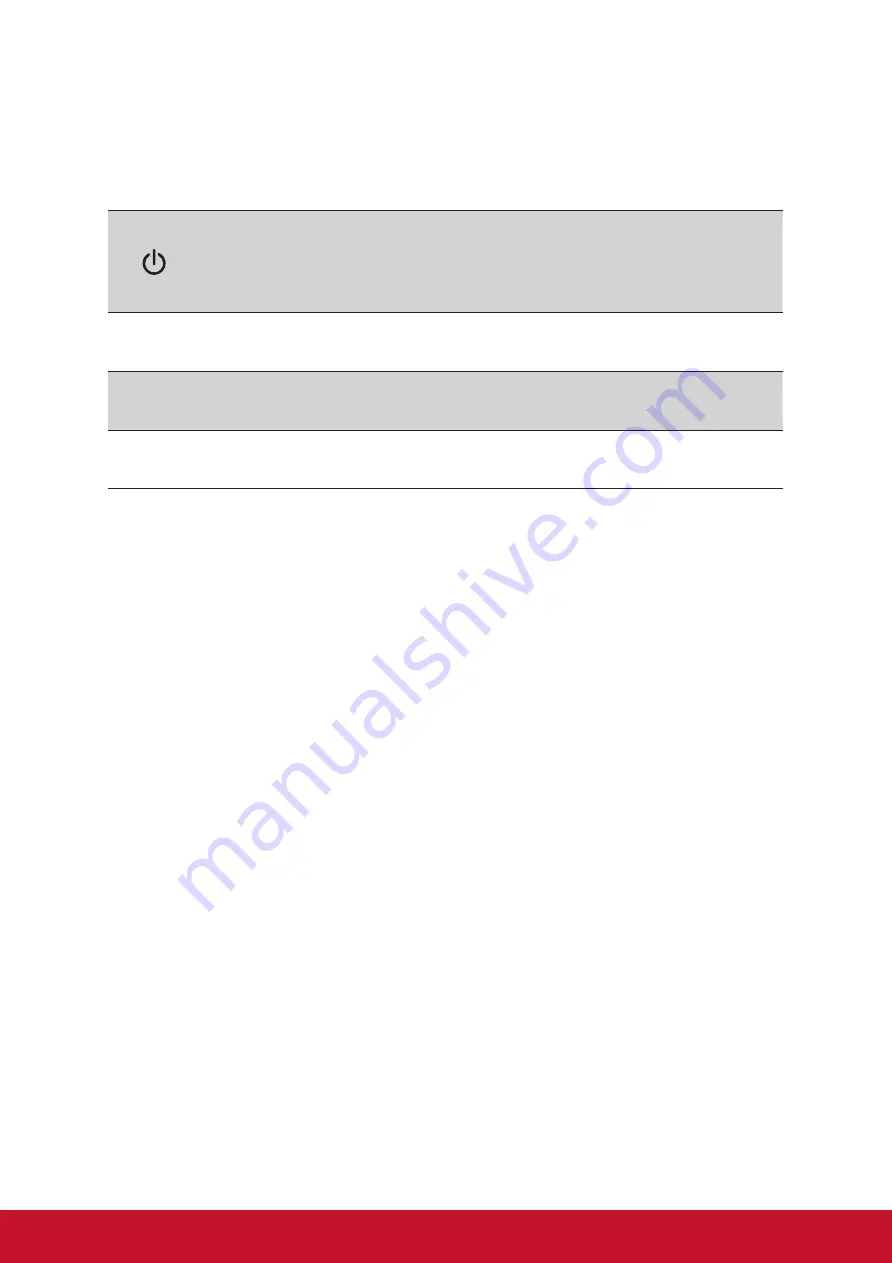
Standby Power On/Off

Power light

Blue = ON

Orange = Power Saving

[1]

Displays the Main Menu or exits the control screen and saves 

adjustments.

[2]

Displays the control screen for the highlighted control.

Also a shortcut to toggle analog and digital connection.

/

Scrolls through menu options and adjusts the displayed control.

Audio Adjust (

) / Game Mode (

)

Do the following to adjust the display setting:

1. 

To display the Main Menu, press button [1].

NOTE:

 All OSD menus and adjustment screens disappear automatically after 

about 15 seconds. This is adjustable through the OSD timeout setting in the 

setup menu.

2. 

To select a control to adjust, press ▲ or ▼ to scroll up or down in the Main 

Menu.

3. 

After the desired control is selected, press button [2].

4. 

To save the adjustments and exit the menu, press button [1] until OSD 

disappear.

The following tips may help you optimize your display:

• 

Adjust the computer’s graphics card to support a recommended timing mode 

(refer to “Specifications” page for recommended setting specific to your LCD 

display). To find instructions on “changing the refresh rate”, please refer to the 

graphics card’s user guide.

• 

If necessary, make small adjustments using H. POSITION and V. POSITION 

until the screen image is completely visible. (The black border around the edge 

of the screen should barely touch the illuminated “active area” of the LCD 

display.)

Summary of Contents for VX2456Sml

Page 1: ...your product for future service Warranty information contained in this User Guide will describe your limited coverage from ViewSonic Corporation which is also found on our web site at http www viewso...

Page 2: ...articular installation If this equipment does cause harmful interference to radio or television reception which can be determined by turning the equipment off and on the user is encouraged to try to c...

Page 3: ...al household background levels Low acoustic noise emissions Some of the Environmental features of the TCO Certified for displays The brand owner demonstrates corporate social responsibility and has a...

Page 4: ...r the Annex III of the RoHS2 Directives as noted below Examples of exempted components are 1 Mercury in cold cathode fluorescent lamps and external electrode fluorescent lamps CCFL and EEFL for specia...

Page 5: ...the manufacturer s instructions 13 Do not install near any heat sources such as radiators heat registers stoves or other devices including amplifiers that produce heat 14 Place the LCD display in a we...

Page 6: ...ipping over 21 Unplug this equipment when it will be unused for long periods of time 22 Refer all servicing to qualified service personnel Service is required when the unit has been damaged in any way...

Page 7: ...ur Records 2 Getting Started Package Contents 3 Quick Installation 4 Additional Software Installation Optional 4 Wall Mounting Optional 5 Using the LCD Display Setting the Timing Mode 6 OSD and Power...

Page 8: ...S Environmental Protection Agency EPA As an ENERGY STAR partner ViewSonic Corporation has determined that this product meets the ENERGY STAR guidelines for energy efficiency Disclaimer ViewSonic Corp...

Page 9: ...formation in the For Your Records section Your LCD displays serial number is located on the rear side of the display For additional information please see the Customer Support section in this guide Fo...

Page 10: ...m Package Contents Your LCD display package includes LCD display Power cord Audio cable stereo mini jack D Sub cable DVI cable Quick Start Guide ViewSonic CD User Guide INF ICM files Registration info...

Page 11: ...sequence LCD display before computer is important NOTE Windows users may receive a message asking them to install the INF file To access the file please use the directory CD vsfiles 4 Insert the View...

Page 12: ...urned Off then disconnect the power cord 2 Lay the LCD display face down on a towel or blanket 3 Remove the base Screws removal might be required 4 Find and identify one of the following VESA mount in...

Page 13: ...er guide for instructions IMPORTANT Please make sure that your graphics card is set to 60Hz vertical refresh rate as the recommended setting for most LCD displays Choosing a non supported timing mode...

Page 14: ...r about 15 seconds This is adjustable through the OSD timeout setting in the setup menu 2 To select a control to adjust press or to scroll up or down in the Main Menu 3 After the desired control is se...

Page 15: ...function does not work on your LCD display then lower the video refresh rate to 60 Hz and set the resolution to its pre set value B Brightness adjusts background black level of the screen image C Col...

Page 16: ...ns the adjustments back to factory settings if the display is operating in a factory Preset Timing Mode listed in the Specifications of this manual Exception This control does not affect changes made...

Page 17: ...024 x 768 60 70 72 75 Hz 800 x 600 56 60 72 75 Hz 640 x 480 60 75 Hz 720 x 400 70 Hz Power Voltage 100 240 VAC 50 60 Hz auto switch Display area Full Scan 521 28 mm H x 293 22 mm V 20 5 H x 11 5 V Ope...

Page 18: ...int free cloth and wipe the screen To clean the case 1 Use a soft dry cloth 2 If the case still not clean apply a small amount of a non ammonia non alcohol based mild non abrasive detergent onto a cle...

Page 19: ...er If the other end of the video cable is not attached permanently to the LCD display tightly secure it to the LCD display Adjust brightness and contrast If you are using an Macintosh older than G3 yo...

Page 20: ...Columbia www viewsonic com la T 01800 9 157235 soporte viewsonic com Latin America Mexico www viewsonic com la T 001 8882328722 soporte viewsonic com Renta y Datos 29 SUR 721 COL LA PAZ 72160 PUEBLA...

Page 21: ...pment c Removal or installation of the product d Causes external to the product such as electrical power fluctuations or failure e Use of supplies or parts not meeting ViewSonic s specifications f Nor...

Page 22: ...of state law This warranty gives you specific legal rights and you may also have other rights which vary from state to state Some states do not allow limitations on implied warranties and or do not a...

Page 23: ...der warranty contact ViewSonic Customer Support Please refer to the attached Customer Support page You will need to provide your product s serial number so please record the product information in the...

Page 24: ...luglobales com Cuernavaca Compusupport de Cuernavaca SA de CV Francisco Leyva 178 Col Miguel Hidalgo C P 62040 Cuernavaca Morelos Tel 01 777 3180579 01 777 3124014 E Mail aquevedo compusupportcva com...

Page 25: ......

Reviews: