9
Optiquest
Z90
Operation
E
N
G
L
I
S
H
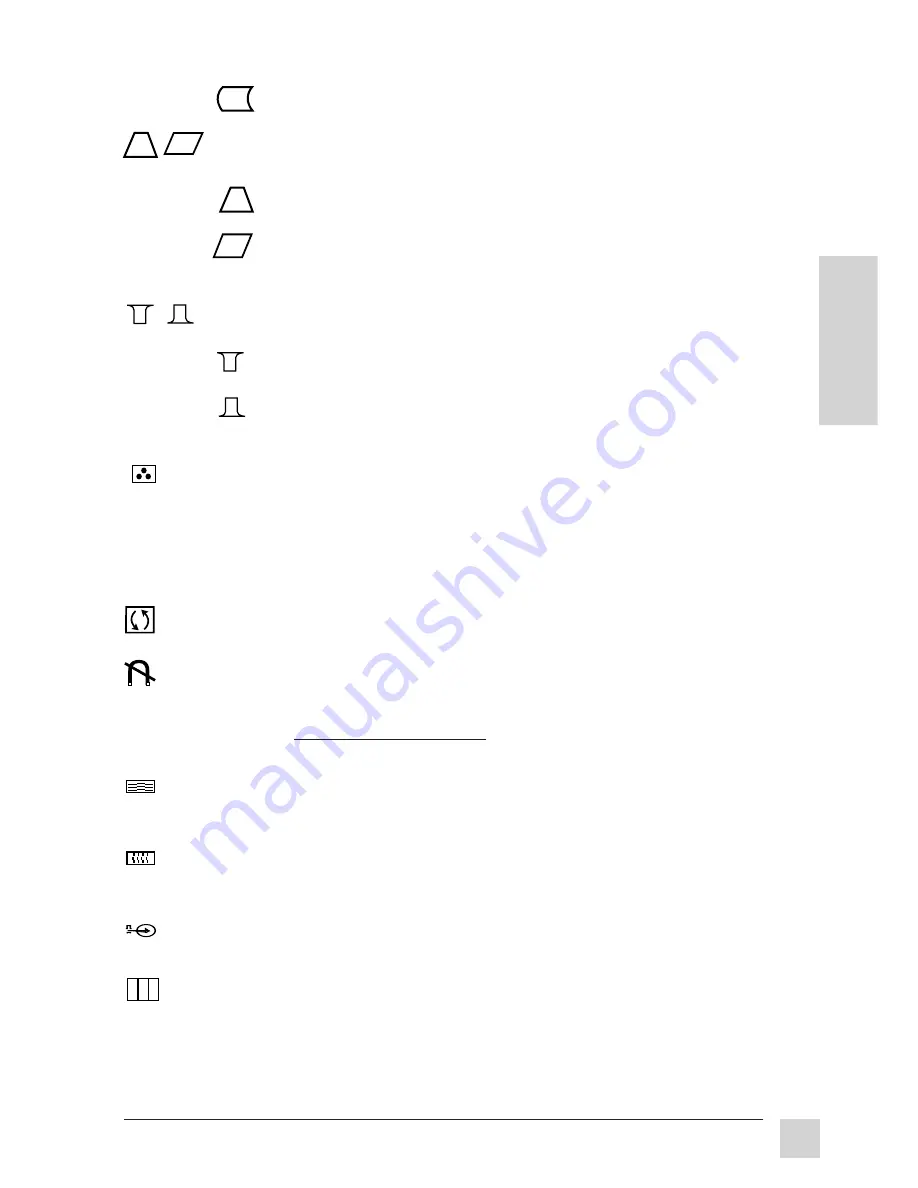
PIN BALANCE
curves screen's vertical edges to the left or right. [
▼
]
curves vertical edges to left, [
▲
] curves vertical edges to right.
TRAPEZOID/PARALLELOGRAM
Press the [2] button to select
Trapezoid or Parallelogram.
TRAPEZOID
makes vertical edges of screen image parallel. [
▼
]
narrows top and widens bottom, [
▲
] widens top and narrows bottom.
PARALLELOGRAM
slants vertical edges of screen image to left
or right. [
▼
] slants vertical edges to left, [
▲
] slants vertical edges to
right.
TOP/BOTTOM HOOK
Press the [2] button to select Top or Bottom
Hook.
TOP HOOK
adjusts the top corners of the screen
image. [
▼
] slants top corner to left, [
▲
] slants top corner to right.
BOTTOM HOOK
adjusts bottom corners of screen
image. [
▼
] slants bottom corner to left, [
▲
] slants bottom corner
to right.
FOCUS
adjusts overall sharpness of the onscreen display. Press button [2]
to select H. or V. Focus.
H. FOCUS
fine tunes the horizontal line focus only. Press [
▼
] or
[
▲
] to adjust.
V. FOCUS
fine tunes the vertical line focus only. Press [
▼
] or
[
▲
] to adjust.
TILT
rotates entire screen image. [
▼
] rotates screen image counter-
clockwise. [
▲
] rotates screen image clockwise
.
DEGAUSS
There are two ways to degauss the monitor; automatically by
turning the monitor on, or manually by selecting the Degauss control from
the OnView Main Menu.
Important:
Do not degauss repeatedly. Doing so can be harmful to the
monitor. Wait at least 20 minutes before selecting this control again.
H. MOIRE
(Horizontal Moire)
reduces vertical interference patterns that appear
as ripples, waves, or unwanted background color textures.
Press [
▼
] or [
▲
] to minimize interference patterns.
V. MOIRE
(Vertical Moire)
reduces horizontal interference patterns
that appear as ripples, waves, or unwanted background color textures.
Press [
▼
] or [
▲
] to minimize interference patterns.
VIDEO LEVEL
displays the voltage level of the video signal.
Press [
▼
] or [
▲
] to select 0.7V or 1.0V.
VIEWMATCH
®
COLOR
provides four color adjustment options: three
preset color temperatures and
USER COLOR
which allows you to adjust
red and green, and blue.
Press [
▼
] or [
▲
] to select one of the three color temperatures shown on
the following page, then press the [2] button to activate it. Selecting and
activating
USER COLOR
displays the second screen shown on page 10.
Summary of Contents for Optiquest Z90
Page 1: ......