Generating a Self-signed SSL Certificate
1. On the Communications tab, select
Configuration
>
Web Server
>
Certificate
.
2. In the Settings section:
a. Click
Edit
.
b. In Generate Self-Signed SSL Certificate Mode, select the mode to use.
•
If you select
User Configured Settings
, make entries in all of the configurable-value fields
(required), then click
Save
.
3. In the Commands section, click
Enable
, then click
Generate
next to Generate Self-Signed SSL
Certificate.
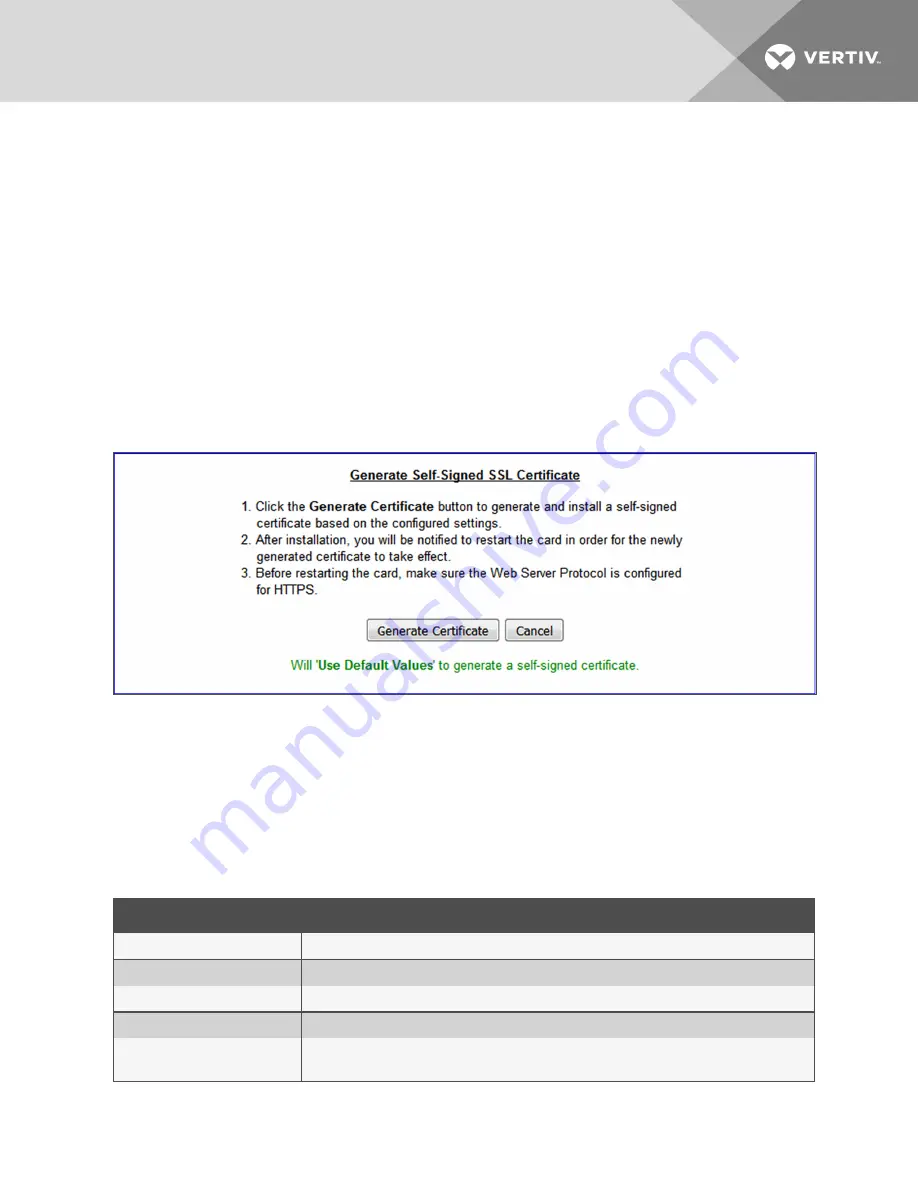
The generate dialog opens. See the following figure.
4. Follow the instructions in the dialog to generate and install the certificate.
Figure 5.3 Generate Self-Signed SSL Certificate dialog
6.4.6 LIFE
™
Folder
The LIFE subfolder contains settings that affect use of the Vertiv™ LIFE Technology, a remote monitoring
and diagnostic service for Vertiv™ units. The LIFE settings are for use by trained Vertiv™ personnel only
and require no user changes. The following tables provide reference information about the LIFE settings.
Settings in this folder are managed by Vertiv™. A service contract is required.
For support, contact Vertiv™ Technical Support for LIFE Services at 1-800-435-7250, option 3.
STATUS
DESCRIPTION
Connection Media
The LIFE Technology connection media
Enable Date and Time
The date and time that LIFE Technology support was enabled.
Settings
Description
LIFE Technology
Enable or disable the LIFE Technology
System Serial Number Override
When enabled, A user configured System Serial Number will override a Serial Number configured
in the device ,
Table 5.2 LIFE Status Settings
6 Editing the Unity Card Configuration
43


