4 Installing in Enclosure Row
4.1 Leveling the Unit
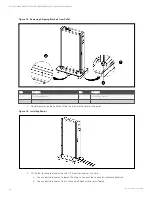
To level the unit:
1.
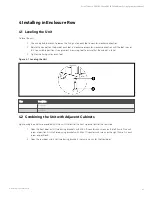
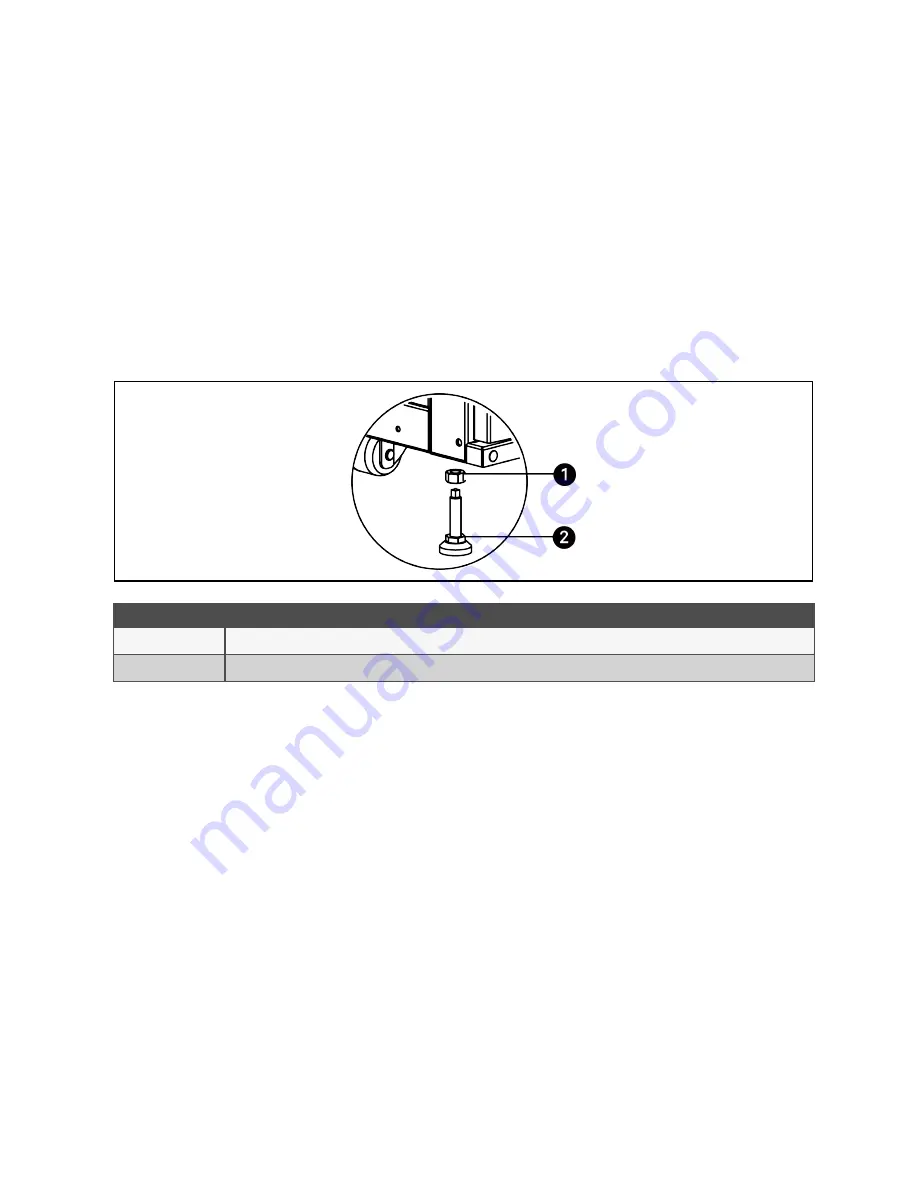
Use an adjustable wrench to loosen the fixing nut on each foot in counter-clockwise direction.
2.
Rotate the hex bolt on the base of each foot in clockwise or counter-clockwise direction until the foot rises or
falls to a suitable position. Use a gradient measuring tool to ensure that the cabinet is level.
3.
Tighten the fixing nut on each foot.
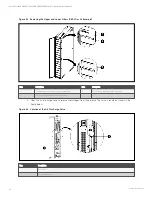
Figure 4.1 Leveling the Unit
Item
Description
1
Fixing nut
2
Hex bolt
4.2 Combining the Unit with Adjacent Cabinets
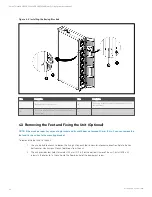
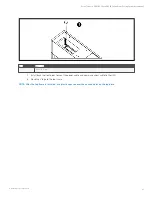
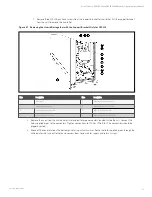
Eight baying brackets are provided with the unit. Use four for the front side and four for the rear side.
1.
Open the front door. Install two baying brackets with M6 x 10 countersunk screws on the left frame. Fix each
screw at position A. Install two baying brackets with M6 x 10 countersunk screws on the right frame. Fix each
screw on position B.
2.
Open the rear door and install two baying brackets the same way as for the front door.
4 Installing in Enclosure Row
21
Vertiv™ Liebert® CRV CRC30 and CRC60 Chilled Water Cooling System User Manual

