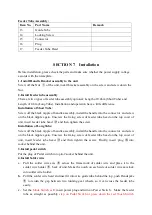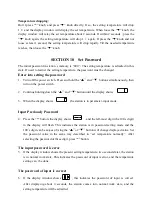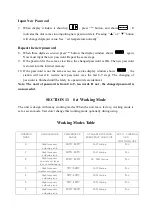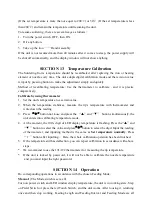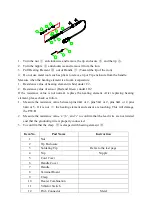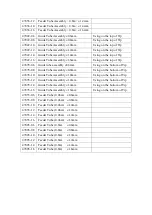
Feeder Tube Assembly:
Item No.
Part Name
Remark
13
Guide Tube
14
Locking Screw
15
Connector
16
Plug
17
Feeder Tube Head
SECTION 7 Installation
Before installation, please check the parts and make sure whether the power supply voltage
accords with the nameplate.
1. Install Handle Bracket assembly to the unit
Screw off the Nut
①
of the unit, install bracket assembly on the screw and screw down the
Nut.
2.Install Feeder tube assembly
There are two types of feeder tube assembly optional: Length of 0.46m (Short Tube) and
Length of 0.8m (Long Tube). Installation and operation have a little difference.
Installation of Short Tube:
Screw off the black nipple of handle assembly, install the handle into the connector
and screw
on the black nipple again. Unscrew the fixing screw of feeder tube head on the top cover of
unit, insert feeder tube head
⑰
and then tighten the screw.
Installation of Long Tube:
Screw off the black nipple of handle assembly, install the handle into the connector
and screw
on the black nipple again. Unscrew the fixing screw of feeder tube head on the top cover of
unit, insert feeder tube head
⑰
and then tighten the screw. Finally, insert plug
⑯
into
socket behind the unit.
3.Install pedal switch
Put the plug of Pedal switch into pin-2 socket behind the unit.
4.Install Solder wire
a.
Pull the solder wire axis
⑧
across the framework of solder wire and place it to the
solder wire holder
⑨
back of unit. Make the notch on each side of solder wire axis lock
into solder wire holder.
b.
Pull the solder wire head and insert it into wire guide tube behind the top, push Handspike
⑤
to widen the gap between two running gear wheels, so it can cross the feeder tube
easily.
c.
Set the
Mode Switch as
0, insert power plug and turn on Power Switch
.
Make
the feeder
tube as straight as possibly,
step on Pedal Switch or press down the red Touch Switch


