


6
Features
High-resolution HD panel
This monitor supports 1920 x 1080 HDTV format and can display true 16.7M colors, you can enjoy extreme fine
pictures.
MVA system less-reflection black TFT LCD panel
MVA system and Black TFT LCD panel offer bright and wide images with clear contrast. Even placed near the
windows, the monitor shows bright and clear image with little reflection. The viewing angles of the monitor are as
wide as 170° both horizontally and vertically, enough to enjoy clear images at any view angle.
Offer varieties of connection
Video system Input:
There are 3 choices of connection
RGB Input:
There are 2 choices of connection
Signal delivery
VIDEO RCA
S-VIDEO Mini Din 4 pin
COMPONENT Mini Din 8 pin
RGB ANALOG D-Sub 15pin
RGB DIGITAL DVI-ID 24pin
RS-232C in D-sub 9pin (Option)
ʳʳʳʳ
Other functions
Building the light sensor inside, the monitor will adjust the brightness according to the surrounding light
intensity.
There are two brightness levels pre-set. Under the bright condition, it will adjust to the bright mode.
Under the dim condition, the monitor will adjust to dim mode automatically.
Signal source auto detection.
PIP/ PAP function. Please see the chapter “
Display mode
”
Zoom
in/out
function.
Package Contents
Unpacking
VT520
is packed by the carton box. During transportation, in order to protect the monitor,
VT520
is packed by cushions to be safe protect and package.
Before unpacking your monitor, prepare a stable, level, and clean surface near a wall outlet for your monitor
first.
Set the LCD Monitor box in an upright position and open from the top of the box before removing the top
cushions.
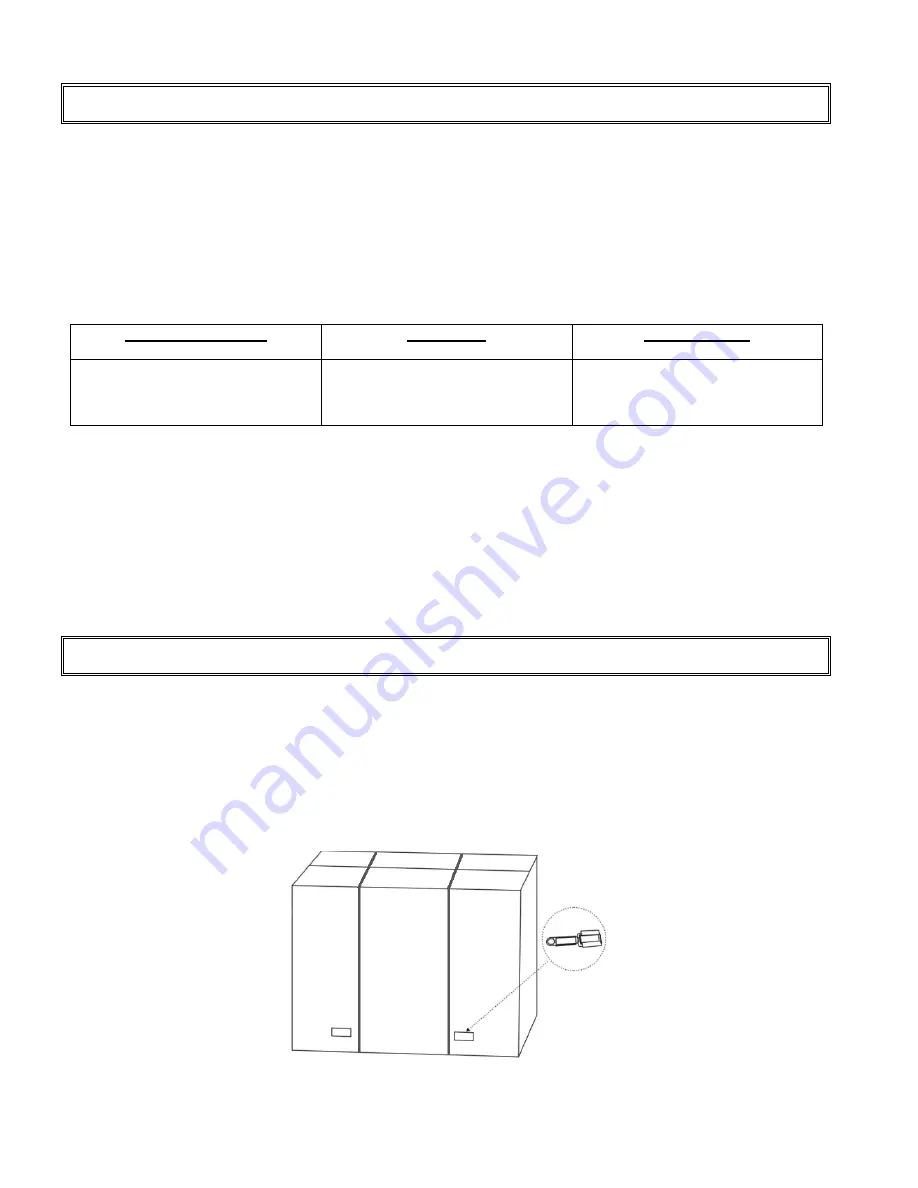
z
Step 1: Remove the white handle
and cut the bundle
Summary of Contents for VT520
Page 9: ...8 Dimension Front Back...


