X-Series All Weather User Guide 10 150-092
2.3
On Screen Display (OSD) (Cont’d)
Brightness/Contrast/Black Level Menu
When the Brightness/Contrast/Black Level Menu icon is selected, the following menu
icons will appear. To make a menu selection, use the Left and Right arrows. When the
desired icon is chosen, use the Select button to make the selection.
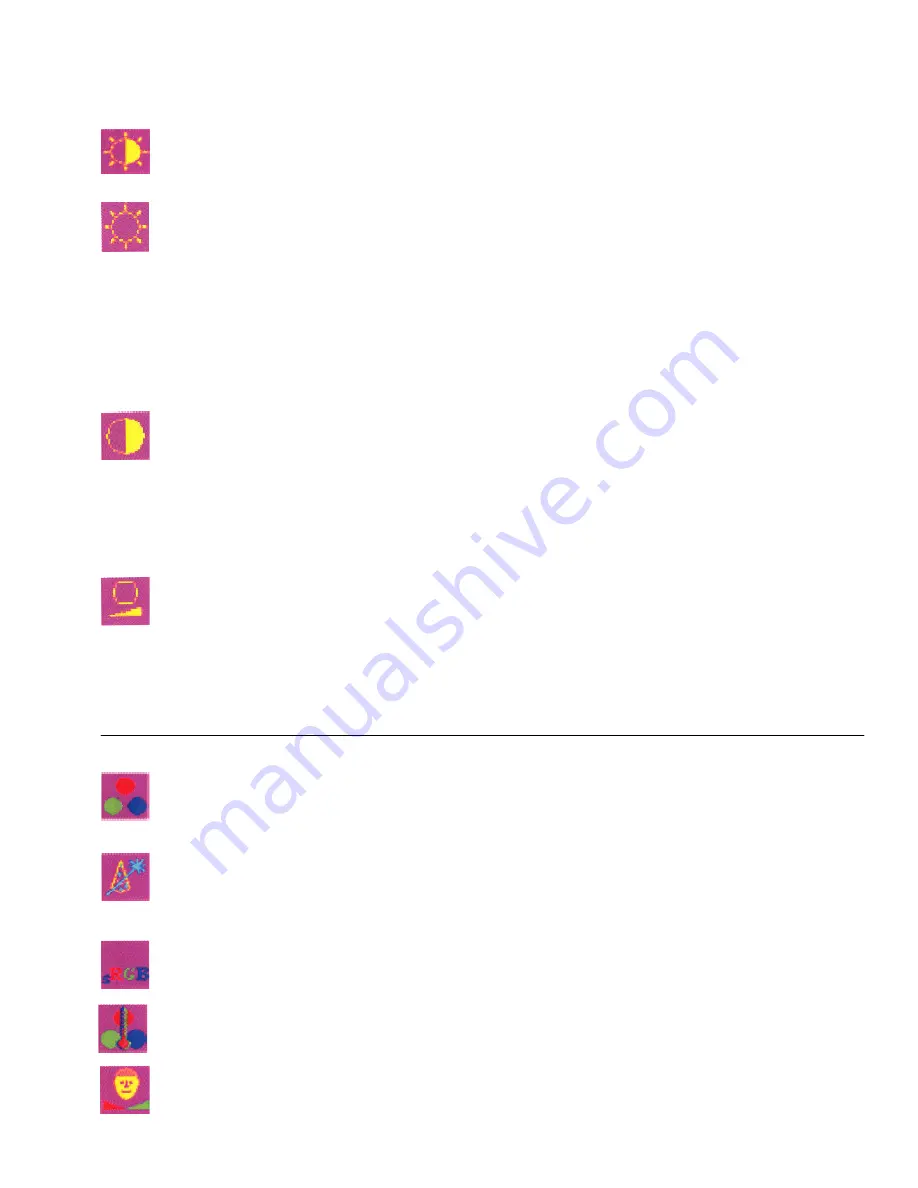
Brightness Adjustment
Adjust the brightness component of the displayed image. There is a slider-bar graphic
depicting the relationship between the current brightness setting and the pre-defined
minimum/maximum brightness on the bottom line of this menu. Use Left/Right buttons
to adjust the value and Select/Exit button to save the new value and return to the item
selection on this PC display menu. Note that “brightness” adjustment that is related to
and LCD panel controls the intensity of the pixels displayed. To adjust the overall
brightness of the display, use the separate brightness control buttons to control the
backlight.
Contrast Adjustment
Adjust the contrast component of the displayed image. There is a slider-bar graphic
depicting the relationship between the current contrast setting and the pre-defined
minimum/maximum contrast on the bottom line of this menu. Use the Left and Right
buttons to adjust the value and Select/Exit button to save the new value and return to
the item selection on this PC Display menu. Note that “contrast” adjustment controls the
relative differentiation between lighter and darker pixels.
Black Level Adjustment
Adjust the black level components of the displayed image. There is a slider-bar graphic
depicting the relationship between the current black level setting and the pre-defined
min/max black level on the bottom line of this menu. Use the Left and Right buttons to
adjust the value and Select/Exit button to save the new value and return to the item
selection on this PC Display menu. Note that “black level” adjustment is related to LCD
panel and controls the intensity of the dark pixels displayed.
Color Adjustment
When the Color Adjustment icon is selected, the following menu icons will appear.
To make a menu selection, use the Left and Right arrows. When the desired icon is
chosen, use the Select button to make the selection
Auto Color Setup
Press Select key to do Auto Color Setup. After it is done use the Left and Right
arrows until the Exit icon appears in the main menu to save the updated parameters
in the NVRAM
Standard Color Setup
Press Select key to set standard color
RGB Color Temperature Setting and Color Adjustment
Press the Left and Right keys to select color temperature or adjust RGB color depth
RGB Color Skin Tone Adjustment
Press the Left and Right keys to adjust Skin Tone setting


