


VT190 DiamondVue User Guide 150-065
The VT190 DiamondVue Series display has an embedded microprocessor in the converter card. Once
you have the unit displaying the resolution you desire for your application do the following:
7
3.2
GETTING STARTED
GETTING STARTED
3
Section
3.1
Adjusting the display
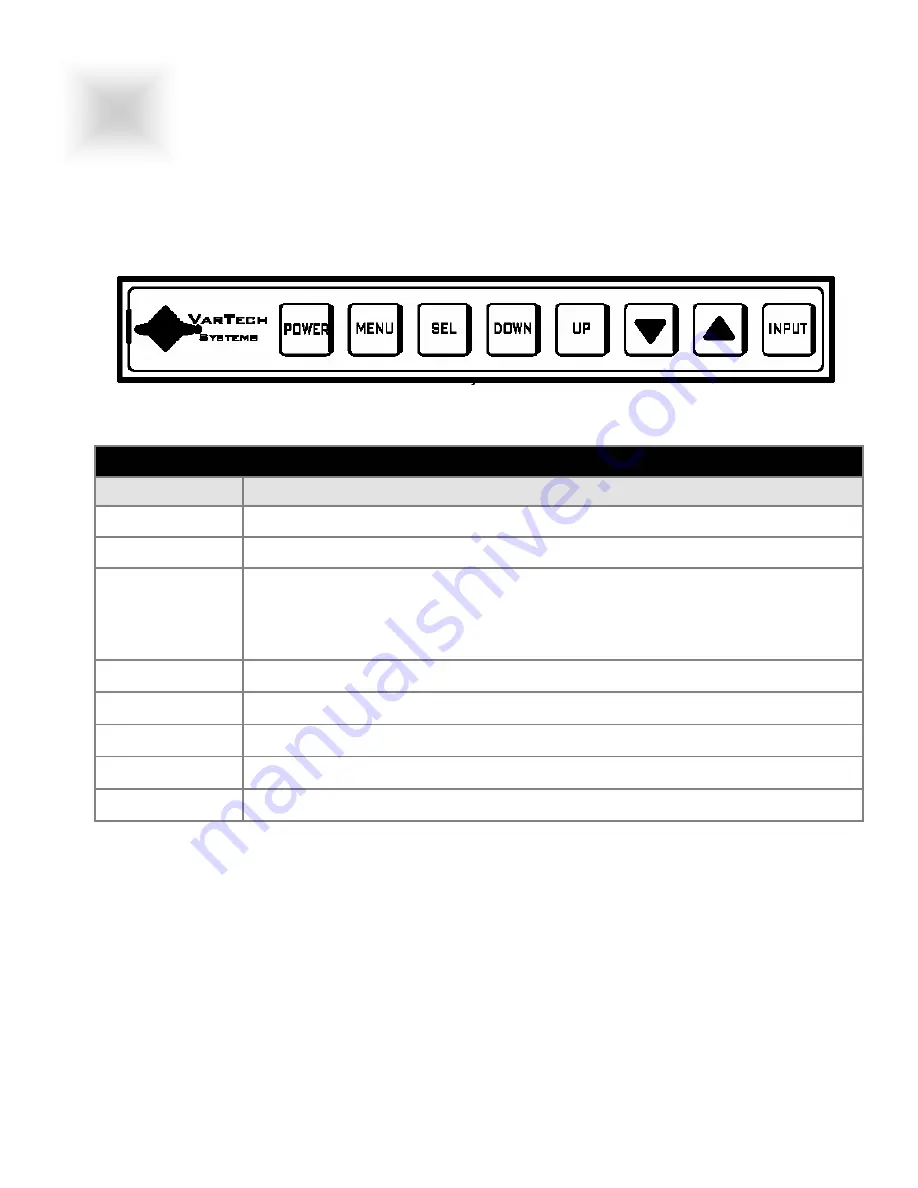
Definition of OSD (on screen display) Adjustments
On Screen Display
Major Category Adjustment Category
POWER
Turns the systems ON/OFF
MENU
Activates the OSD menu or goes to the previous menu
SEL
•
When the OSD menu is off, press more than 3 seconds
Performs “auto-adjustment’ function
•
When the OSD menu is on
Selects the highlighted icon that the user wants.
DOWN
•
Moves the highlight icon up to the function that the user wants
UP
•
Moves the highlight icon down to the function that the user want
▼
•
Decreases the adjustment of the selected function
▲
•
Increases the adjustment of the selected function
INPUT
•
Selects the Input Signal among analog RGB, Digital DVI, CVBS and S-VHS
Accessing the Menu System
1. With the OSD off, push the
MENU
button to activate the main OSD menu.
2. Use the
UP
or
DOWN
buttons to move from one function to another. As you move from one icon to
another, the function name changes to reflect the function or group of functions represented by that
icon. Please refer to the following clause on the next page to view a complete list of all the functions
available for the driver board.
3. Pres the
SEL
button once to activate the highlighted function, use the
UP
or
DOWN
buttons to se-
lect the function.
4. After selecting a function, use the
▼
or
▲
buttons to make optimum adjustments. The setting bar
moves and the numeric value indicator changes to reflect your adjustements.
Note:The numeric value indicator is provided as a point of reference only and has nothing to do with
a real measurement.
5. Press the
MENU
button once to return to the main menu to select another function or press twice to
exit from the OSD.


