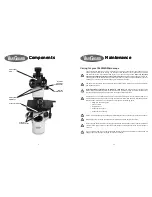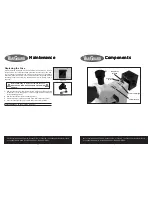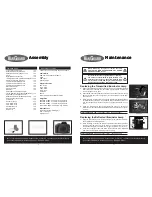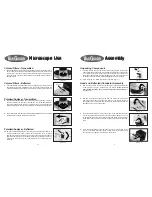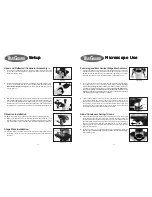
aperture
iris dial
13
Setup
Setup
Setup
Setup
Setup
16
Setup
Setup
Setup
Setup
Setup
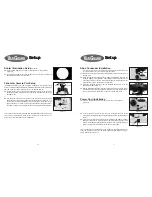
Figure 36
Figure 37
Figure 38
Figure 39
Transmitted Illumination Setup
23.
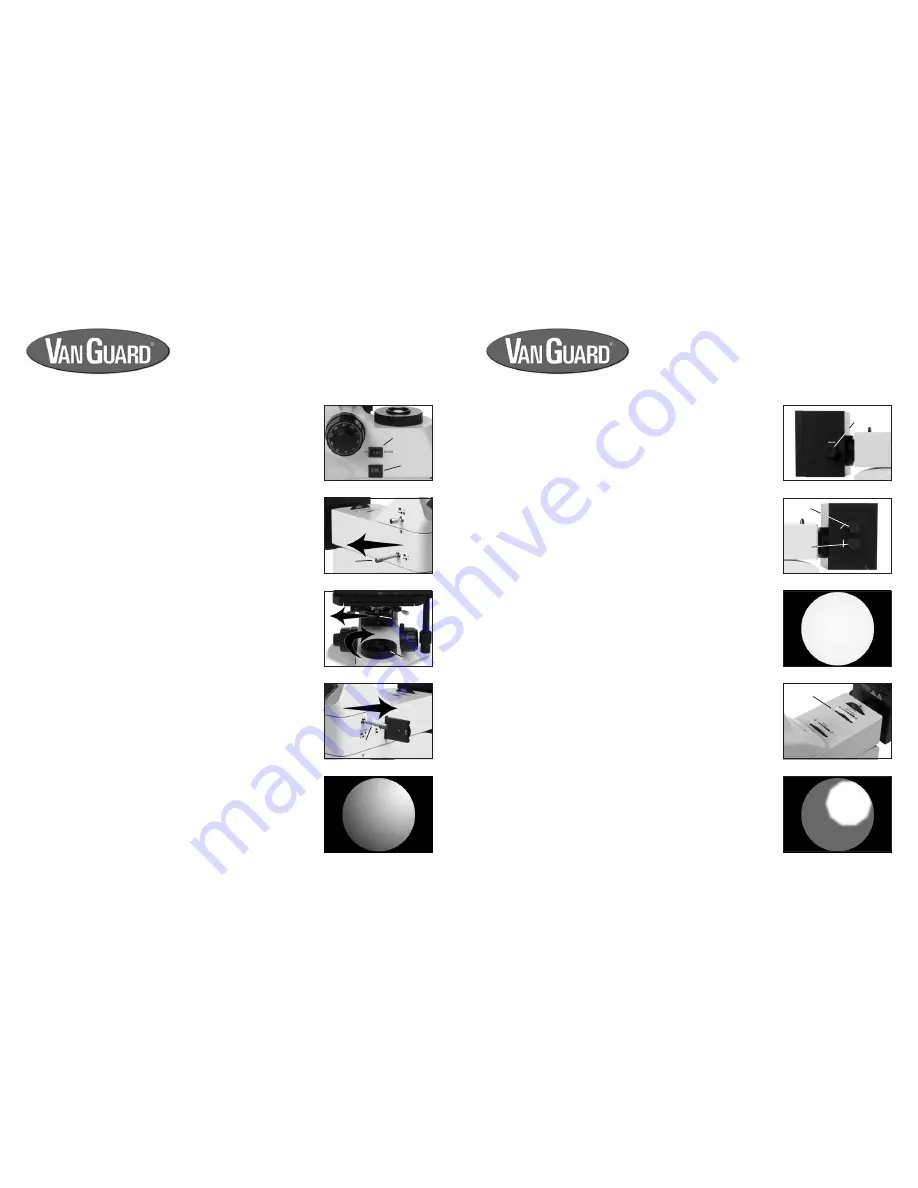
Set the main power switch to the ON position (“|”) and the illuminator selection
switch to the DOWN position (“|”) (figure 35). Adjust the VLC (variable lighting
control), located on the right side of the microscope base, counter-clockwise
to the maximum position.
24.
Check to see that the illuminator selector knob is pulled out all the way (“T”)
(figure 36).
25.
Rotate the field diaphragm dial clock-wise to fully open the iris (figure 37).
26.
Shift the aperture diaphragm slider to the left to fully open the iris (figure 37).
27.
Remove the transmitted polarizer filter from the collector if applicable. Pull
the Analyzer selector knob fully out (figure 38).
28.
Rotate the 5X objective into the light path. You may have to lower the stage
in order not to crash the higher magnification objectives into the stage.
Continued on next page...
9.
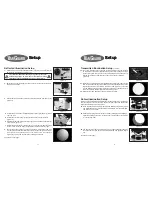
Adjust the three reflected illuminator alignment knobs located on the
illuminator housing in order to properly align the lamp. The knob on the left
(figure 20) focuses the lamp transversely (Z-axis) while the upper right knob
adjusts for latitudinal (X-axis) and the lower for longitudinal (Y-axis)
movement (figure 21).
Figure 20
Figure 21
Figure 22
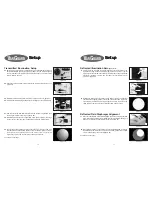
Figure 23
Figure 24
10.
Rotate each of these in succession until the field of view is at it’s brightest
overall and the brightest portion is centered in the field of view (figure 22).
This step may be aided by placing a bright white piece of paper on the
stage directly under the objective and the light field viewed on that.
Reflected Illumination Setup
(continued)
11.
Next, the reflected illuminator field diaphragm needs to be properly centered
in the light path. Ensure that the reflected illuminator aperture diaphragm is
fully open by rotating the Aperture dial to the right (figure 23).
Reflected Field Diaphragm Alignment
Continued on next page...
12.
While looking through the eyepieces close the field diaphragm by rotating
the Field dial to the left until you begin to see a darker perimeter in the field
of view resembling an iris silhouette(figure 24).
Figure 35
selector
power
focus
control
latitude
control
longitude
control
selector
knob
field iris
aperture
selector knob
29.
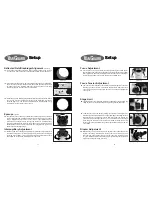
Look through the eyepieces and you should see a white field of view. You
may have to adjust the variable lighting control in case the light is too dim or
too bright. If the brightest portion of the field of view isn’t centered
(figure 39) you will need to perform the following instructions.


