PROGRAMMING GUIDE – EXTREME DUTY TPMS
3
Intro: Programming the CANbus Transceiver using the SmarTool
1.
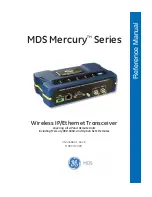
These instructions apply only to Valor CANbus
Transceivers (
Figure 1
) that require a Valor SmarTool
for sensor programming.
2.
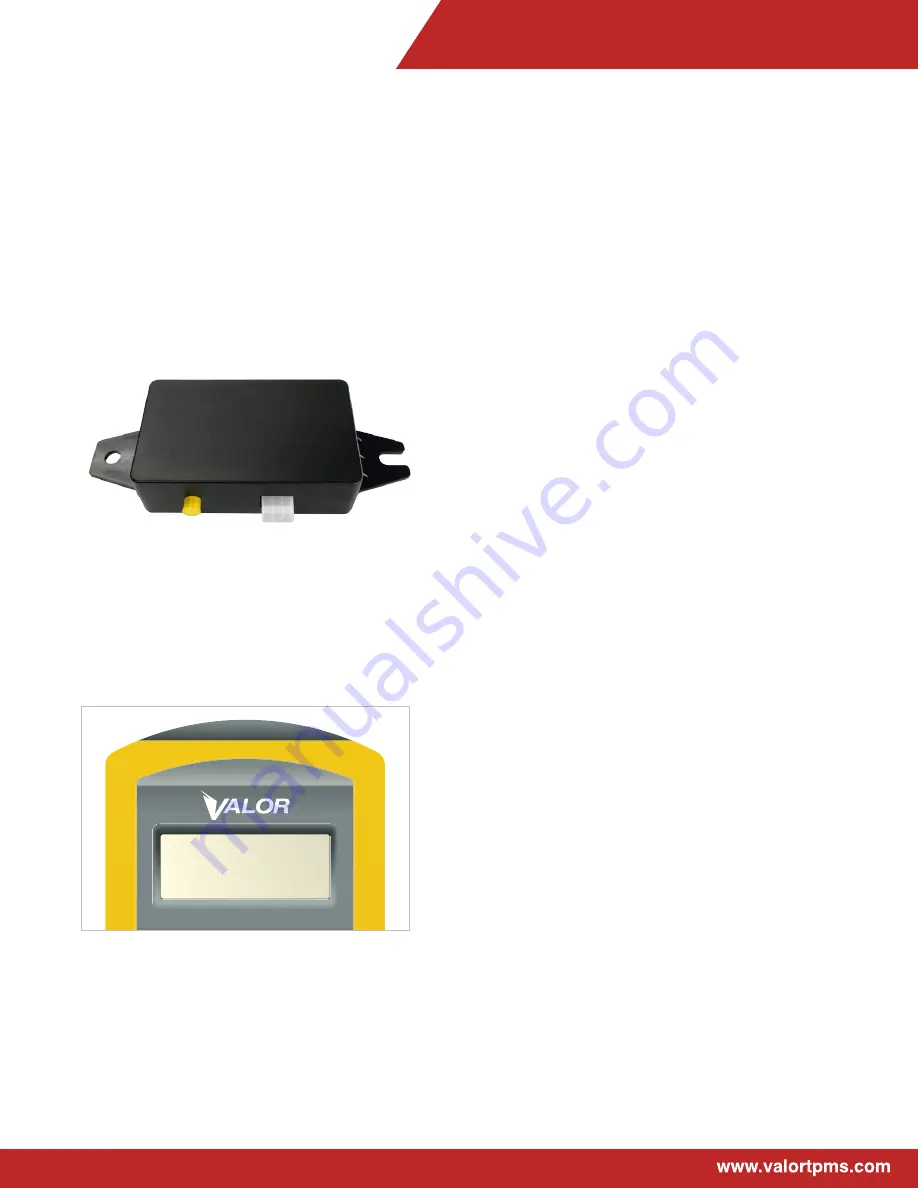
The SmarTool must be updated to the latest software
version (Pro 2.2 or higher). To check the software
version on your SmarTool simply press the on/off
button. The firmware version of the device will display
on screen
Figure 1A
.
Figure 1
Figure 1A
Pro V2.2
Truck