background image

PROGRAMMING GUIDE – EXTREME DUTY TPMS

17 

STEP 6

STEP 6.1

1. 

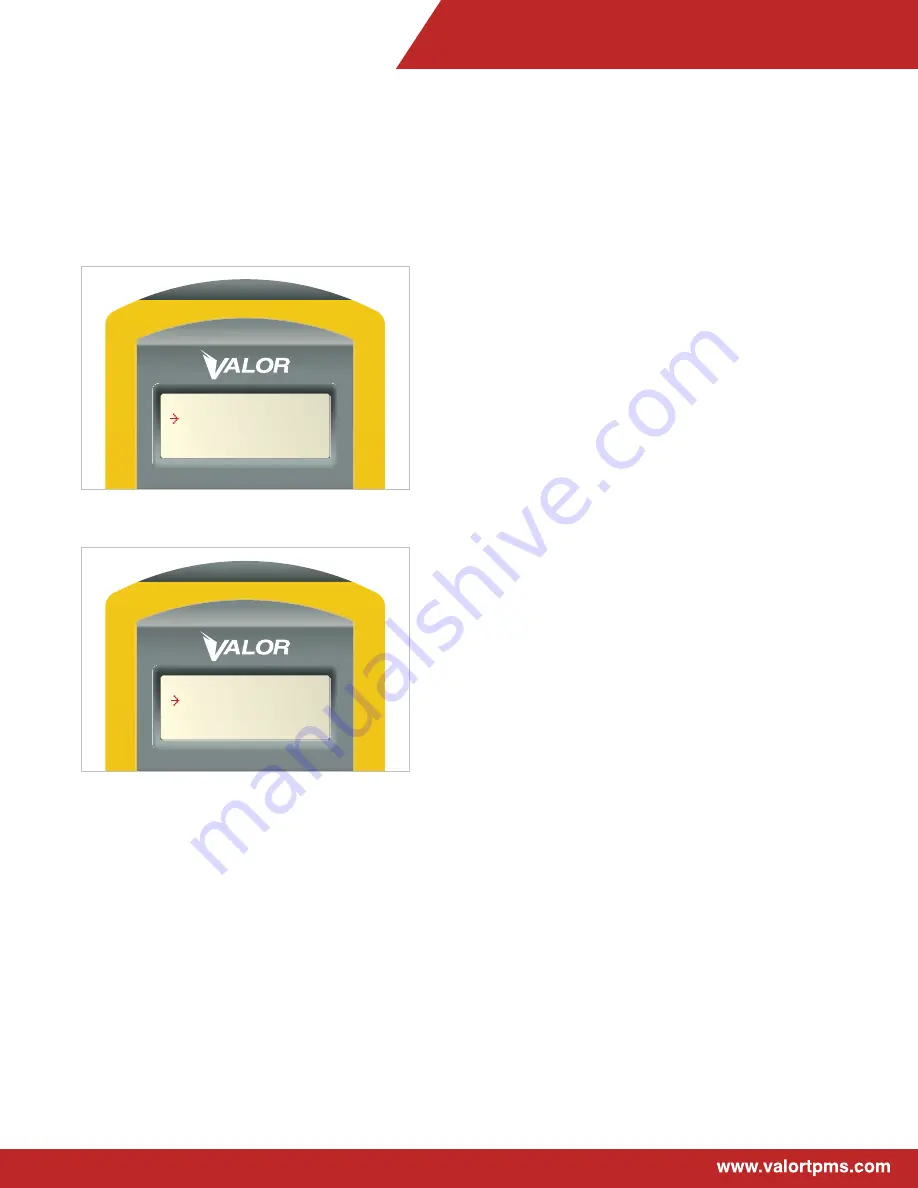
 Each tire position with a loaded sensor will be shown 

with an NC next to it. (

Figure 27

)

2. 

 To adjust the baseline air pressure for 1-A (default 

is 100 PSI), press ENTER on SmarTool, the N/C will 

change to [110] indicating current PSI setting. 

(

Figure 28

)

3. 

 To adjust the PSI number, use the up/down arrow keys 

on the SmarTool.

4. 

Press ENTER

5. 

Repeat for all tire positions

6. 

 Once the baselines for all tires have been set, press 

ESC to return to the Baseline menu.

7. 

In the Baseline menu, select “Transmit”.

8. 

Press ENTER

9. 

Select “Wireless”

10. 

Press ENTER

11. 

 Hold SmarTool directly in front of the CANbus. The 

upload will take approximately 3 seconds.  

Note: 

During this process the screen will not change, 

DO NOT

 press Enter again. 

12. 

 If the upload was successful, “Succeed” will appear on 

the screen and the CANbus will beep twice.

13. 

 If the display shows “Failed,” repeat the steps from the 

beginning.

Figure 27

Figure 28

 Vehic 00033D Psi

    1 -D  NC

   2-A NC

   2-B

 Vehic 00033D Psi

    1 -A  [110]


 1-B 

   1-C

Summary of Contents for EXTREME DUTY TPMS

Page 1: ...EXTREME DUTY TPMS Programming Guide 1 800 568 9188 4320 Harvester Rd Floor 2 Burlington ON L7L 5S4 Canada Pro V2 2 Truck...

Page 2: ...4 SmarTool Setup 5 System Setup 6 Step 1 Read CANbus ID 7 Step 1 1 7 Step 1 2 8 Step 2 Read Sensor ID Set Positions 9 Step 2 1 10 Step 3 Uploading to Valor CANbus Memory 11 Step 3 1 12 Step 4 Program...

Page 3: ...ANbus Transceivers Figure 1 that require a Valor SmarTool for sensor programming 2 The SmarTool must be updated to the latest software version Pro 2 2 or higher To check the software version on your S...

Page 4: ...be the same as that shown in Figure 2 2 This is the home screen and it lists 7 possible selections as you scroll down the menu using the up down arrow keys Sensor 1 7 Vehicle ID 2 7 ID Learning 3 7 Ch...

Page 5: ...Fahrenheit PF use the up down arrow Figure 3 6 Press ENTER to select unit will beep to confirm 7 Press ESC to return to the Setting screen 8 To set up the number of axles select Set Axle Figure 4 9 Pr...

Page 6: ...Setup The system setup requires the following steps 1 Read CANbus ID 2 Read Sensor ID Set positions 3 Format Valor CANbus memory 4 Program Valor CANbus transceiver 5 Confirm programming Turn to next...

Page 7: ...ad CANbus ID 1 In Main menu scroll to ID Learning item 3 7 Figure 6 2 Press ENTER STEP 1 1 1 In the ID Learning menu select Read ID Figure 7 2 Press ENTER Figure 6 Sensor 3 7 Vehicle ID ID Learning Ch...

Page 8: ...urn the power to the Valor CANbus transceiver OFF and back ON I e vehicle ignition or power interrupt button on Valor harness Figure 8A 3 DO NOT PRESS THE ENTER BUTTON on the SmarTool 4 The Vehicle ID...

Page 9: ...on the vehicle Example If programming 1 A to the left front tire position the SmarTool approx 1 inch from the side of the tire you wish to scan sensors are normally installed near the valve stem 2 Pre...

Page 10: ...eturn to the ID Learning menu Return to the vehicle s cab 4 Note When programming a Valor CANbus transceiver for an axle with only two wheel positions tires program the sensor ID numbers in positions...

Page 11: ...use 2 With the power is still on from Sep 1 2 Use the up down keys on the SmarTool to move the cursor arrow to the Clear ID option in the ID Learning menu Figure 12 3 Press ENTER 4 In the Clear ID su...

Page 12: ...the Valor CANbus transceiver the SmarTool will clear it and the screen with display Succeed Figure 15 3 If the SmarTool displays Failed proceed to next step 4 Note this message does not mean setup has...

Page 13: ...n Figure 16 2 Still holding the SmarTool directly over the Valor CANbus transceiver press ESC to return to the ID Learning menu Figure 17 3 Scroll up and select the Transmit option Figure 18 4 Press E...

Page 14: ...ID information stored on the hand held to the Valor CANbus transceiver Transmitting will appear on screen 1 Once the SmarTool has completed transmitting the information to the Valor CANbus transceive...

Page 15: ...irectly over the Valor CANbus and press ENTER 3 The screen will display Waiting Rec Figure 22 Restart the Valor CANbus power OFF and back ON 4 The SmarTool will display the sensor ID tires by position...

Page 16: ...hicle select Yes Figure 24 7 Press ENTER 8 Restart the device appears on the screen indicating you should turn power to the CANbus ON and place the hand tool directly in front of the CANbus transceive...

Page 17: ...ositions 6 Once the baselines for all tires have been set press ESC to return to the Baseline menu 7 In the Baseline menu select Transmit 8 Press ENTER 9 Select Wireless 10 Press ENTER 11 Hold SmarToo...

Reviews: