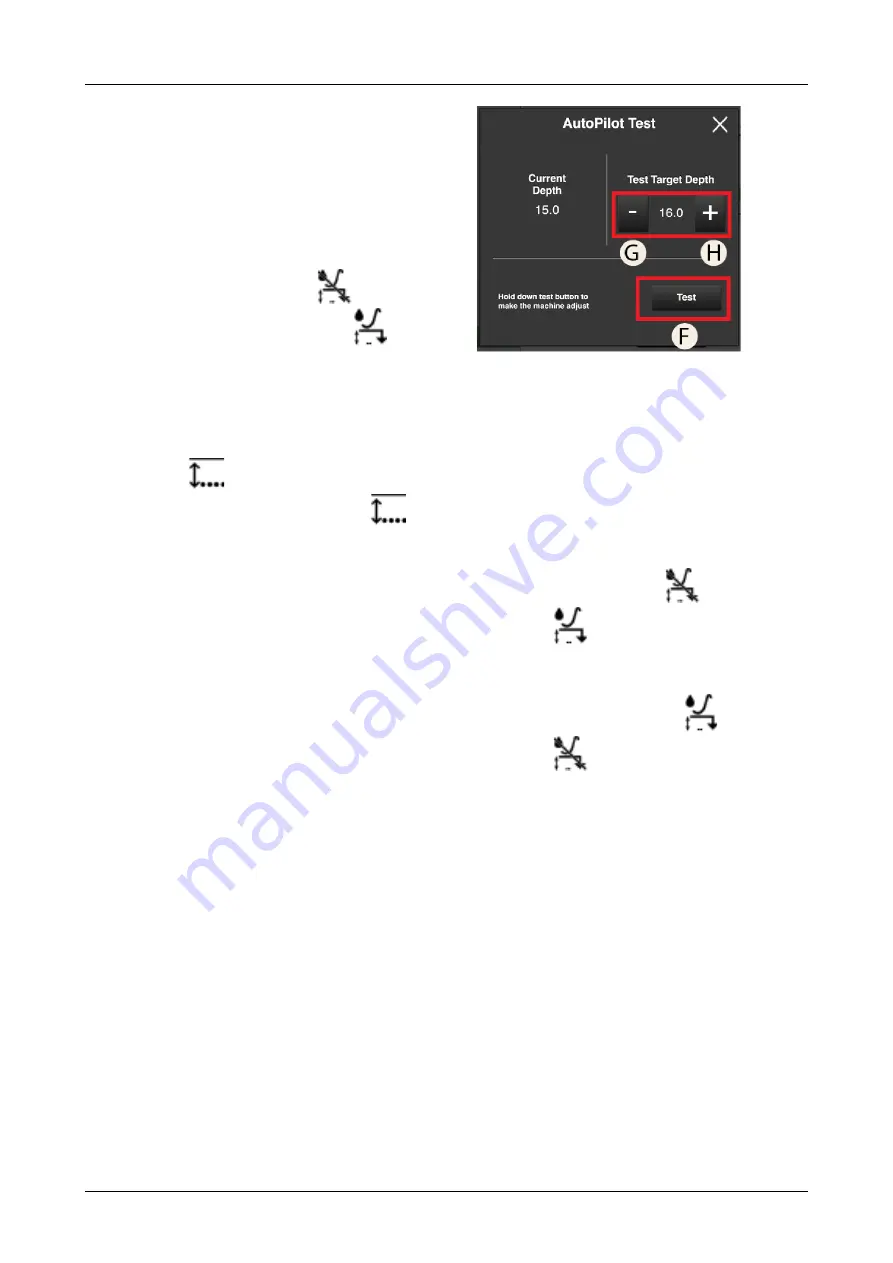
Adjust as follows:
1. Set the drilling depth as usual using the Control
system.
2. Get down from the tractor and visually check the
drilling depth to make sure it is correct.
3. Drive the machine at normal speed and lowered to the
drilling position. The oil supply to the AutoPilot
system must not have been switched on.
4. Activate AutoPilot by pressing the
button on
the home screen. The symbol changes to
and
turns green to indicate that the system is active (the
symbol turns green when the machine is travelling
forwards and white when the machine is stationary).
5. Press the button that displays the actual drilling depth.
The drilling depth setting menu will be displayed.
6. Use the plus and minus buttons to select the desired
value next to
. If the drilling depth is correct
following visual checking, the value beside
(G,
) becomes the same as the value shown
beside I,
. This is the value that the
system is working towards.
7. Return to Drive mode by pressing H, see
6.24 “
.
8. Activate the oil supply to the AutoPilot system from
the tractor. The system has now been calibrated and is
ready for use. AutoPilot now works with the machine
lowered to the drilling position when the drilling
speed exceeds 2 km/h.
6.7.5
System test
The AutoPilot system has a system test mode.
Perform a system test as follows:
1. Lower the drill onto firm ground.
2. Switch on the AutoPilot system and the oil supply
from the tractor.
3. Go into the menu for AutoPilot settings.
4. Press the E button to open the test menu, see
6.22 “
.
Figure 6.25 AutoPilot test
5. Hold down the F button.
6. Change the Set value by pressing the G and H buttons.
If the Set value is reduced to less than the Actual
value, the machine should be raised automatically. If
the Set value is increased to a value greater than the
Actual value, the machine should be lowered
automatically.
6.7.6
Driving with AutoPilot
1. Engage AutoPilot by pressing
. The symbol
switches to
and is green or white when the
system is active. (Green when the machine is
travelling forwards and white when it is stationary.)
2. Disengage AutoPilot by pressing
. The symbol
switches to
.
3. The current Actual value is detected by the sliding
runner and is displayed on the menu row.
The AutoPilot system (see
) starts operating when the machine is lowered
to the ground and is switched off when the machine is
raised. In order for the system to operate, the driving
speed must exceed 2 km/h.
4. While drilling with the machine, AutoPilot adjusts the
drilling depth to the Set value that has previously
been set in the drilling depth menu.
5. To view or change the adjustment speed or seeding
depth, see
“ Selecting adjustment sensitivity“
and/or
.
6. Return to Drive mode by pressing H, see
6.24 “
.
20
903099-en-gb; 19.01.2021


