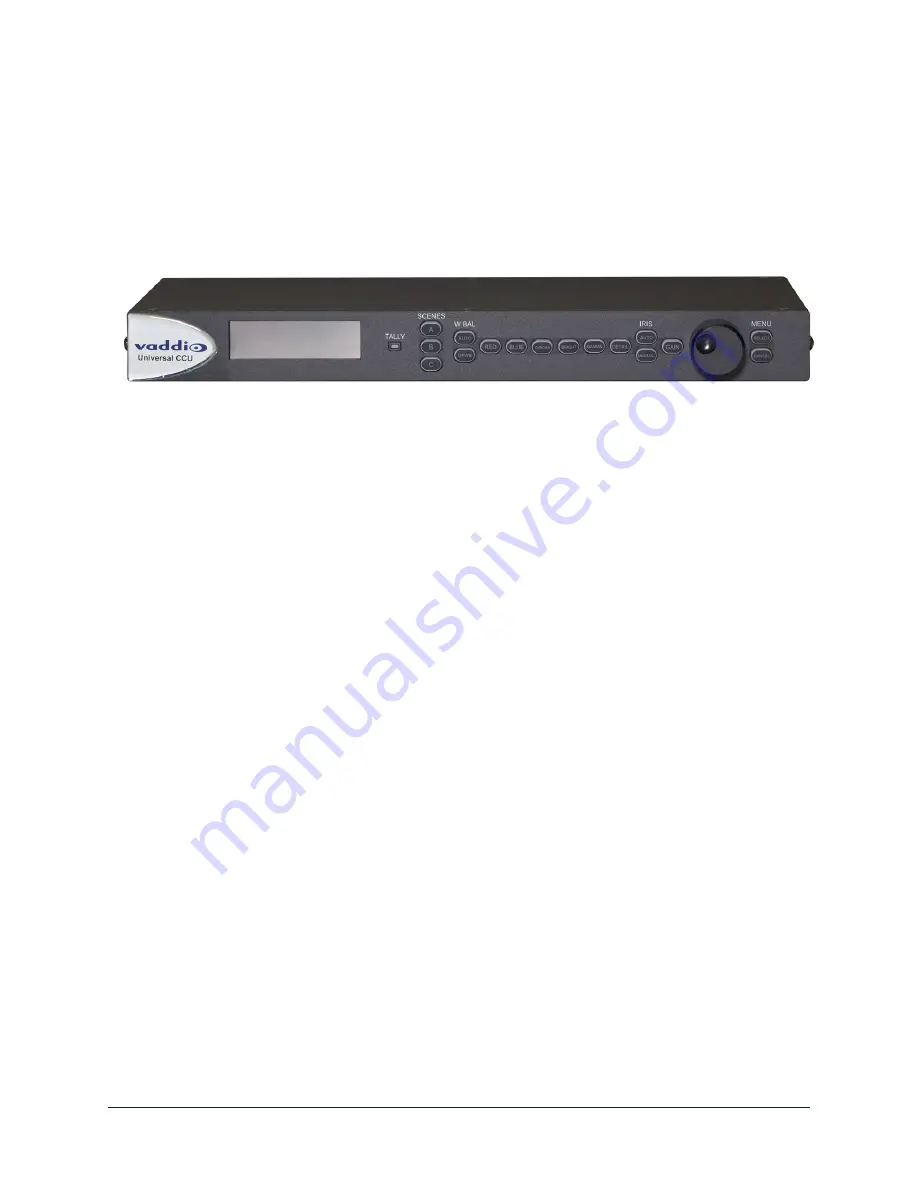
The Quick-Connect Universal CCU Interface
This interface combines a versatile connectivity solution with a broadcast-quality camera control unit
(CCU). It is the best choice for environments where lighting and color management are priorities and
installations requiring long cabling distances.
Note
The Universal CCU supports resolutions with frame rates of 60, 59.94 and 50 frames per second, but not
lower.
Front panel features:
n
5-line display
– Shows the current value for the parameter you are changing. The display shows up to
8 parameters at a time, so you can see how the controls and settings interact.
n
Tally light
– In a multi-camera/CCU installation, this indicator shows when this CCU and camera are
the live program. When this light illuminates, the CCU also sends a tally command to the camera to
light its tally indicator.
n
Menu selector knob
– Dial the desired setting or value for the selected function.
The buttons:
n
Scene A, Scene B and Scene C
– Store and use three different sets of color and lighting adjustments
(CCU scenes). F
n
W Bal OPWB (One Push White Balance)
– Calibrate the color balance (Auto White Balance must be
off). After the calibration is complete, you may want to activate Auto White Balance.
n
W Bal Auto (Auto White Balance)
– Manage color levels automatically. Use the OPWB button to
calibrate the white balance before activating Auto White Balance.
n
Red Gain and Blue Gain controls
– Adjust the color balance. These controls are only active when
Auto White Balance is off.
n
Chroma
– Controls the color intensity of the image.
n
Bright
– Luminance control for the image.
n
Gamma
– Adjusts the mid-tones to change the grey density of the image.
n
Detail
– Sharpens or softens the objects in the image.
n
Iris Auto and Iris Manual
– Automatic and manual control, respectively, of the amount of light
entering the camera.
n
Gain
– Boosts the signal level when the iris is open all the way and there is not enough light available.
n
Select and Cancel buttons
– Save the change you make with the menu selector knob, or cancel it to
retain the existing setting or value. These buttons are also used for menu navigation.
16
Complete Manual for RoboSHOT 12 and RoboSHOT 30 Robotic PTZ Cameras


