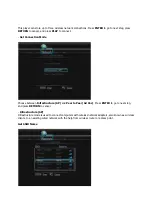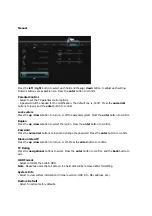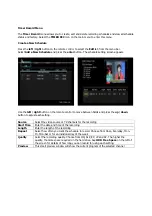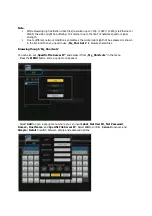
Timer Record Menu
The
Timer Record
menu allows you to create, edit and delete recording schedules and view all schedule
status and history. Select the
TIMER REC
icon on the main menu to enter this menu.
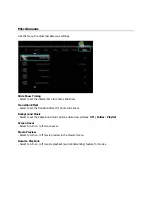
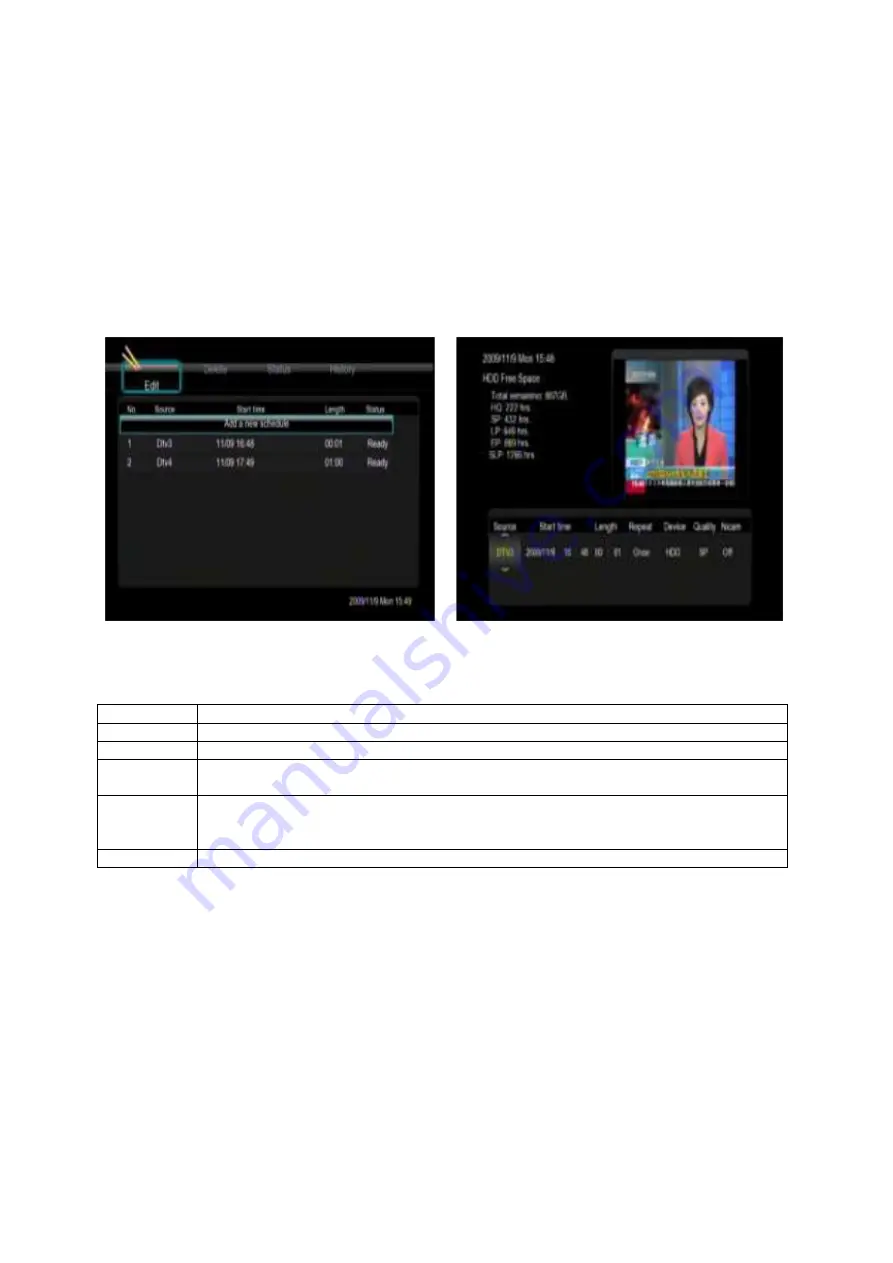
Create a New Schedule
Press the
left
/
right
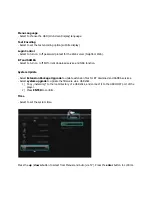
button on the remote control to select the
Edit
tab from the menu bar.
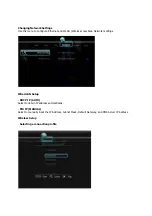
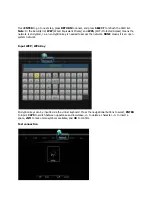
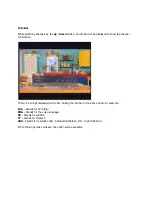
Select
Add a New Schedule
and press the
enter
button. The schedule setting screen appears.
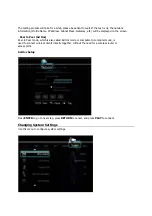
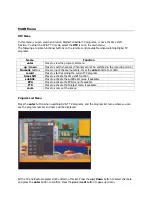
Use the
left
/
right
button on the remote control to move between fields and press the
up
/
down
button to adjust each setting.
Source
Select the video source or TV channels for the recording
Start Time
Enter the date and time of the recording
Length
Enter the length of the recording
Repeat
Select how often you want the schedule to record. Choose from Once, Everyday, Mon-
Fri, Mon-Sat or for an individual day of the week
Quality
Select the recording quality. Choose from HQ, SLP, EP, LP and SP. The higher the
quality, the more space required on the hard drive. See
HDD Free Space
on the left of
the screen for details of how long you can record for using each setting.
Preview
This small preview window will show the current program of the selected channel

