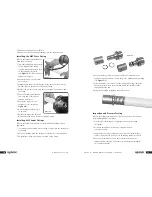
4. Position the large o-ring in the groove next to the shoulder of the
fitting. Position the smaller o-ring in the groove midway along the fitting
(see
Figure 5-5
).
5. Slide the stainless steel sleeve over the fitting until it snaps into place.
Ensure the witness holes are positioned toward the shoulder of the
fitting and not the end.
6. Complete the fitting installation as described above.
Inspection and Pressure Testing
Refer to the following instructions to inspect and pressure test a system
after installing MLC Press Fittings.
1. Visibly inspect all fittings for completeness prior to pressurizing
the system.
2. Pressurize the hydronic system in accordance with local
code requirements.
3. In the absence of code requirements, pressurize the system with air
to 60 psi for at least 24 hours prior to embedding tubing in concrete.
4. Keep the system under pressure until construction around the
tubing system is complete. This ensures system integrity throughout
the construction phase.
15
Section 5 – Making MLC Press Fitting Connections
14
w w w.uponor-usa.com
3. Chamfer the tubing end until uniform.
4. Remove the tool and clean any shavings from the chamfered end.
Installing the MLC Press Fitting
Refer to the following instructions to
make the press fitting.
1. Insert the tubing end into the MLC
Press Fitting until the tubing
is visible through the witness holes
on the stainless steel sleeve
(see
Figure 5-3
). (Take care not to
damage the o-rings.)
2. Ensure the proper size press jaws
are on the tool.
3. Manually push the press jaws together at the base near the tool body
until the jaws are positioned over the press fitting.
4. Release the pressure on the press head so the jaws close down around
the fitting.
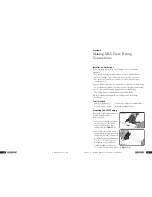
5. Position the jaws equal distance
from each end of the fitting's
stainless steel sleeve.
6. Engage the trigger to close
the jaws over the fitting (see
Figure 5-4
).
7. Hold the trigger until the cycle
is complete.
8. Release the trigger and the jaws
will automatically release from the completed fitting.
Installing MLC Sweat Fittings
Refer to the following instructions to install MLC Sweat Fittings (when
applicable).
1. If not already disassembled, remove the two o-rings from the fitting prior
to sweating.
2. After the sweating, allow the fitting to cool down to room temperature.
3. Reinstall the o-rings in their proper position on the fitting.
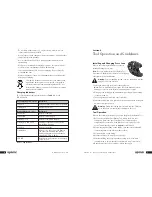
witness
hole
Figure 5-3
Figure 5-4
Figure 5-5
Summary of Contents for Mini-Press Battery Tool
Page 12: ...16 www uponor usa com...

