Friday, November 07, 2008
69
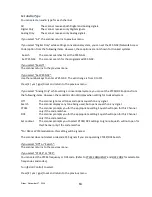
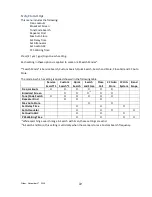
Set Alert Volume
This option can be used to set the alert level.
Auto
The alert is set to the same volume as normal audio.
Level1-15
The alert is fixed to the selected audio level.
Off
No alert sounds.
Press [E / yes / gps] to accept the data and return to the previous menu.
Note: This setting menu appears in
͞
Dangerous Xing
͟
and
͞
Dangerous Road
͟
.
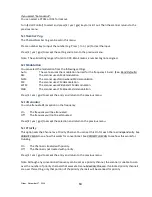
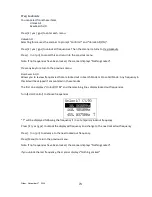
Set Alert Light
This option can be used to set Alert Light.
Off
Blue
Red
Magenta
Green
Cyan
Yellow
White
/ĨLJŽƵƐĞůĞĐƚ͞
Off
͟
, the scanner returns to the previous menu.
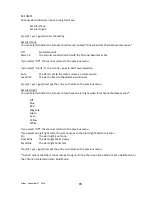
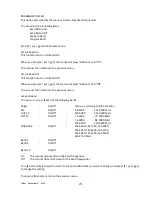
If you select an alert light color, the scanner goes to the Alert Light Pattern selection.
On
The alert light is set to on
Slow Blink
The alert light blinks slowly
Fast Blink
The alert light blinks fast
Press [E / yes / gps] to accept the entry and return to the previous menu.
Note: This setting menu appears in
͞
Dangerous Xing
͟
and
͞
Dangerous Road
͟
.
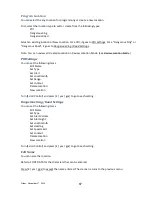
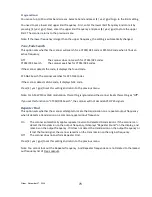
Set LocationInfo
You use this option to set the location data.
First, you set the latitude.
Press the number keys to enter latitude data. Press any number key when the cursor is in the last position
to toggle between south latitude (S) and the north latitude (N).
Press [E / yes / gps] to go to the longitude setting.
Press the number keys to enter longitude settings. Press any number key when the cursor is in the last
position to toggle between east longitude (E) and west longitude (W).
Press [. / no / pri] to jump to the next input area. For example, press [. / no / pri] on Degree Number for
DMS to jump to the Minute Number. Press this again to jump to the second number. Press [. / no / pri] or
a number key on N/S or W/E to toggle these settings.


