6
The ice maker should be cleaned on a regu
lar basis. (See: “HOW TO CLEAN”)
It is necessary to have an adequate ventilation space around the ice maker in order to sustain proper performance,
dissipation of heat, maintain efficiency, and low power consumption. Clearance of minimum 15cm should be
maintained at the rear and sides of the unit and 20cm at the top of the unit.
To attain proper performance, be sure to plug the appliance into a properly grounded 220V/50Hz outlet.
Do not modify the power cord under any circumstances to allow the unit to be plugged into a non-grounded outlet.
To avoid heat damage to the power cord, please ensure that it does not come in proximity or in direct contact with
the compressor of the ice maker.
Please avoid installing the ice maker in a location where the appliance will come in contact with water or moisture
to minimize rusting of metal parts.
The ice maker should not be installed near any heat source or in a location where it will come in direct contact with
the sunlight.
1. Clean your ice maker first.
2. Open the cover, remove the ice basket and pour water into tank.
Keep water level below the level mark:
▼
3. Place the ice basket back into the ice maker and close the lid.
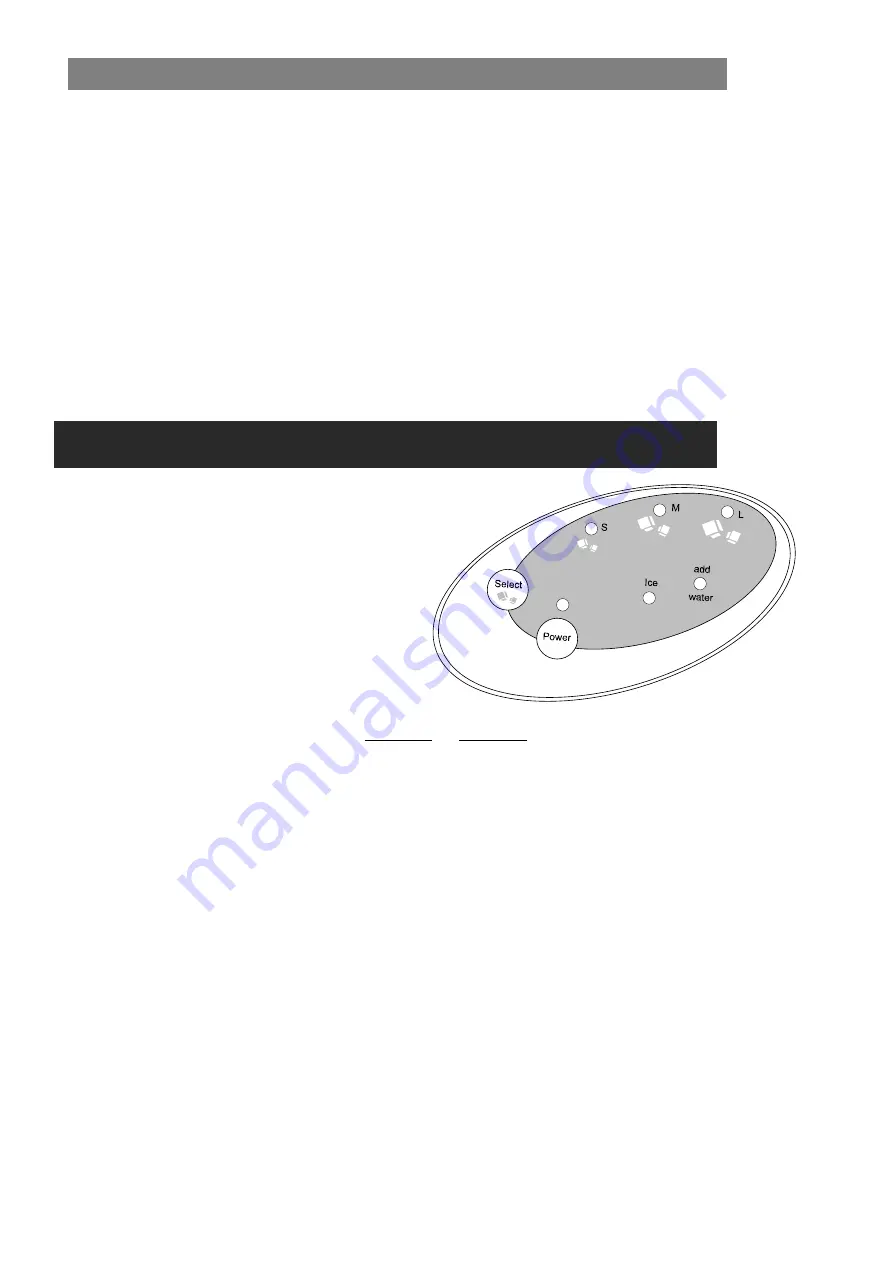
4. Plug in the unit and the power indicator light will blink.
5.
Press “Power” on the control panel to begin the ice making cycle. The power indicator light will lit.
6.
Select the size of the ice cube by pressing the “Select” button. If ambient temperatur
e is below 1
5
℃
, it is
recommended to select small or medium size to avoid ice sticking together.
7. The ice making cycle lasts 6 to 15 minutes, depending on the size of the ice cube selection & room temperature.
*NOTE:
When the machine is brand new, it may sometimes take a few hours for the machine to adjust and get used
to producing ice at a faster rate, and producing larger cubes of ice. This is considered normal.
8.
While the icemaker is on, check water level periodically. If water pump can’t inject water, t
he ice maker will stop
automatically, and the “Water” indicator w
ill be on.
Press “Power” button, fill water up to the level mark and press “Power” again.
Allow 3 minutes for the refrigerant to settle before restarting.
9. The ice maker automatically stops working when the ice basket is full.
10. Change water in the water reservoir every 24 hours to ensure a reasonable hygiene level.
If unit is not in use for a few days stretch, drain all water in the tank reservoir and reflll before operating again.
USING YOUR ICE MAKER
CARE AND MAINTENANCE
Summary of Contents for UBM 20
Page 10: ...9...


