PIPELINE CLEANING & TELEVISING EQUIPMENT
PIPELINE CLEANING & TELEVISING EQUIPMENT
-20-
Recording Procedure
1.
Press the Record button on either the wireless remote
control or DVR keypad.
2.
In the upper left hand corner of the screen it should
read, “REC” in red.
3.
To pause a recording push the enter button.
4.
The system will record until the user stops the
recording.
5.
To stop a recording push either the back button or
menu button.
6.
This recording will now be stored on the DVR’s hard
drive.
7.
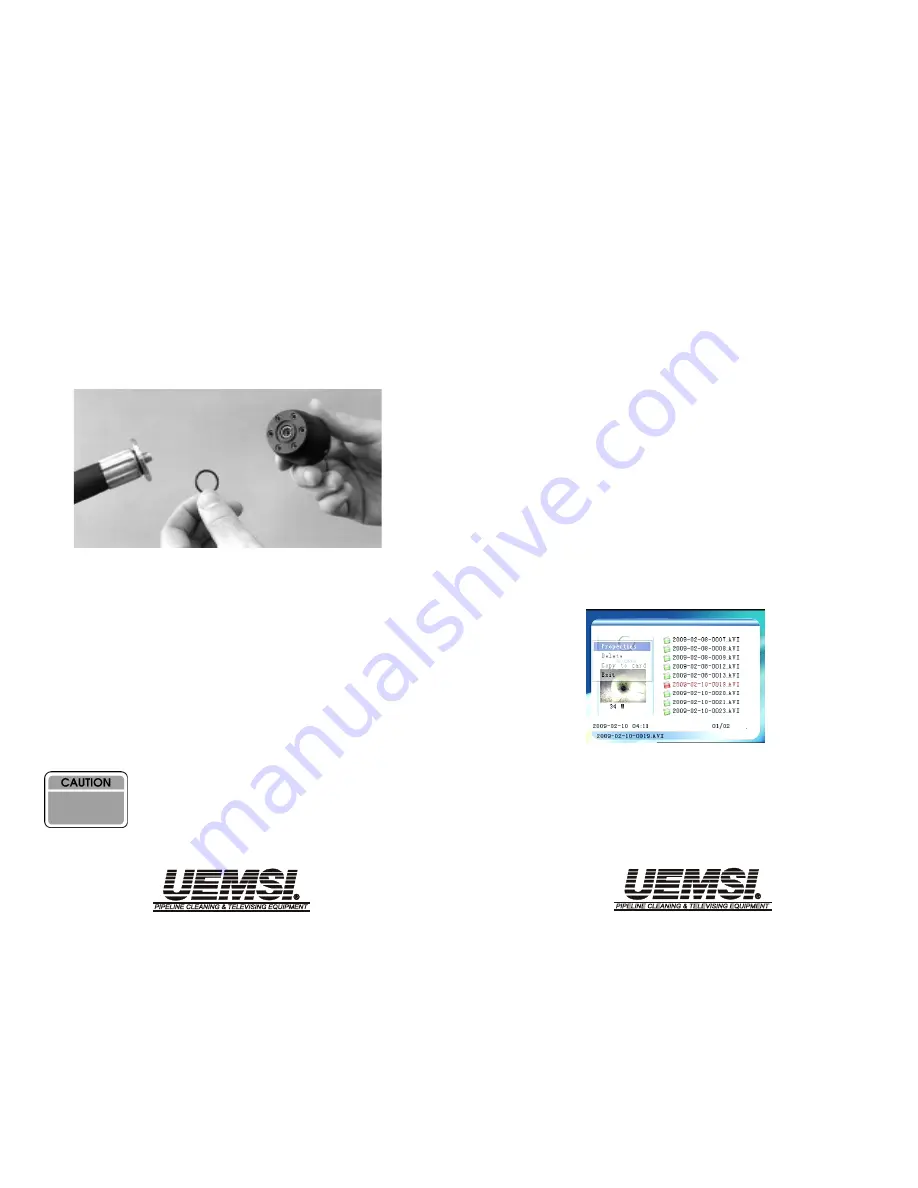
To transfer a recording to the SD card, select
the file to be moved and hit the menu button.
Choose the option, “copy to card”. The recording will
now be on both the DVR hard drive and the SD card.
Camera Head Removal (Hose Termination)
In the event that the camera head must be removed from the
video push cable, locate a 9/64” hex wrench. Remove the
three stainless steel socket head cap screws on the rear of
the connector. Once the connector is completely removed,
inspect the o-ring for damage (Fig. 4). If it is worn, replace it.
See Figure 4 below.
To reattach the camera head to the video push cable, align the
splined shaft of the electrical connector with the camera con-
nector and slide together. Replace the stainless steel screws.
Be sure to use a greased (silicone based grease or petroleum
jelly) O-ring.
Figure 4
Lighthead Dome Cleaning
With the lighthead dome attached to the camera, begin clean-
ing as follows:
1.
Choose a well ventilated working area
2.
Apply UEMSI cleaning solvent to an industrial-type
cleaning towel
Use only acrylic solvent cement for
cleaning the lighthead dome. This is
available in kit form through your
UEMSI representative.
-27-


