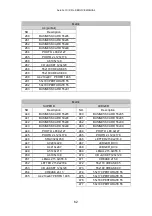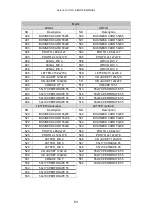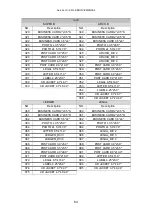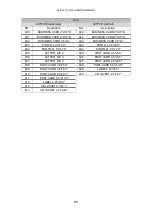
AeroCut X / XPro SERVICE MANUAL
52
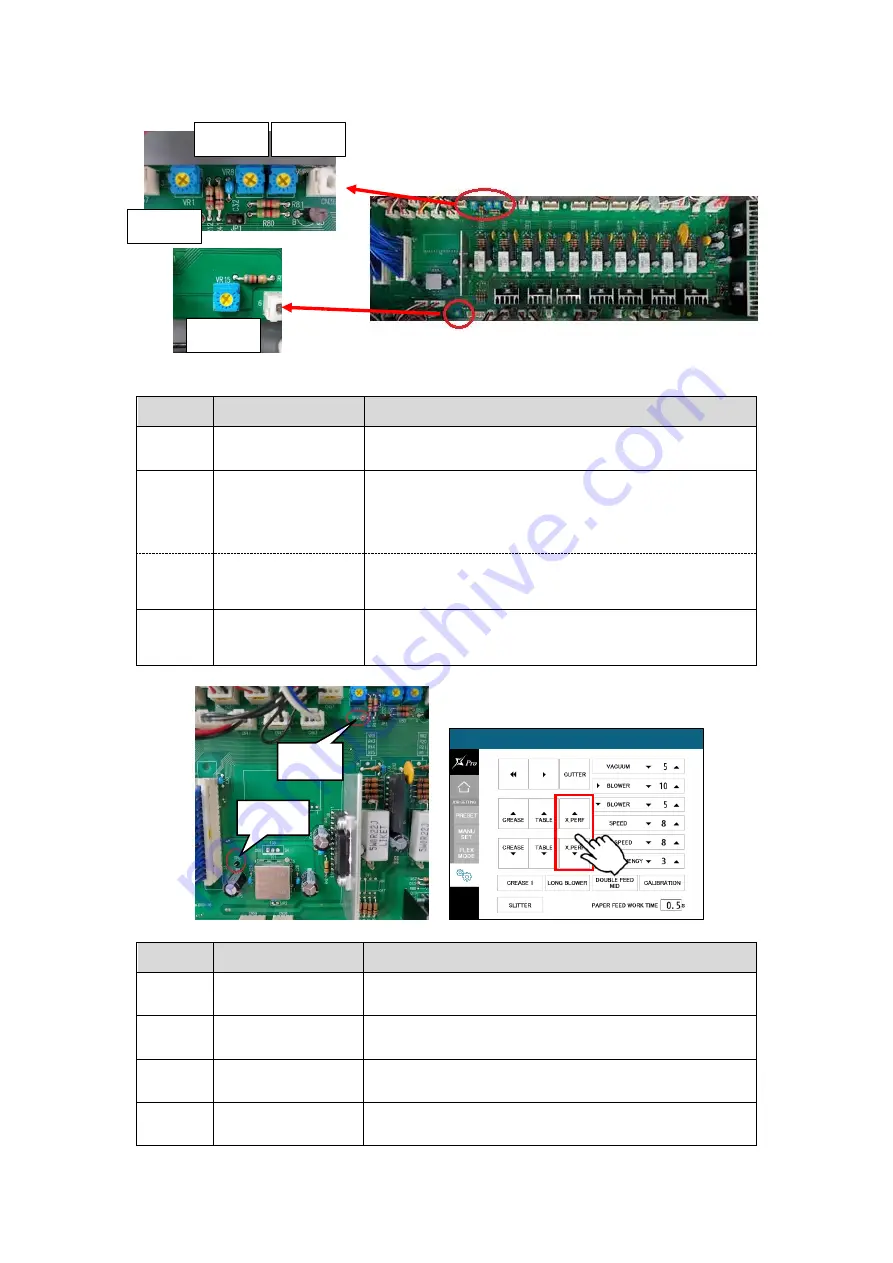
6.3.2
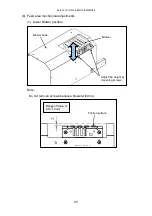
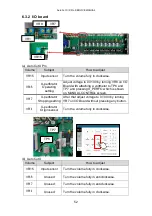
I/O board
(a)
AeroCut X Pro
Volume
Subject
How to adjust
VR15
Input sensor
Turn the volume fully in clockwise.
VR
8
X-perforator
Operating
setting
Adjust voltage to 0.310V by turning VR8 on I/O
Board with attaching a voltmeter to TP6 and
TP7 and pressing X_PERFO which is shown
on MANUAL CONTROL screen.
VR
7
X-perforator
Stopping setting
After that adjust voltage to 0.100V by turning
VR7 on I/O Board without pressing any button.
VR
1
X-perforator
Origin sensor
Turn the volume fully in clockwise.
(b)
AeroCut X
Volume
Subject
How to adjust
VR15
Input sensor
Turn the volume fully in clockwise.
VR
8
Unused
Turn the volume fully in anticlockwise.
VR
7
Unused
Turn the volume fully in anticlockwise.
VR
1
Unused
Turn the volume fully in clockwise.
VR15
VR8
VR7
VR1
TP6
TP7
Summary of Contents for AeroCut X
Page 1: ...SERVICE MANUAL UCHIDA YOKO CO LTD TOKYO JAPAN V1 00 ...
Page 9: ...AeroCut X XPro SERVICE MANUAL 9 d Remove covers ...
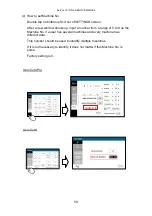
Page 27: ...AeroCut X XPro SERVICE MANUAL 27 3 7MAINTENANCE Screen AeroCut XPro AeroCut X ...
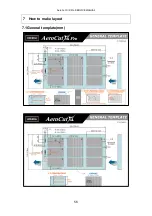
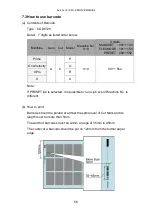
Page 56: ...AeroCut X XPro SERVICE MANUAL 56 7 How to make layout 7 1General template mm ...
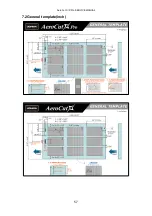
Page 57: ...AeroCut X XPro SERVICE MANUAL 57 7 2General template inch ...
Page 67: ...AeroCut X XPro SERVICE MANUAL 67 AeroCut XPro ...
Page 68: ...AeroCut X XPro SERVICE MANUAL 68 AeroCut XPro ...
Page 69: ...AeroCut X XPro SERVICE MANUAL 69 AeroCut X ...
Page 70: ...AeroCut X XPro SERVICE MANUAL 70 AeroCut X ...
Page 71: ...AeroCut X XPro SERVICE MANUAL 71 AeroCut X ...
Page 81: ...AeroCut X XPro SERVICE MANUAL 81 8 5Wiring Details ...
Page 82: ...AeroCut X XPro SERVICE MANUAL 82 ...
Page 113: ...UCHIDA YOKO CO LTD TOKYO JAPAN ...

