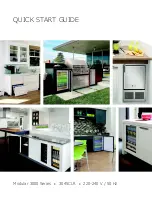


QUICK START GUIDE
2
u-line.com
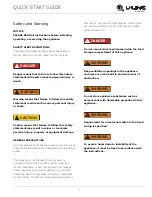
Safety and Warning
NOTICE
PLEASE READ all instructions before installing,
operating, or servicing the appliance.
SAFETY ALERT DEFINITIONS
Throughout this guide are safety items labeled with a
Danger, Warning or Caution based on the risk type:
DANGER
!
Danger means that failure to follow this safety
statement will result in severe personal injury or
death.
WARNING
!
Warning means that failure to follow this safety
statement could result in serious personal injury
or death.
CAUTION
!
Caution means that failure to follow this safety
statement may result in minor or moderate
personal injury, property or equipment damage.
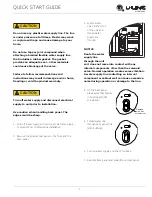
GENERAL PRECAUTIONS
Use this appliance for its intended purpose only and follow
these general precautions with those listed throughout this
guide.
This appliance is not intended for use by persons
(including children) with reduced physical, sensory or
mental capabilities, or lack of experience or knowledge,
unless they have been given supervision or instruction
concerning use of the appliance by a person responsible
for their safety. Children should be supervised to ensure
that they do not play with this appliance. Cleaning and
user maintenance shall not be performed by children
without supervision.
DANGER
!
Do not use electrical appliances inside the food
storage compartment of this appliance.
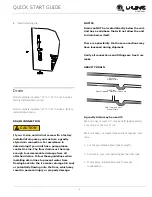
WARNING
!
Keep ventilation openings in the appliance
enclosure or in the built in structure clear of
obstruction.
WARNING
!
Do not store explosive substances such as
aerosol cans with flammable propellant in this
appliance.
WARNING
!
Requirement for an external switch in the fixed
wiring is specified.
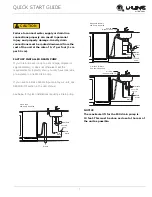
WARNING
!
To avoid a hazard due to instability of the
appliance, it must be fixed in accordance with
the instructions.


