INTRODUCTION
TABLE OF CONTENTS
Key Features ......................................................
2
WARNINGS: ...................................................... 2
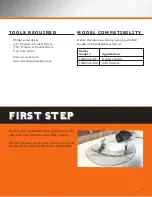
Tools required: ...................................................
3
Model Compatibility: ......................................... 3
FIRST STEP: ...................................................... 3
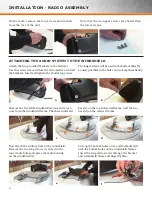
INSTALLATION-RADIO ASSEMBLY:
Attaching Audio System to Windshield ........... 4-5
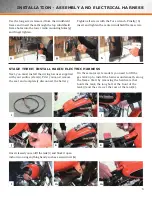
INSTALLATION-ELECTRICAL:
Wiring Harness ............................................... 5-6
FINAL INSTALLATION:
Windshield & Windshield Lock ....................... 7
ACCESSORIES/NOTES ...................................... 8
K E Y F E A T U R E S
· Easy Installation
· OEM Fit and Appearance
· Weatherproof
· System Detaches with Windshield
· 80W (40W x 2) Audio Output Power
· Integrated Amplified Antenna
· Heavy-Duty Waterproof AM/FM Radio with
Weatherband and Weather Alert
· AUX Audio Input (For use with iPods and
MP3 Players)
· Radio Retains station Presets and Clock
Time When Detached (Power Disconnected)
· Windshield Lock (Optional)
W A R N I N G S
INSTALLATION
The motorcycle’s battery must be disconnected
before installation and not reconnected until
the installation is complete.
OPERATION
Riding a motorcycle requires your full
attention at all times. Do not attempt to
operate or adjust the audio system
while riding.
WATER/MOISTURE EXPOSURE
The components and overall product design
are weather-resistant which means they can
survive exposure to rain and normal outdoor
moisture. However, care should be taken
especially when washing your motorcycle
not to expose the system to high pressure
(hose & nozzle) water spray. Since the system
easily detaches from the motorcycle with the
windshield, we recommend removing the
windshield/audio system when washing
your ride. Evidence of excessive water
exposure will void the warranty.
2


