TV Star T7100 CX HD User Manual Download Page 14

Press “timer” button enter into “schedule” menu, then press the red button start to edit.


Highlight the yellow you wish to setting start-time, end-time, channel No. 
Press the OK button 
Press the EXIT button 


The schedule window will be displayed with a number of options. You will be able to select from 
the following two options: 

Mode: View or Record 

Once you have made your selections press the enter key to confirm the recording time slot. 
 
If at anytime you wish to delete a Scheduled recording event, you can press the blue button to view 
the list of scheduled events. Use the arrow keys on the remote to highlight the event you wish to 
delete then press the blue button to delete it. 
 
The recording files can be deleted on this unit, you can go to the PVR, and press yellow bottun to 
delete it. The program is recorded to file at. PVR format, which can be played back on this unit and 
PC using a suitable player, but can not be played back on DVD or PDVD 
 
For recording the high definition TV programs, the version of usb device should be 2.0 or above, 
otherwise the unit may can not record the hd programs correctly. 
 
When recording to usb stick or external hard disc on this model, you have to wait a few seconds 
before pushing rec. after inserting the media. Otherwise the unit can freeze in the signal. If that 
happens, then please take off power and connect again to fix this. 
 
Note: 
Scheduled recording only works when the unit power is on,it can not work when the unit is standby. 

Note: 
- We cannot guarantee compatibility (operation and/or bus power) 
with all USB mass storage devices and assume no responsibility for 
any loss of data that may occur when connected to this unit. 
-  With large amounts of data, it may take longer for the system to 

read the contents of a USB device. 

-  Some USB devices may not be properly recognized. 
-  Even when they are in a supported format, some files may not play 

or display depending on the content. 
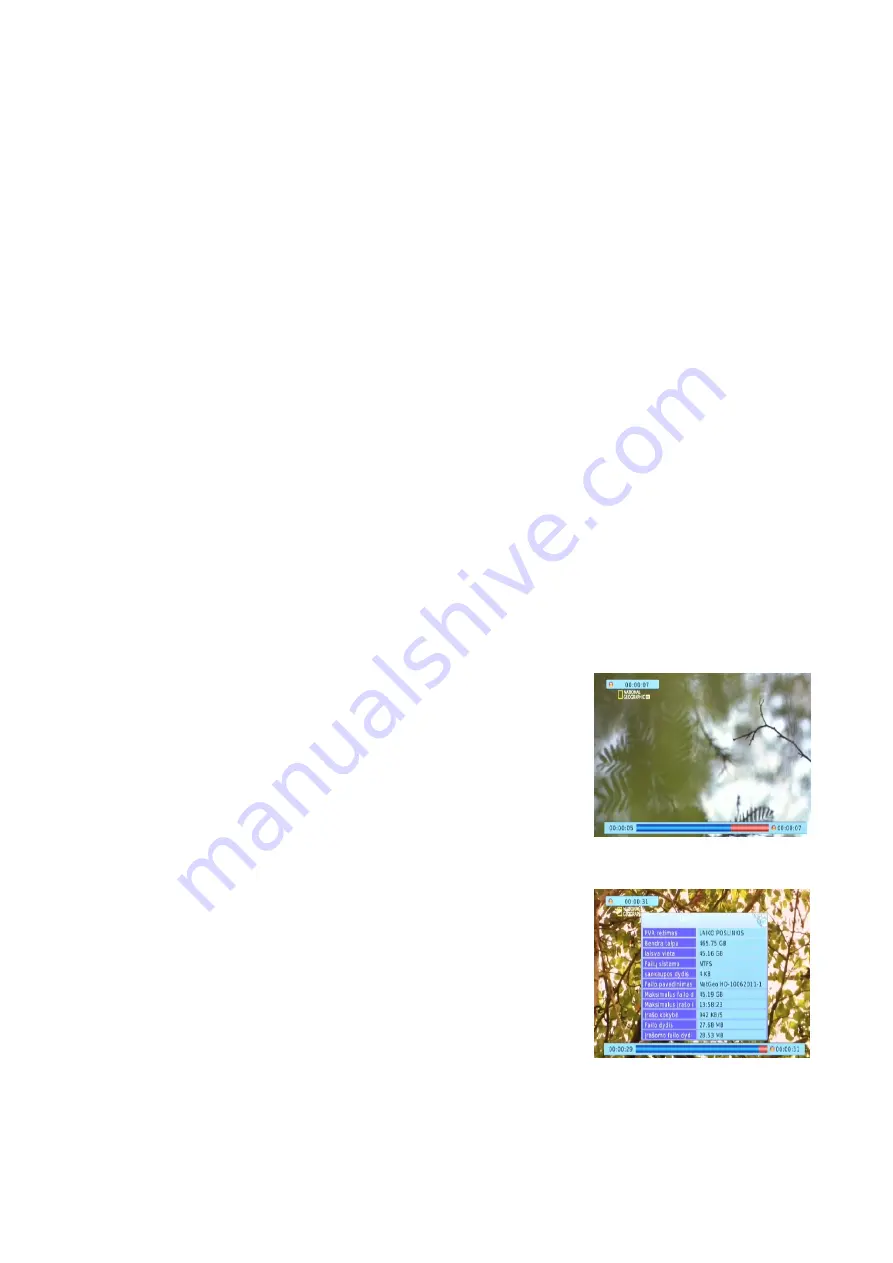
 

(e)  Timeshift 


When you are playing the program, you can insert the USB, and at 
any time you can press the [Time shift] button, the frame will be 
paused, and you may press the [PLAY] button after a second, it will 
start to timeshift now. You may press the PLAY button to return the 
normal program playing, and the timeshift is continuing, you may 
see from the below picture’s bottom which is showing the 
time shift status. In this case, you may make the unit to play the 
recorded program from the start.


Press [Info] key to see time shift information as below: 
You can press [fast forward]/[fast back] to move the slide to left or right of the current recording. 

Summary of Contents for T7100 CX HD

Page 1: ...DIGITAL TERRESTRIAL RECEIVER TV STAR T7100 CX HD USER MANUAL ENG ...

Page 2: ...Instructions 3 Front and Rear Panel 4 Remote Controle 5 Connecting to a Television 6 Connecting to an Audio System 7 Connecting to a DVD Recorder or VRC 8 First time Installation 8 Troubleshooting 15 Technical Specifications 16 ...

Page 3: ...b from power source In case you leave home or not using a hub for prolonged period or thunder is forecasted please disconnect power adapter from power source Technical maintenance is to be performed only if a hub is completely disconnected from a power source In order to ensure proper venting the distance around a hub should be at least 5 cm Do not place any objects of open fire candles etc Keep a...

Page 4: ...he main menu and exit all menus 2 VOL Decrease the volume of sound 3 CH Change channels or items from top to bottom on the menus 4 OK Press to proceed of confirmation 5 VOL Increase the volume of sound 6 LED SCREEN information panel 7 USB For software upgrade and media playback 8 POWER Allows to completely switch off the receiver ...

Page 5: ...OWER Switch the receiver in and out of standby model MUTE Disable Audio output 0 9 Numeric keys CH CH Program changing keys MENU Display main menu on TV screen and press again to exit current menu OK To confirm current setting or display all programs in no menu mode VOL VOL Turns up down volume Press to move the cursor EPG Shows the Electronic Program Guide FAV Display your favorite channels list ...

Page 6: ...hen it is operated near the LCD TV monitor please replace the batteries Use size UM 4 AAA batteries Notes Do not use rechargeable Ni Cd batteries Does not attempt to recharge short circuit disassemble heat or throw the batteries into the fire Do not drop step on or cause any impact to the remote control unit This may damage it resulting malfunction Do not mix old and new batteries If the remote co...

Page 7: ...For the highest quality connection use a direct HDMI connection see below Connecting to an Audio System ...

Page 8: ...allation Guide Menu will appear on you TV screen OSD Language Press RIGHT LEFT key to select a language Country Press RIGHT LEFT key to select your country of residence Channel Search Press RIGHT or OK key to begin Automatic channel search Once channel tuning is complete you can star watching TV programs Basic Operation Program Manage Settings To access the Menu press the MENU button and select Pr...

Page 9: ...ss UP DOWN to browse through your Favourite Channels 2 Press OK to select your favourite channel Delete a TV or Radio Program 1 Select the Program and then press the BLUE button Awarning message will appear Press OK to delete the channel 2 Repeat the previous step to select more channels to delete Skip TV or Radio Channel 1 Select the chennel you would like to skip and press the GREEN button A ski...

Page 10: ...n start a non scheduled recording any time by pressing REC button as long as you have already connected a USB device to the unit c Sort Sort you channels from the following options By LCN sort the channels in ascending order By Service Name Sort the channels in alphabetical order By Service ID Sort the channels according to the station By ONID Sort the channels accroding to ONID d LCN Logical chan...

Page 11: ...els without deleting previously saved channel and settings Select Manual Search then press OK or RIGHT The channel search screen will appear Press the RIGHT LEFT key to select the channel frequency Press OK to start searching channels If a channel is found it is saved and added to the channels list If channels can not be found during searching the unit will exit automatically c Country Select your...

Page 12: ...ord Set or change the password for locked programs Enter your old password nor the default password 0000 You will then be asked to enter your new password Press OK button to confirm your new password Once it is confirmed press EXIT to exit the Menu The master unlock password is 8888 b Restore Factory Default Reset you STB to the Default Factory Settings In Main Menu select Restore Factory Default ...

Page 13: ... mode c Movie Configure Aspect Ratio Keep Play movie in its original aspect Discard Play movie in full screen mode Subtitle Specific Small Displays the subtitle as small mode Normal Displays the subtitle as normal mode Big Displays the subtitle as big mode Subtitle BG White Displays the subtitle in white background Transparent Displays the subtitle in transparent background Grey Displays the subti...

Page 14: ...ve to wait a few seconds before pushing rec after inserting the media Otherwise the unit can freeze in the signal If that happens then please take off power and connect again to fix this Note Scheduled recording only works when the unit power is on it can not work when the unit is standby Note We cannot guarantee compatibility operation and or bus power with all USB mass storage devices and assume...

Page 15: ...rial cable is faulty Check aerial cable and connections No or incorrect connection with audio cable Connect the audio cable correctly No sound from speaker Sound on mute Turn off mute function Resolution not supported by TV set Press V format button to change resolution No or incorrect connection with AV cable Make sure cables are connected correctly Only sound no image on the screen The program i...

Page 16: ...x720 720p 1920x1080 1080i 4 3 ir 16 9 Video Output Port HDMI V1 3C YPbPr CVBS Decoder Format MPEG Layers I II mono stereo AAC AC3 Audio Audio Output 2XRCA L R SPDIF Supported Capacity 500GB USB2 0 Supported Media MP3 WMA JPEG BMP AVI MKV Supply Voltage 220 240V 50 60Hz 12V adapter Power Maximum power consumption 15W The manufacturer reserves the right to change the configuration technical or any o...

Reviews: