background image

-  Some USB devices may not be properly recognized. 
-  Even when they are in a supported format, some files may not play or display depending on the 

content. 


(e)  Timeshift 


When you are playing the program, you can insert the USB, and at 
any time you can press the [Time shift] button, the frame will be 
paused, and you may press the [PLAY] button after a second, it 
will start to timeshift now. You may press the PLAY button to 
return the normal program playing, and the timeshift is continuing, 
you may see from the below picture’s bottom which is showing the 
time shift status. In this case, you may make the unit to play the recorded program from the start.


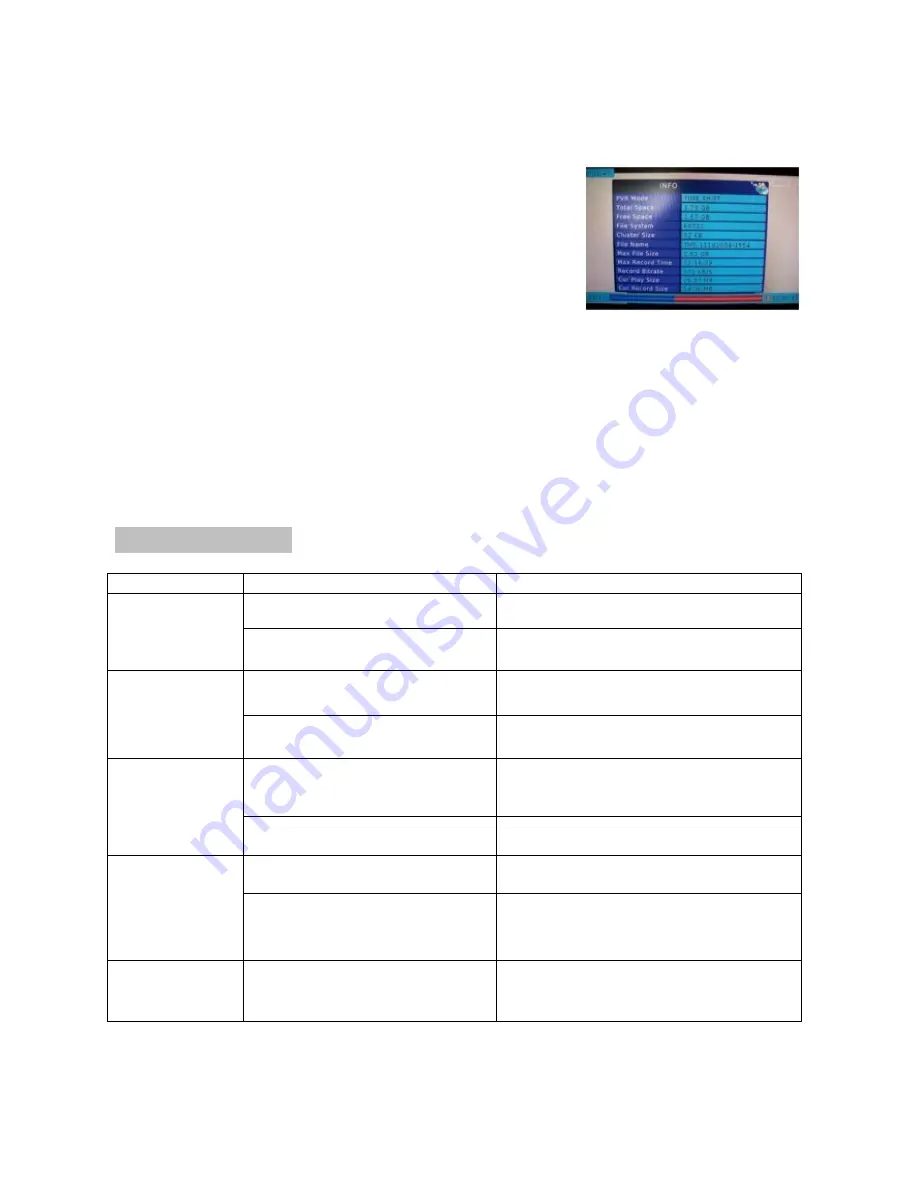
Press [Info] key to see time shift information as below: 
You can press [fast forward]/[fast back] to move the slide to left or right of the current recording. 
Note: Time Shifting will only be available when USB HDD is connected to the system and 
read/write speed is high enough to do that. 
Press [Stop] button to end the timeshift, and it will back to the normal playing of the program


Troubleshooting 


Problem 

Potential Reasons 

What to do 

Power isn’t connected 

Connect the power 


No picture 

The power switch is not on 

Switch on the power 

DVB-T cable not connected 

Plug in the DVB-T cable 


Screen shows’ 

No Signal’ 

Aerial cable is faulty 

Check aerial cable and connections 

No or incorrect connection with 
audio cable 

Connect the audio cable correctly 


No sound from 

speaker 

The program is a radio program 

Press<TV/Radio>key to shift into TV 
mode 

The battery is exhausted 

Change battery 


Remote Control 

is not responding  Remote Control is not facing or 

close enough to the STB 

Adjust the position of the Remote Control 
and move closer to the unit 

Picture is 

breaking up 

The signal is too weak 

Check aerial cable and connections. 


Summary of Contents for T1010p

Page 1: ...HIGH DEFINITION DIGITAL RECEIVER FULL HD 1080p TV STAR T1010p HD USB PVR USER MANUAL ENG...

Page 2: ...portant Safety Instructions 3 Front and Rear Panel 4 Remote Controle 5 Connecting to a Television 6 Connecting to a DVD Recorder or VRC 7 First time Installation 8 Troubleshooting 14 Technical Specifi...

Page 3: ...ce personnel Servicing is required when the apparatus has been damaged in any way including damage to the mains cord or plug if the unit has been exposed to liquid or moisture has been dropped or is n...

Page 4: ...from your household waste There are separate collection systems for recycling For more information please contact the local authority or your retailer where you purchased the product Accessories Fron...

Page 5: ...Display main menu on TV screen and press again to exit current menu OK To confirm current setting or display all programs in no menu mode VOL VOL Turns up down volume Press to move the cursor EPG Show...

Page 6: ...se make sure the battery polarities match the polarity markings inside the compartment Using the Remote Control To use the Remote Control point it towards the front of the Digital Set Top Box The Remo...

Page 7: ...Connecting to a DVD Recorder or VRC...

Page 8: ...enu a Program Edit To edit your program prederences lock skip favourite move or delete you will need to enter the Program Edit Menu This Menu requires a password to access Enter the default password 0...

Page 9: ...ss the YELLOW button to disable the locked channels function 5 To view the locked channels you will be required to enter either the default password 0000 or your last set password The master unlock pa...

Page 10: ...mmon setting for TVs in your country NTSC for NTSC system TV PAL for PAL system TV Channel Search To access the Menu Press MENU then select Search Channel using the RIGHT LEFT key The Menu provides op...

Page 11: ...ne Select the Time Zone Offset when Time Offset is set to Manual Option To access the Menu Press MENU then select Option using the RIGHT LEFT key The Menu provides options to adjust the OSD Language S...

Page 12: ...MENU then select USB using the RIGHT LEFT keys The Menu provides options to playback Music Photo and Multimedia files It can support AVI MP3 WMA JPEG and BMP formats The unit will only support USB dev...

Page 13: ...slot If at anytime you wish to delete a Scheduled recording event you can press the blue button to view the list of scheduled events Use the arrow keys on the remote to highlight the event you wish t...

Page 14: ...rrent recording Note Time Shifting will only be available when USB HDD is connected to the system and read write speed is high enough to do that Press Stop button to end the timeshift and it will back...

Page 15: ...P 1080i 1080p 4 3 ir 16 9 Video Output Port HDMI V1 3C RGB CVBS Decoder Format MPEG 1 layer1 2 3 WMA AC3 Audio Audio Output 2xRCA L R COAXIAL Supported Capacity 500GB USB2 0 Supported Media MP3 WMA JP...

Reviews: