background image

Important Safety Instructions                                


1) Read these instructions. 
2) Keep these instructions. 
3) Heed all warnings. 
4) Follow all instructions. 
5) Do not use this apparatus near water. 
6) Clean only with dry cloth. 
7) Do not install near any heat sources such as radiators, heat registers, stoves, or other apparatus 
(including amplifiers) that produce heat. 
8) Operate this product only from the type of power source indicated on the label. If you are not sure 
of the type of power connected to your home, consult your local power company. Disconnect the 
unit from the mains before any maintenance or installation procedure. 
9) Protect the mains cord from damage and stress. 
10) Only use attachments/accessories specified by the manufacturer. 
11) Unplug this apparatus during lightning storms or when unused for long periods of time. 
12) Refer all servicing to qualified service personnel. Servicing is required when the apparatus has 
been damaged in any way, including damage to the mains cord or plug, if the unit has been exposed 
to liquid or moisture, has been dropped or is not operating correctly. 
13) Do not impede the air flow into the unit by blocking the ventilation slots. 
14) Attention should be drawn to the environmental aspects of battery disposal. 
15) Use the apparatus in moderate climate. 
 
WARNING: To reduce the risk of fire or electric shock, do not expose this apparatus to rain or 
moisture. 
WARNING: The batteries shall not be exposed to excessive heat such as direct sun light, fire, etc.


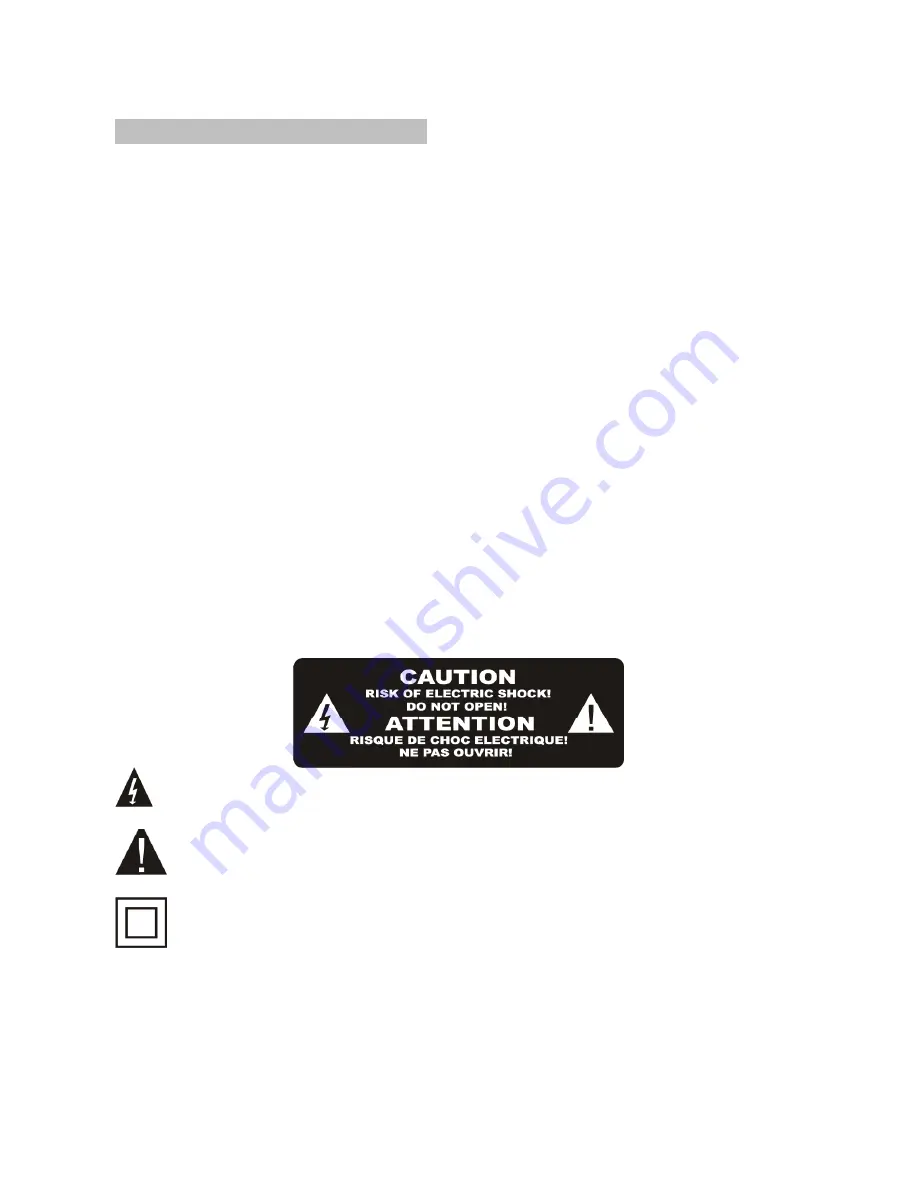
This symbol indicates that there are important operating and maintenance instructions in the 

literature accompanying this unit. 


This symbol indicates that dangerous voltages constituting a risk of electric shock are 

present within this unit. 


This symbol indicates that this product incorporates double insulation between hazardous 

mains voltage and user accessible parts. 
When servicing use only identical replacement parts. 

Summary of Contents for T1010p

Page 1: ...HIGH DEFINITION DIGITAL RECEIVER FULL HD 1080p TV STAR T1010p HD USB PVR USER MANUAL ENG...

Page 2: ...portant Safety Instructions 3 Front and Rear Panel 4 Remote Controle 5 Connecting to a Television 6 Connecting to a DVD Recorder or VRC 7 First time Installation 8 Troubleshooting 14 Technical Specifi...

Page 3: ...ce personnel Servicing is required when the apparatus has been damaged in any way including damage to the mains cord or plug if the unit has been exposed to liquid or moisture has been dropped or is n...

Page 4: ...from your household waste There are separate collection systems for recycling For more information please contact the local authority or your retailer where you purchased the product Accessories Fron...

Page 5: ...Display main menu on TV screen and press again to exit current menu OK To confirm current setting or display all programs in no menu mode VOL VOL Turns up down volume Press to move the cursor EPG Show...

Page 6: ...se make sure the battery polarities match the polarity markings inside the compartment Using the Remote Control To use the Remote Control point it towards the front of the Digital Set Top Box The Remo...

Page 7: ...Connecting to a DVD Recorder or VRC...

Page 8: ...enu a Program Edit To edit your program prederences lock skip favourite move or delete you will need to enter the Program Edit Menu This Menu requires a password to access Enter the default password 0...

Page 9: ...ss the YELLOW button to disable the locked channels function 5 To view the locked channels you will be required to enter either the default password 0000 or your last set password The master unlock pa...

Page 10: ...mmon setting for TVs in your country NTSC for NTSC system TV PAL for PAL system TV Channel Search To access the Menu Press MENU then select Search Channel using the RIGHT LEFT key The Menu provides op...

Page 11: ...ne Select the Time Zone Offset when Time Offset is set to Manual Option To access the Menu Press MENU then select Option using the RIGHT LEFT key The Menu provides options to adjust the OSD Language S...

Page 12: ...MENU then select USB using the RIGHT LEFT keys The Menu provides options to playback Music Photo and Multimedia files It can support AVI MP3 WMA JPEG and BMP formats The unit will only support USB dev...

Page 13: ...slot If at anytime you wish to delete a Scheduled recording event you can press the blue button to view the list of scheduled events Use the arrow keys on the remote to highlight the event you wish t...

Page 14: ...rrent recording Note Time Shifting will only be available when USB HDD is connected to the system and read write speed is high enough to do that Press Stop button to end the timeshift and it will back...

Page 15: ...P 1080i 1080p 4 3 ir 16 9 Video Output Port HDMI V1 3C RGB CVBS Decoder Format MPEG 1 layer1 2 3 WMA AC3 Audio Audio Output 2xRCA L R COAXIAL Supported Capacity 500GB USB2 0 Supported Media MP3 WMA JP...

Reviews: