7
different width of ribbon. Turn the ribbon tension knob clockwise and you will hear
a light click sound as the gear changes. The level of rewind ribbon is from loose to
tight, level 0 to level 5. You will hear a louder click for level 0.
3. Set Up
3.1
Setting Up the Printer
Place the printer on a flat, secure surface and make sure the POWER switch is
off.
Connect the printer to the computer with the provided RS-232C or Centronics
cable.
Plug the power cord into the power supply connector at the rear of the printer,
and then plug the power cord into a properly grounded power outlet.
3.2 Ribbon
Installation
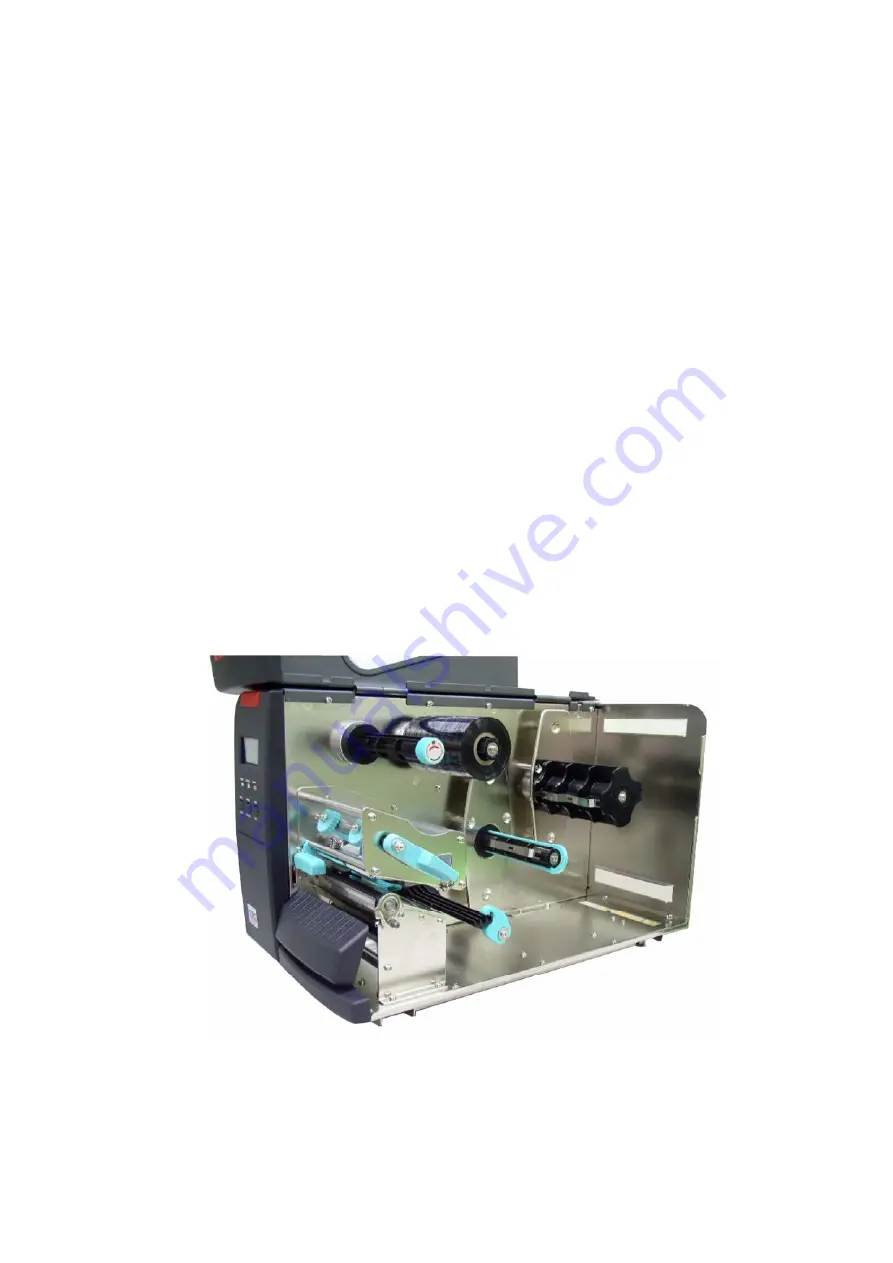
1. Open the printer right side cover.
2. Disengage the printer carriage lever.
3. Install a new ribbon roll onto the ribbon supply spindle.
※
It is to be noticed that ribbon should be placed to the left end of spindle.
Figure 4. Ribbon installation


