TRUST 738AV LCD POWER VIDEO
Tip
:
The quality of the photographs depends on the surrounding light. More light
will result in a better picture. Do not take photographs facing towards bright
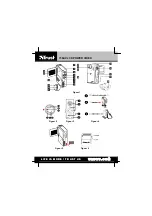
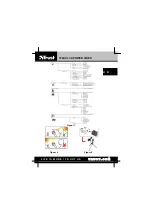
light (see figure 8).
Tip
:
The number of photographs that can be saved in the internal memory
depends on the number of details of the object to be photographed. The
numbers given below are an approximation.
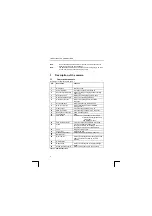
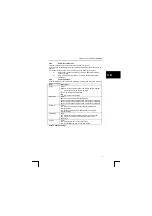
Number of photographs
Resolution
Normal quality
Fine quality
640 x 480
VGA
240
230
1600 x 1200
2 Mpix
60
40
2048 x 1536
3 Mpix
40
24
2272 x 1704
4 Mpix
32
20
Table 11: Maximum number of photographs that can be saved on the internal
16 MB memory
4.7.2
Taking photographs using the automatic exposure function
You can take a photograph of yourself using the automatic exposure function.
Another use for the automatic exposure function is to take a photograph when there
is insufficient light without affecting the sharpness of the picture.
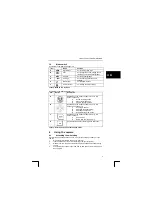
1.
Place the camera on the stand (see figure 9).
2.
Turn the camera on.
3.
Direct the camera at the subject. If necessary, use the LCD screen.
4.
Turn on the automatic exposure function using the menu button.
5.
Press the exposure button. The red indicator at the front of the camera will
start to flash slowly. The indicator will be lit constantly just before the
photograph is taken. A signal will be heard. The photograph has been taken
when the indicator is no longer lit.
6.
The automatic exposure function turns off automatically.
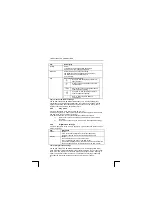
Note:
The automatic exposure function must be turned on using the menu
each time that you wish to take a photograph using the automatic
exposure function.
4.7.3
Recording digital video clips
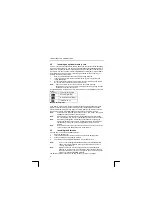
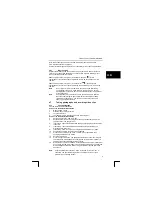
Also see the Quick Installation Guide.
Item 1 of the Quick Installation Guide
1
Open the LCD screen.
2
Slide the lens cover downwards.
3
Turn the camera on.
4
The indicator next to the exposure button will be lit green.
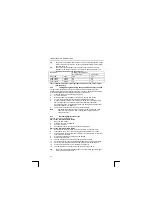
Item 3 of the Quick Installation Guide
5
Determine the correct position for the macro switch (see chapter 4.6.7).
6
If necessary, zoom in or out by pressing the direction button up or down.
7
Press the menu button if the menu is visible. It is not possible to record video
clips if the menu is visible.
8
Position the subject in the LCD screen as desired.
9
Press the record button.
10
The red indicator on the front of the camera will start to flash.
11
The duration of the video clip will be displayed at the top of the LCD screen.
12
For a clear recording, make smooth, slow movements with the camera.
13
Press the record button to stop recording the video clip.
14
The red indicator on the front of the camera will no longer be lit.
Tip
:
The quality of the video clips depends on the surrounding light. More light
will result in a better video clip.
10


